Step into the world of MiniFusion, where the boundaries of creativity and innovation blur into a symphony of futuristic design and industrial charm. Picture a custom PC build unlike any other, born from the fertile imagination of its creator and crafted with meticulous attention to detail.
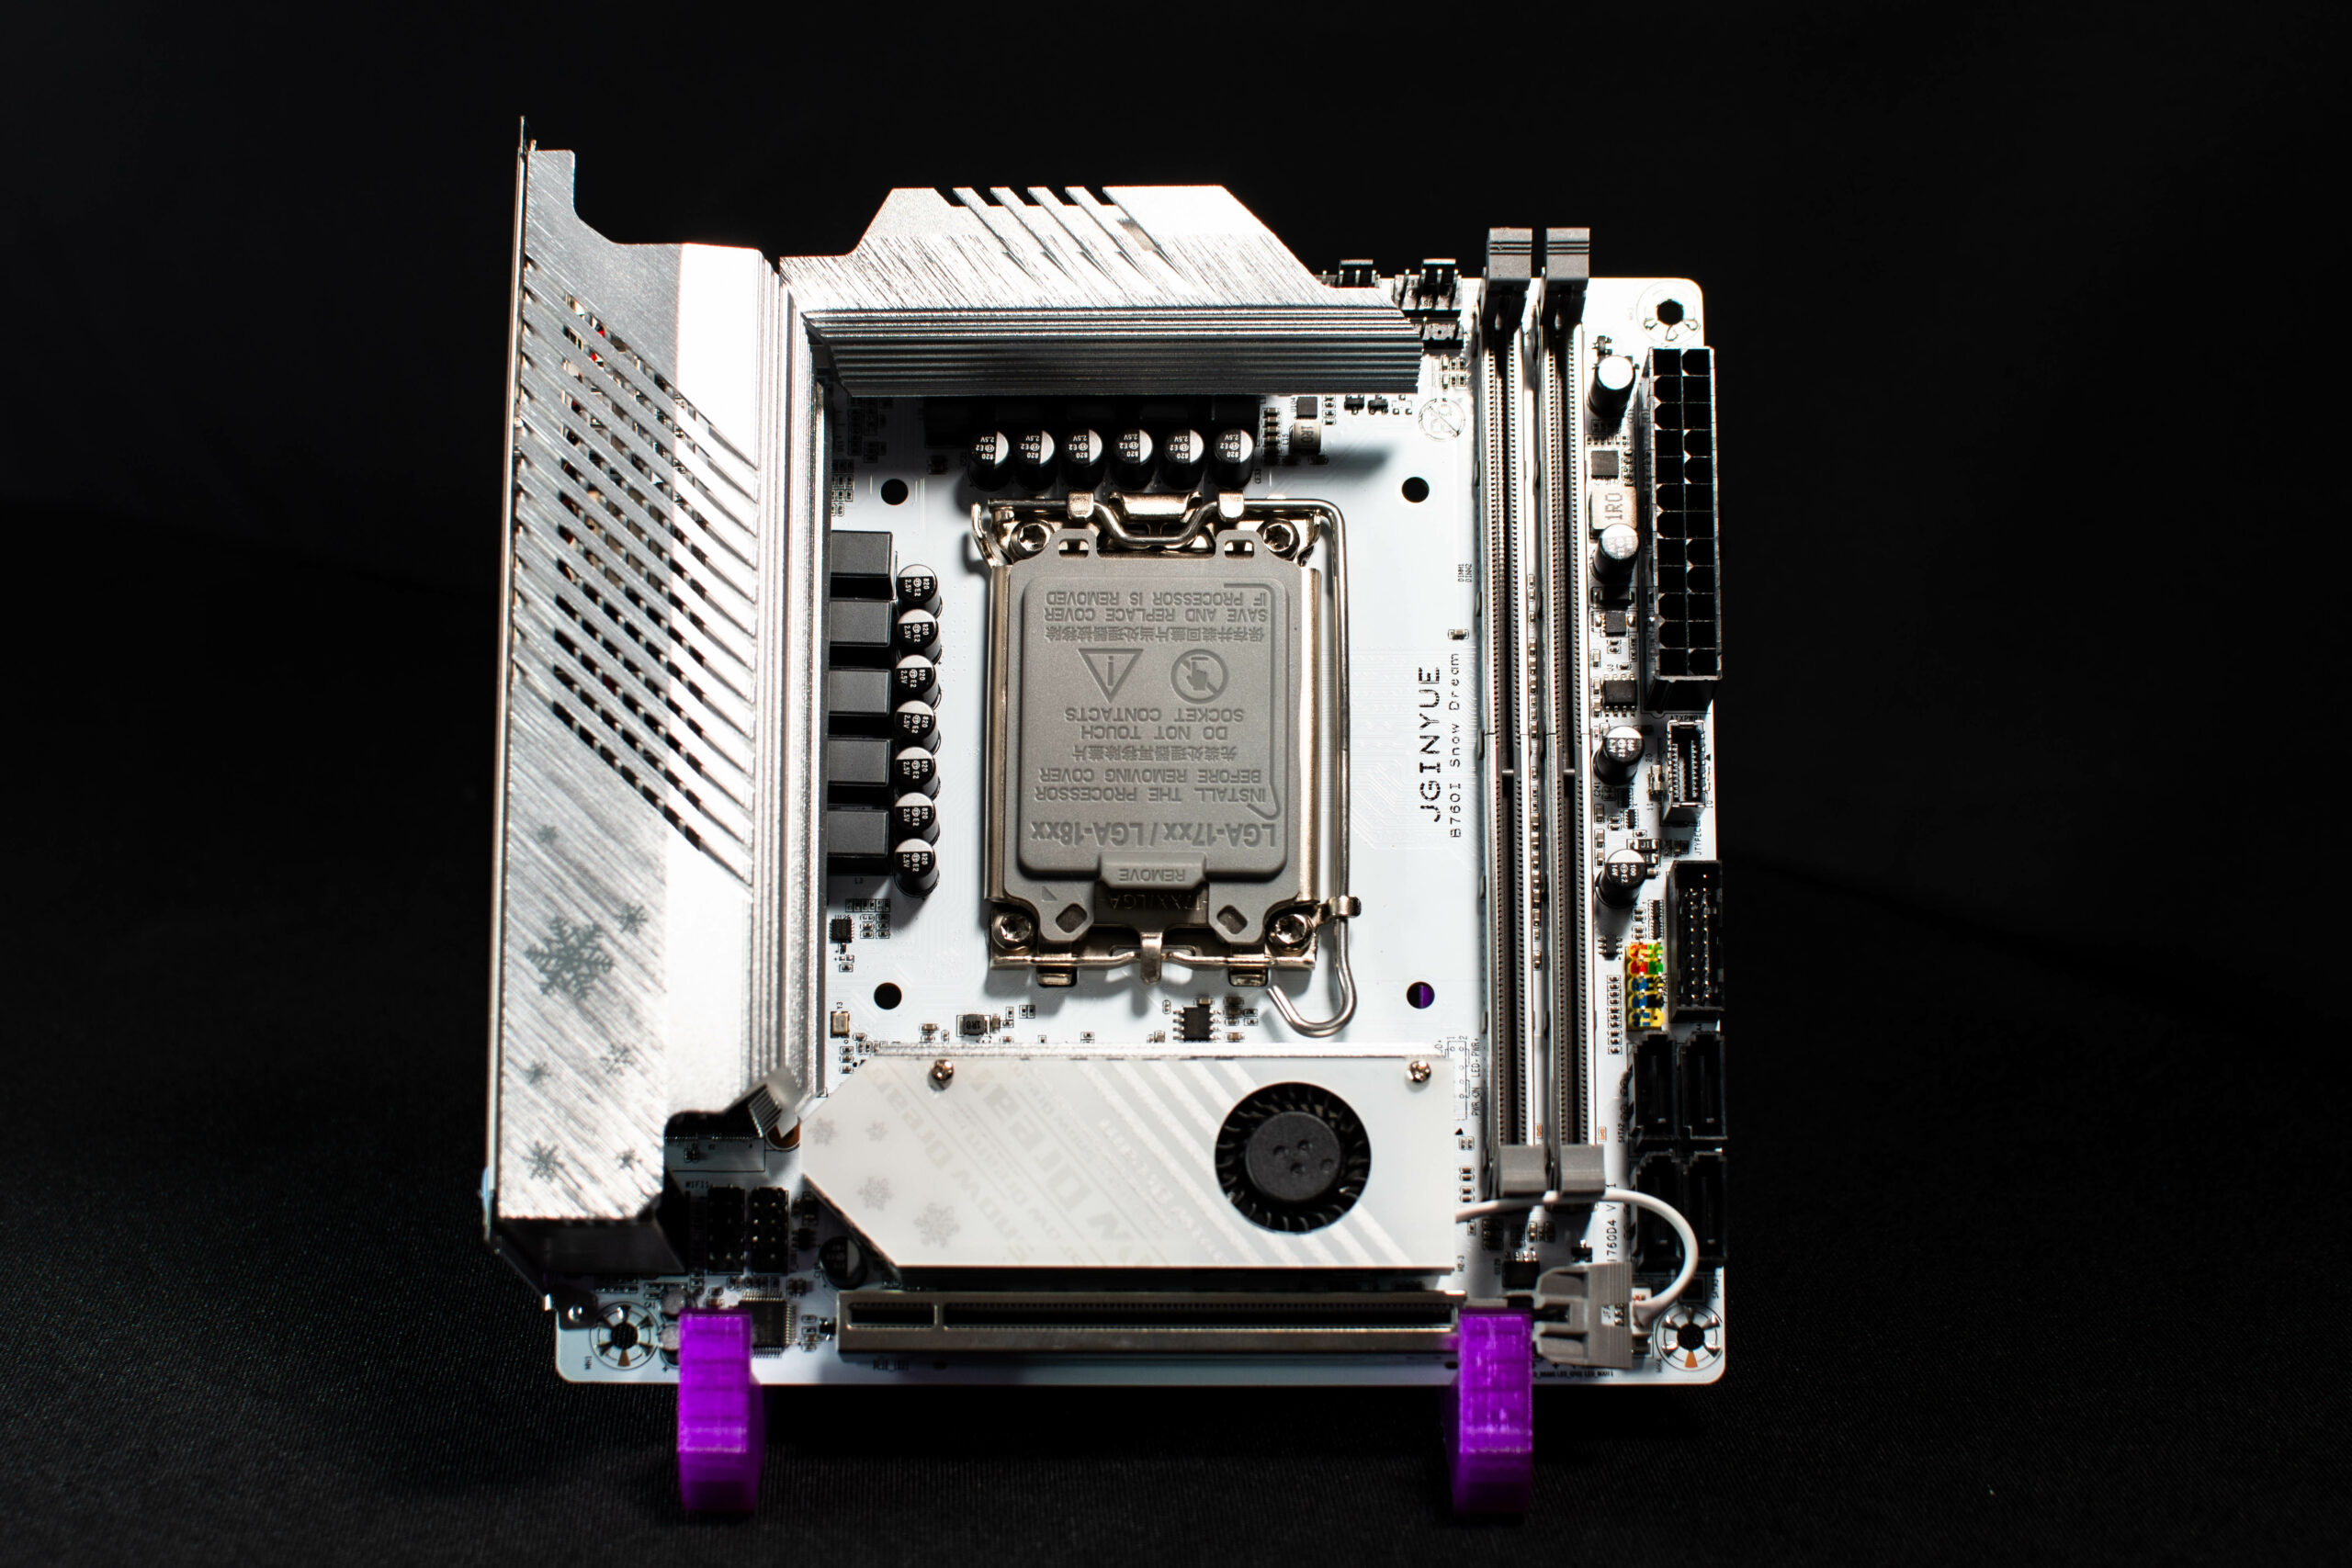
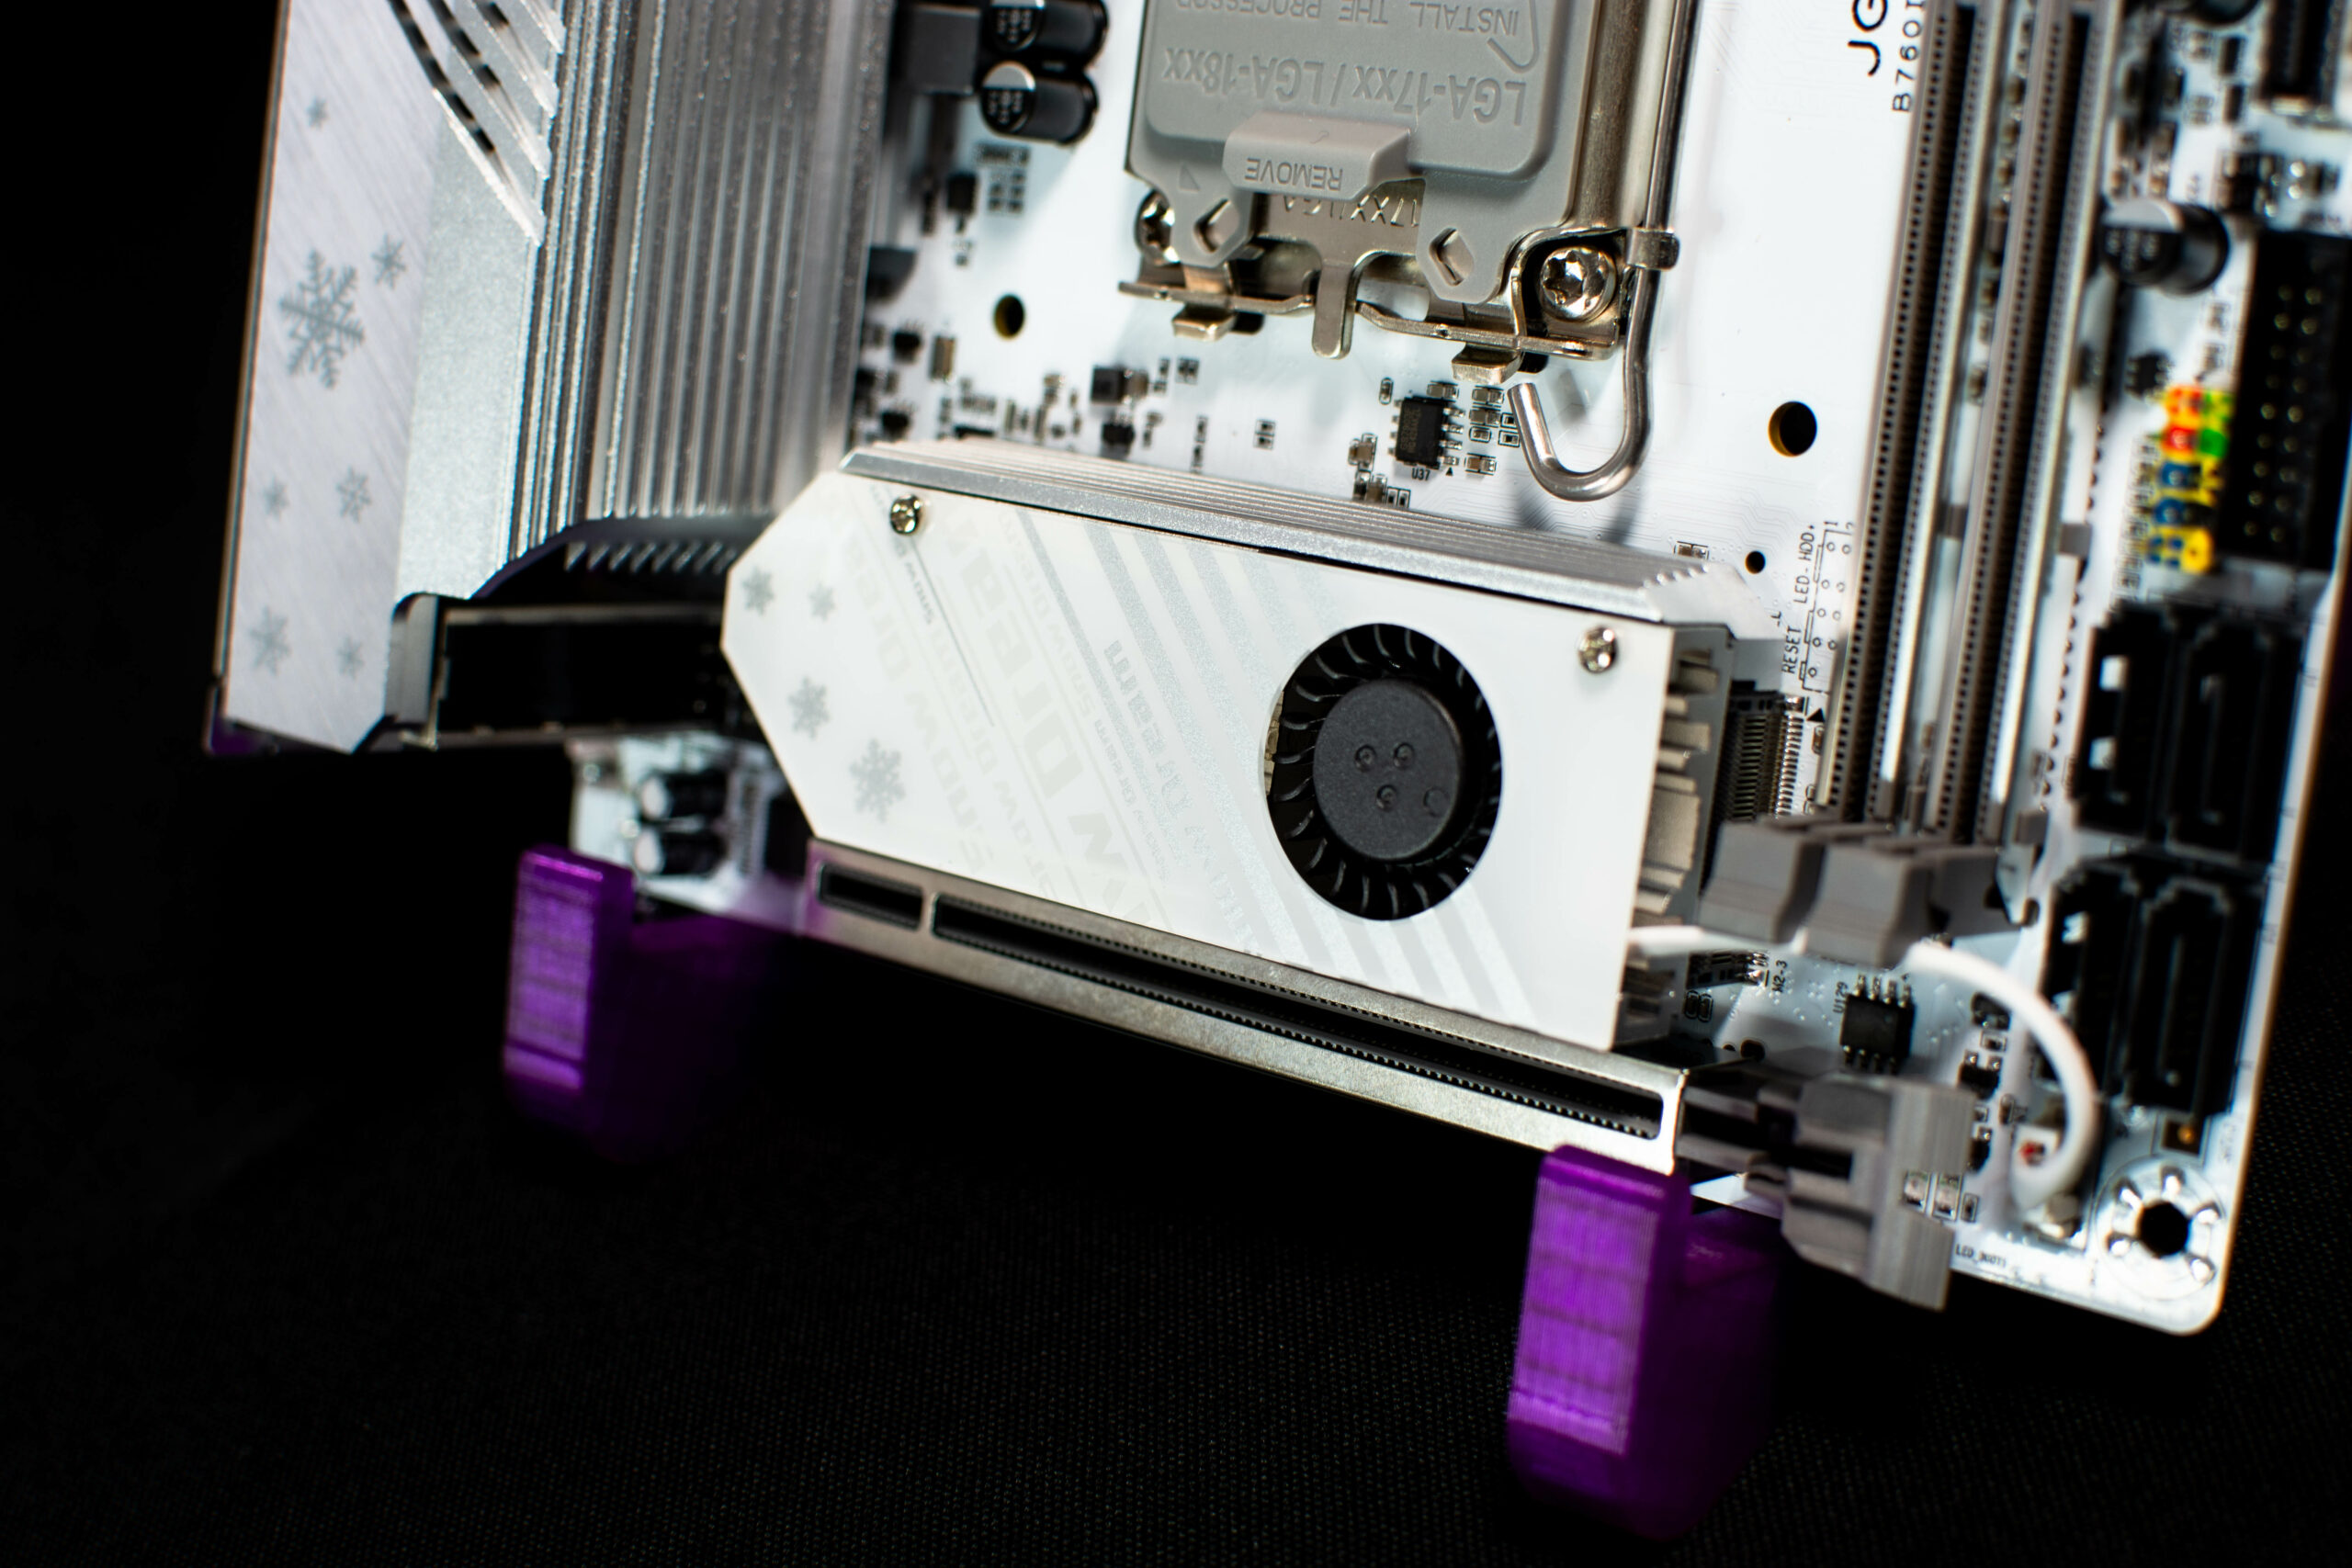
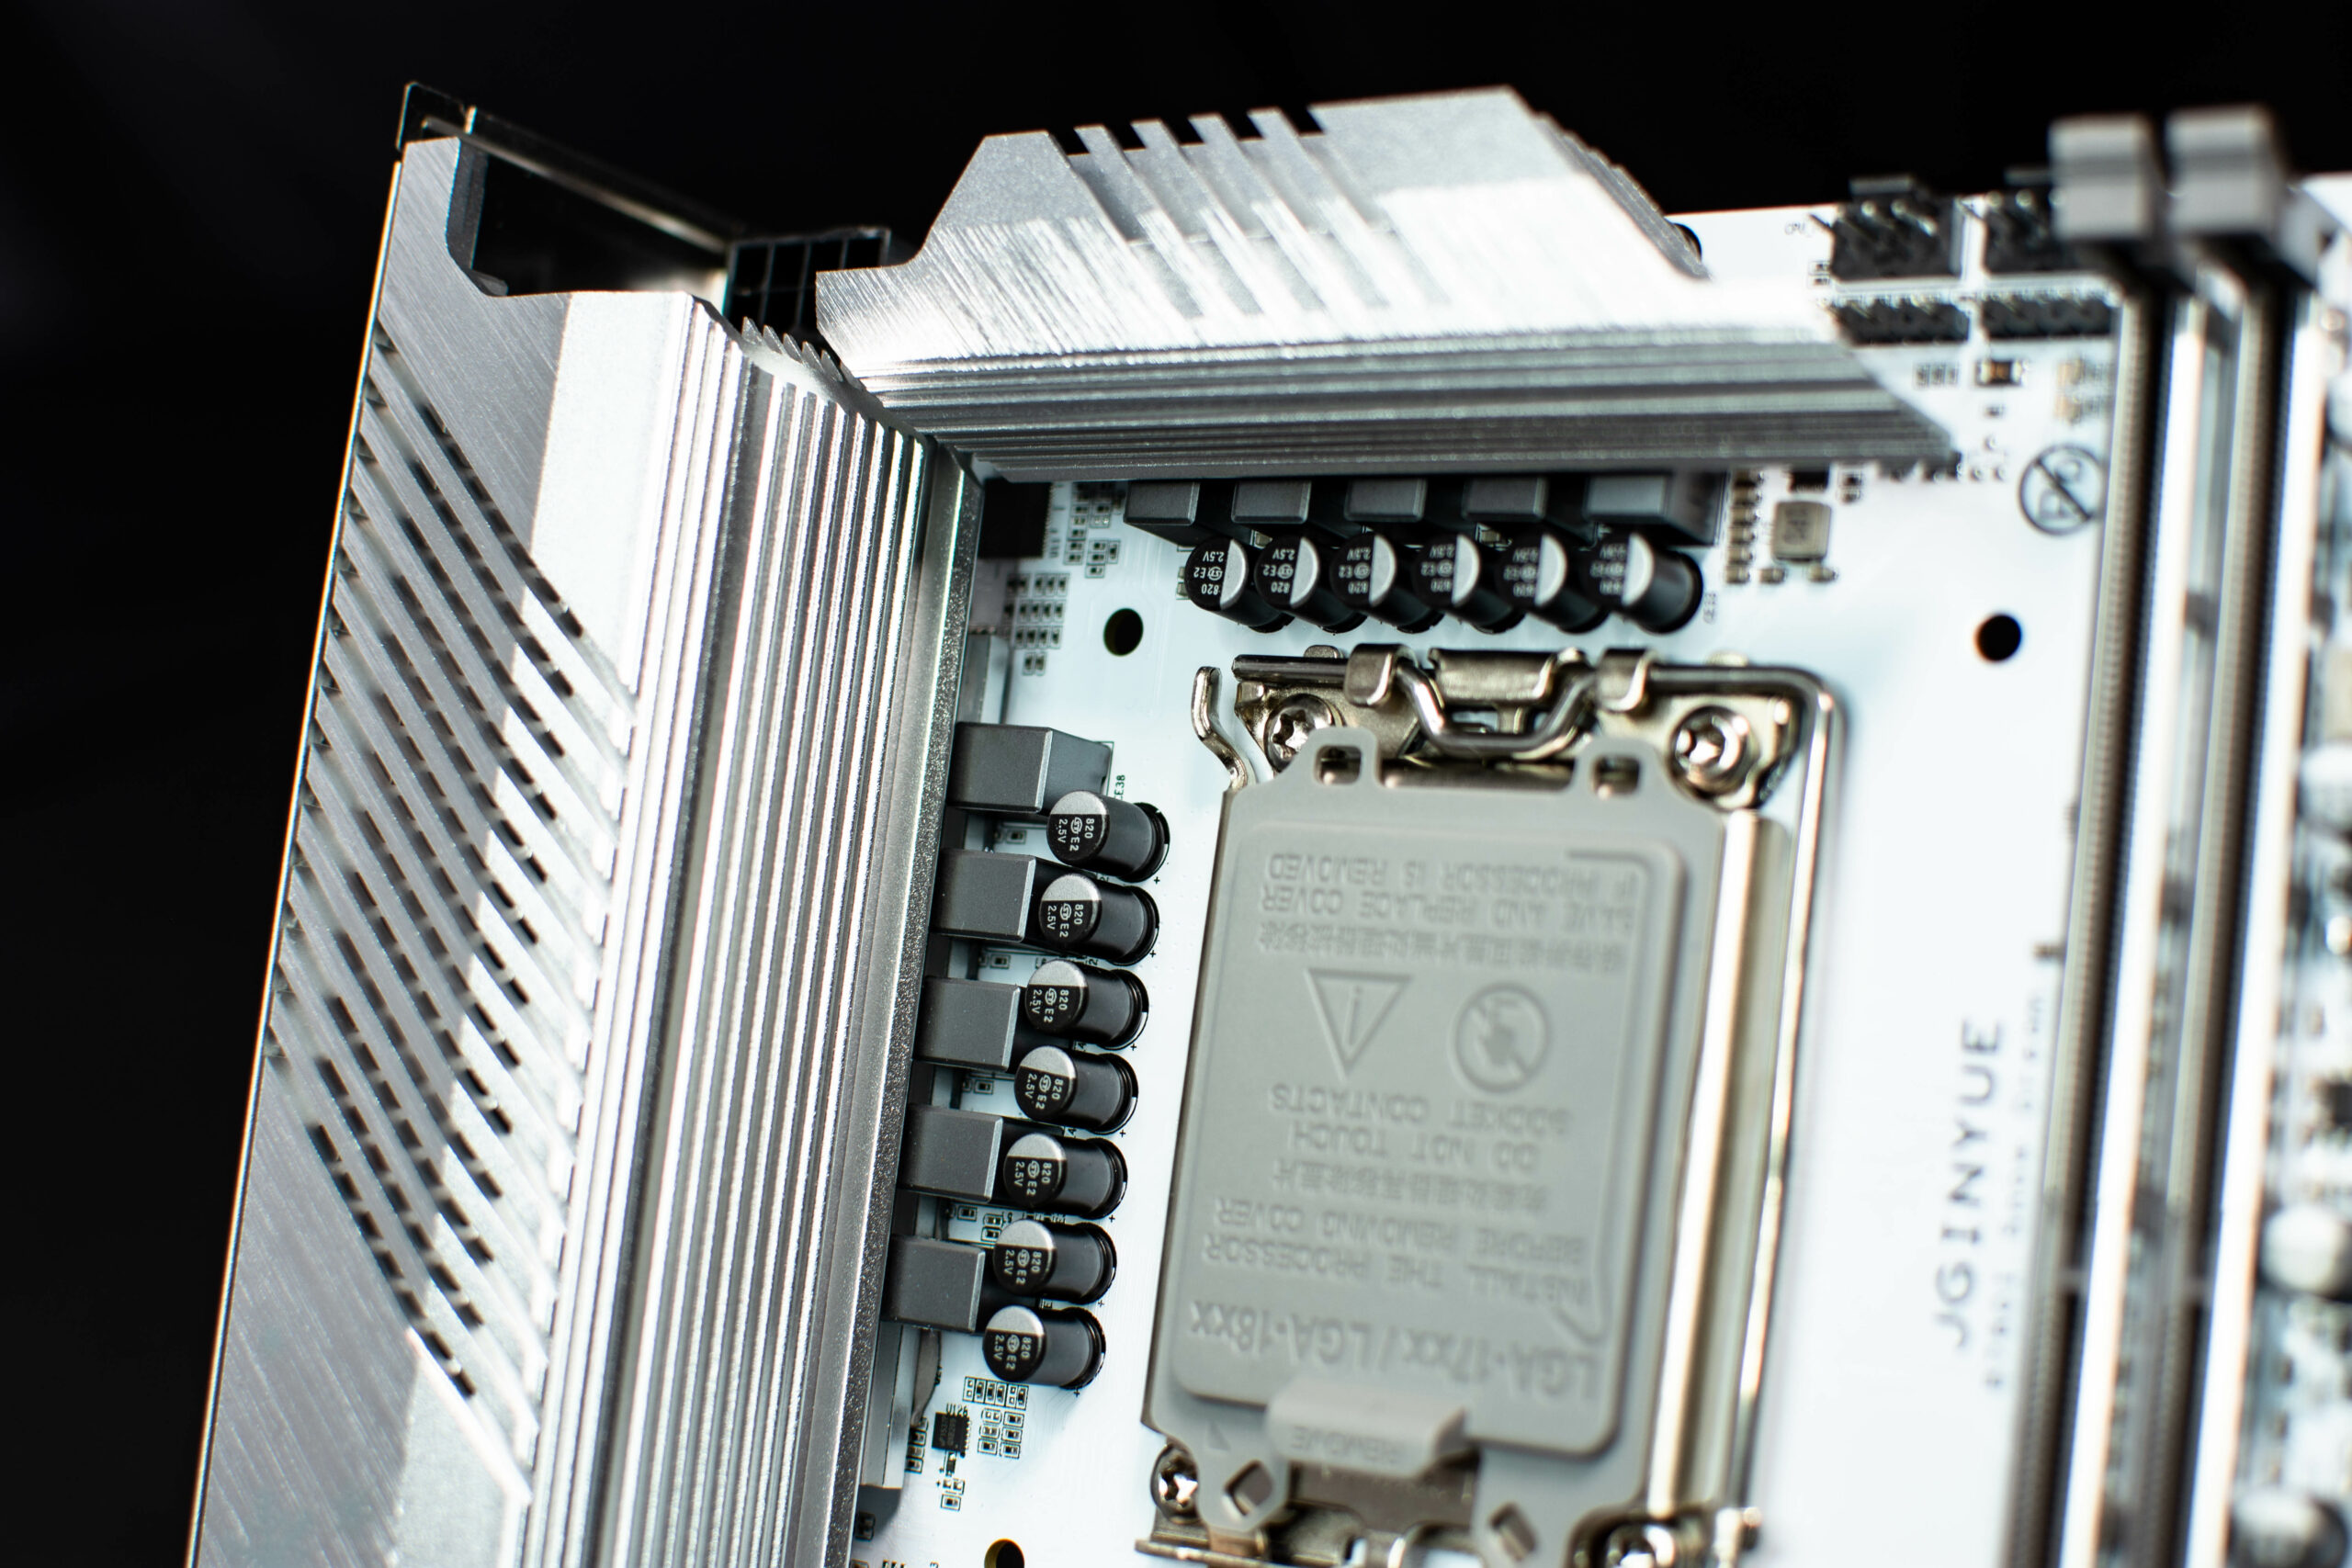
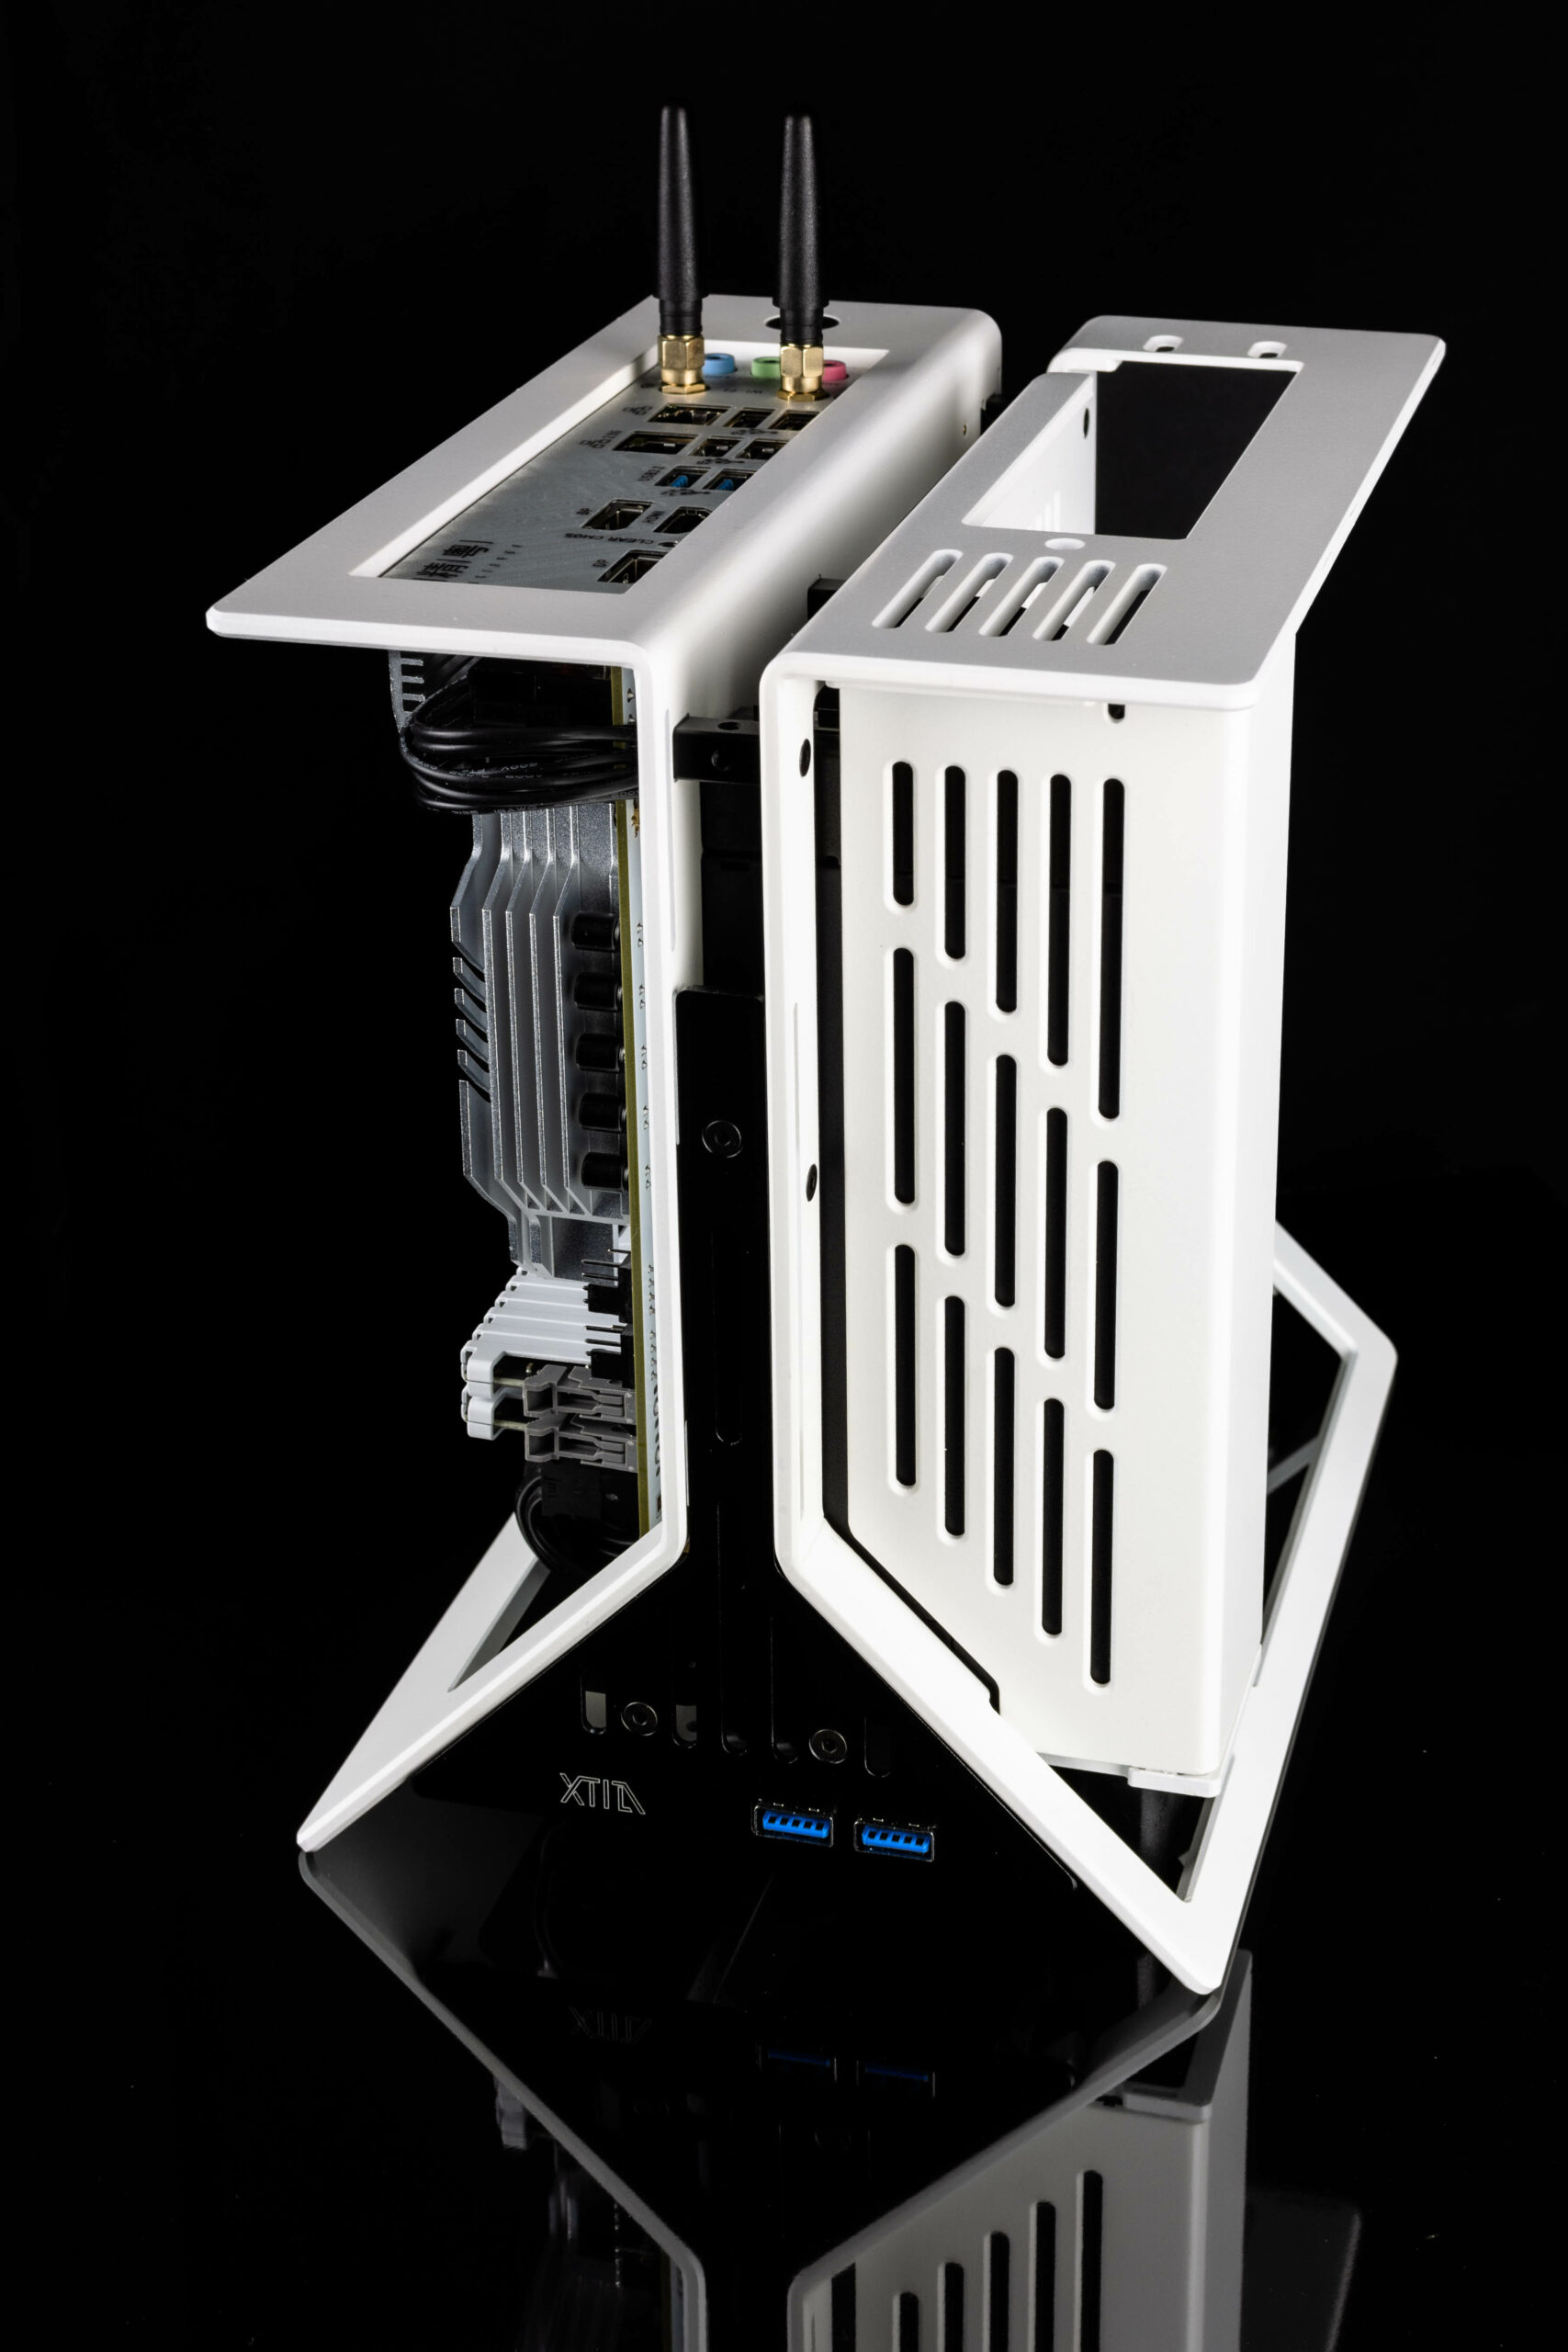
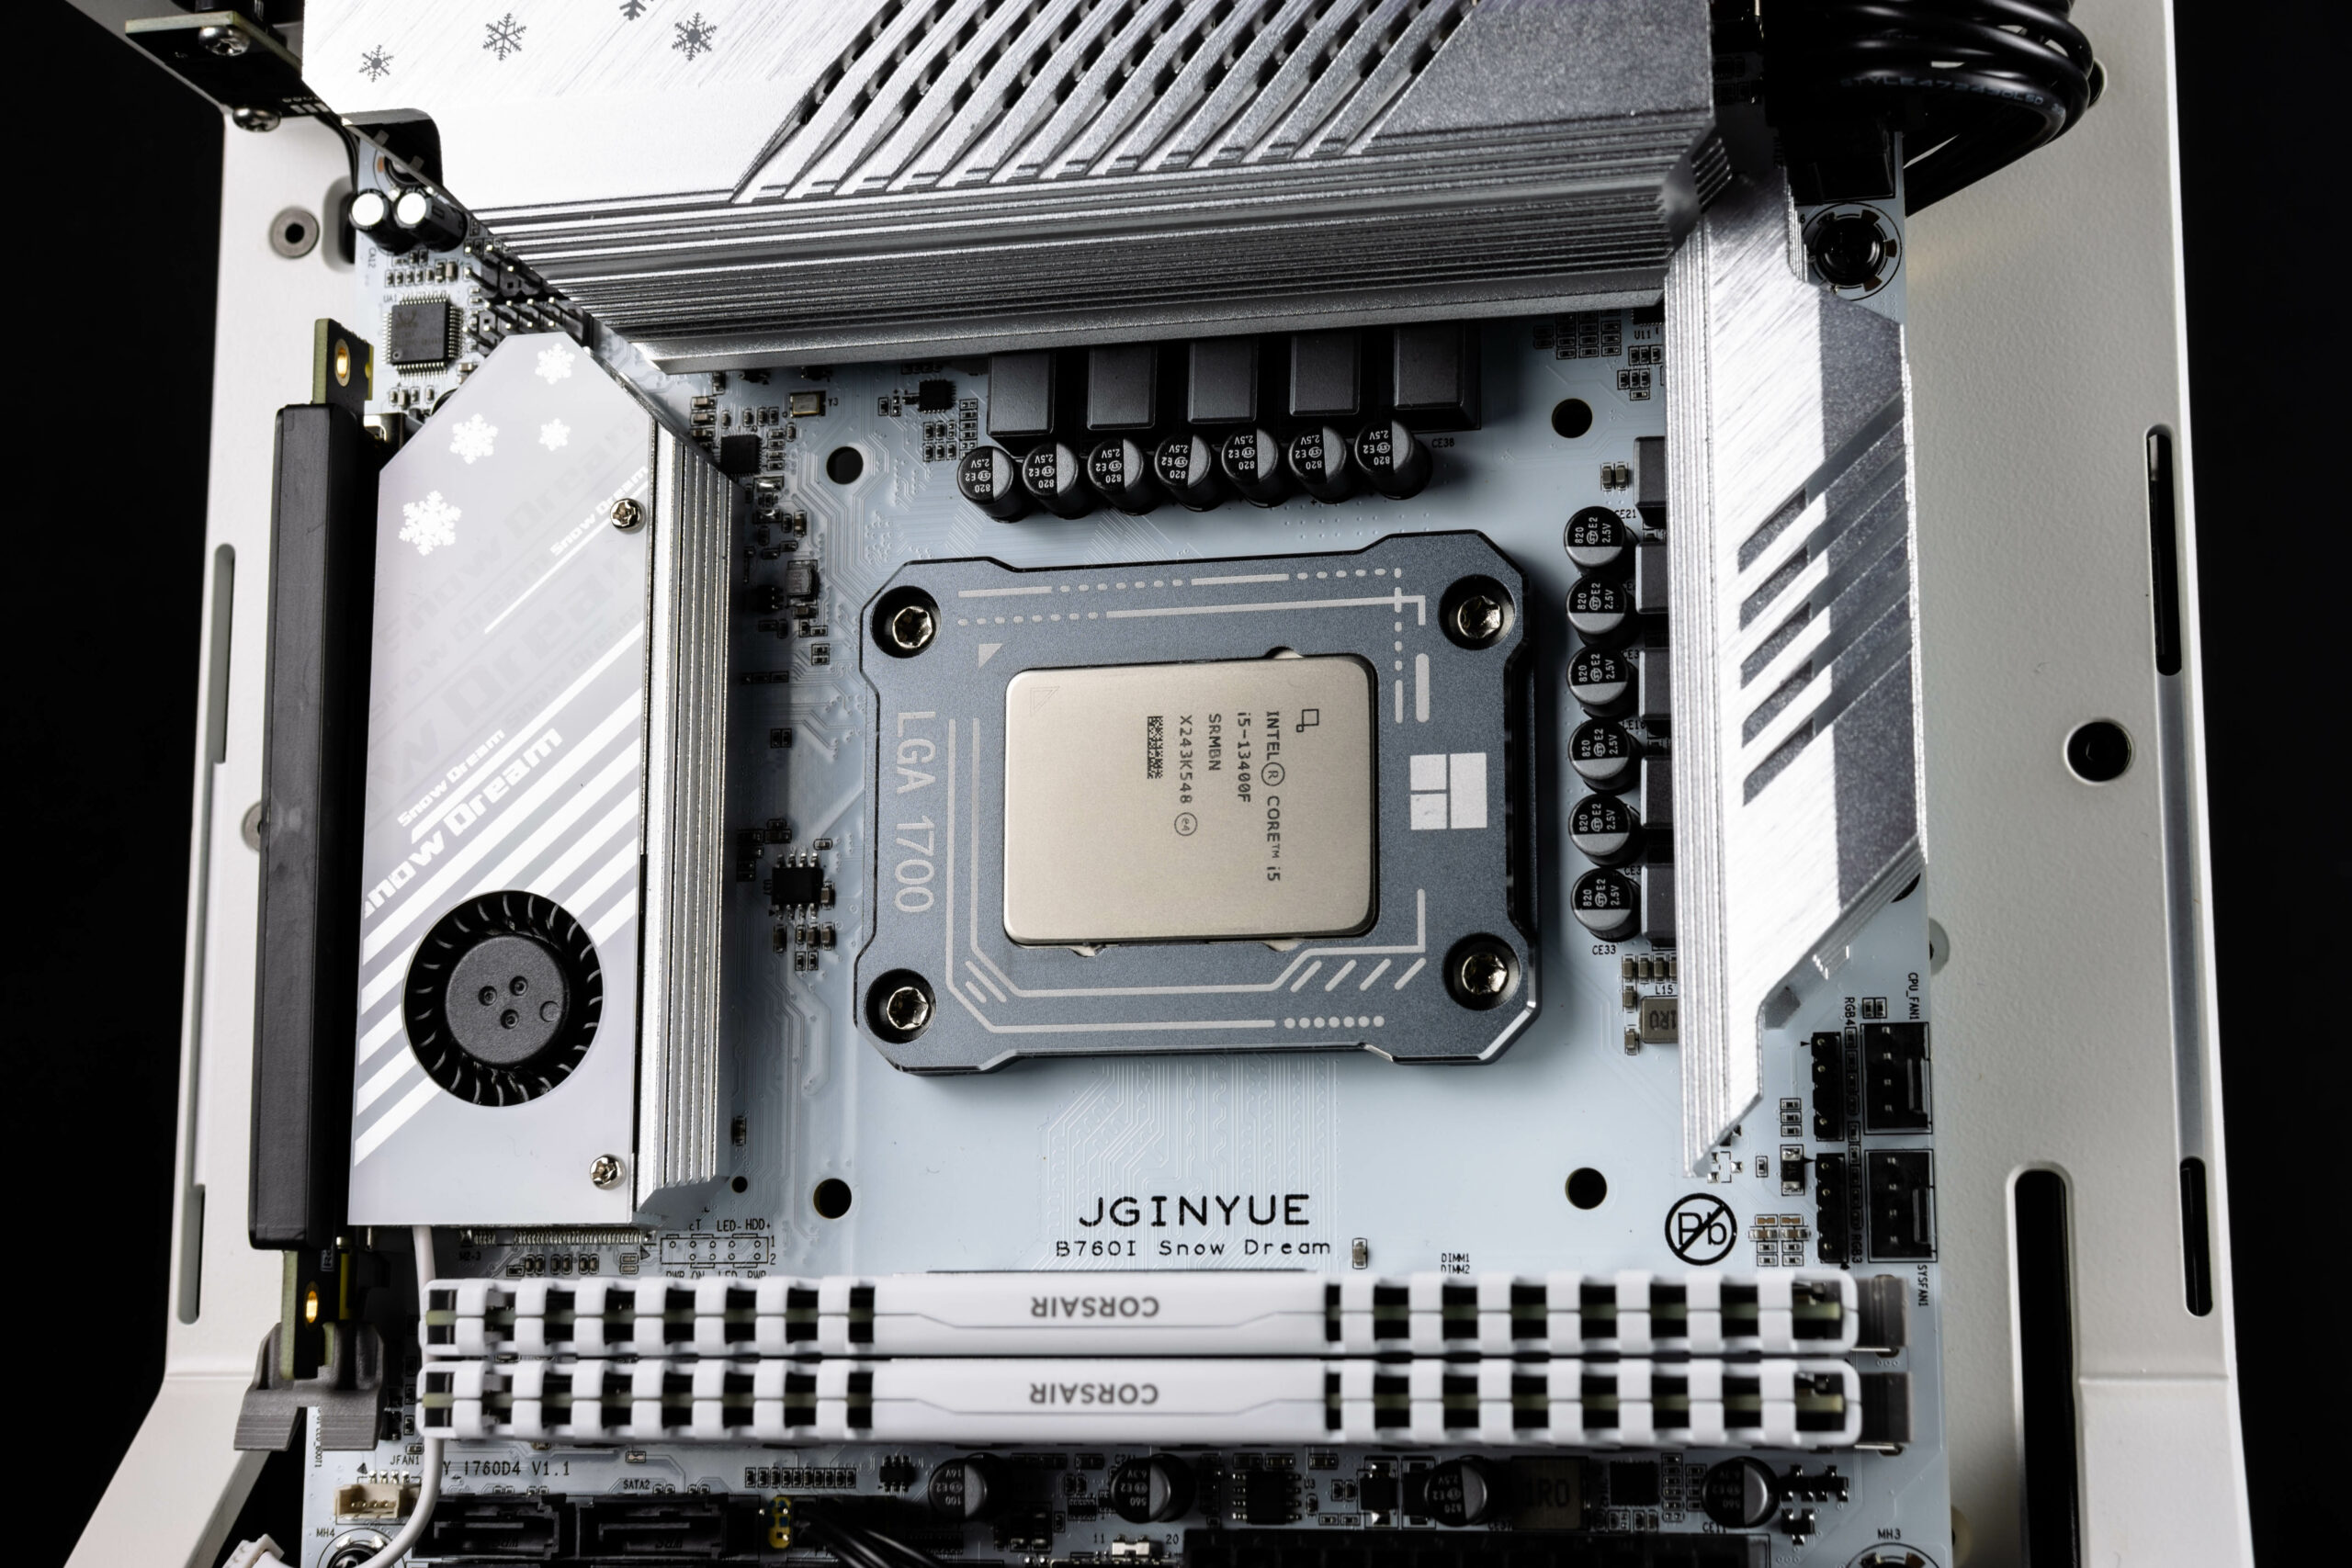
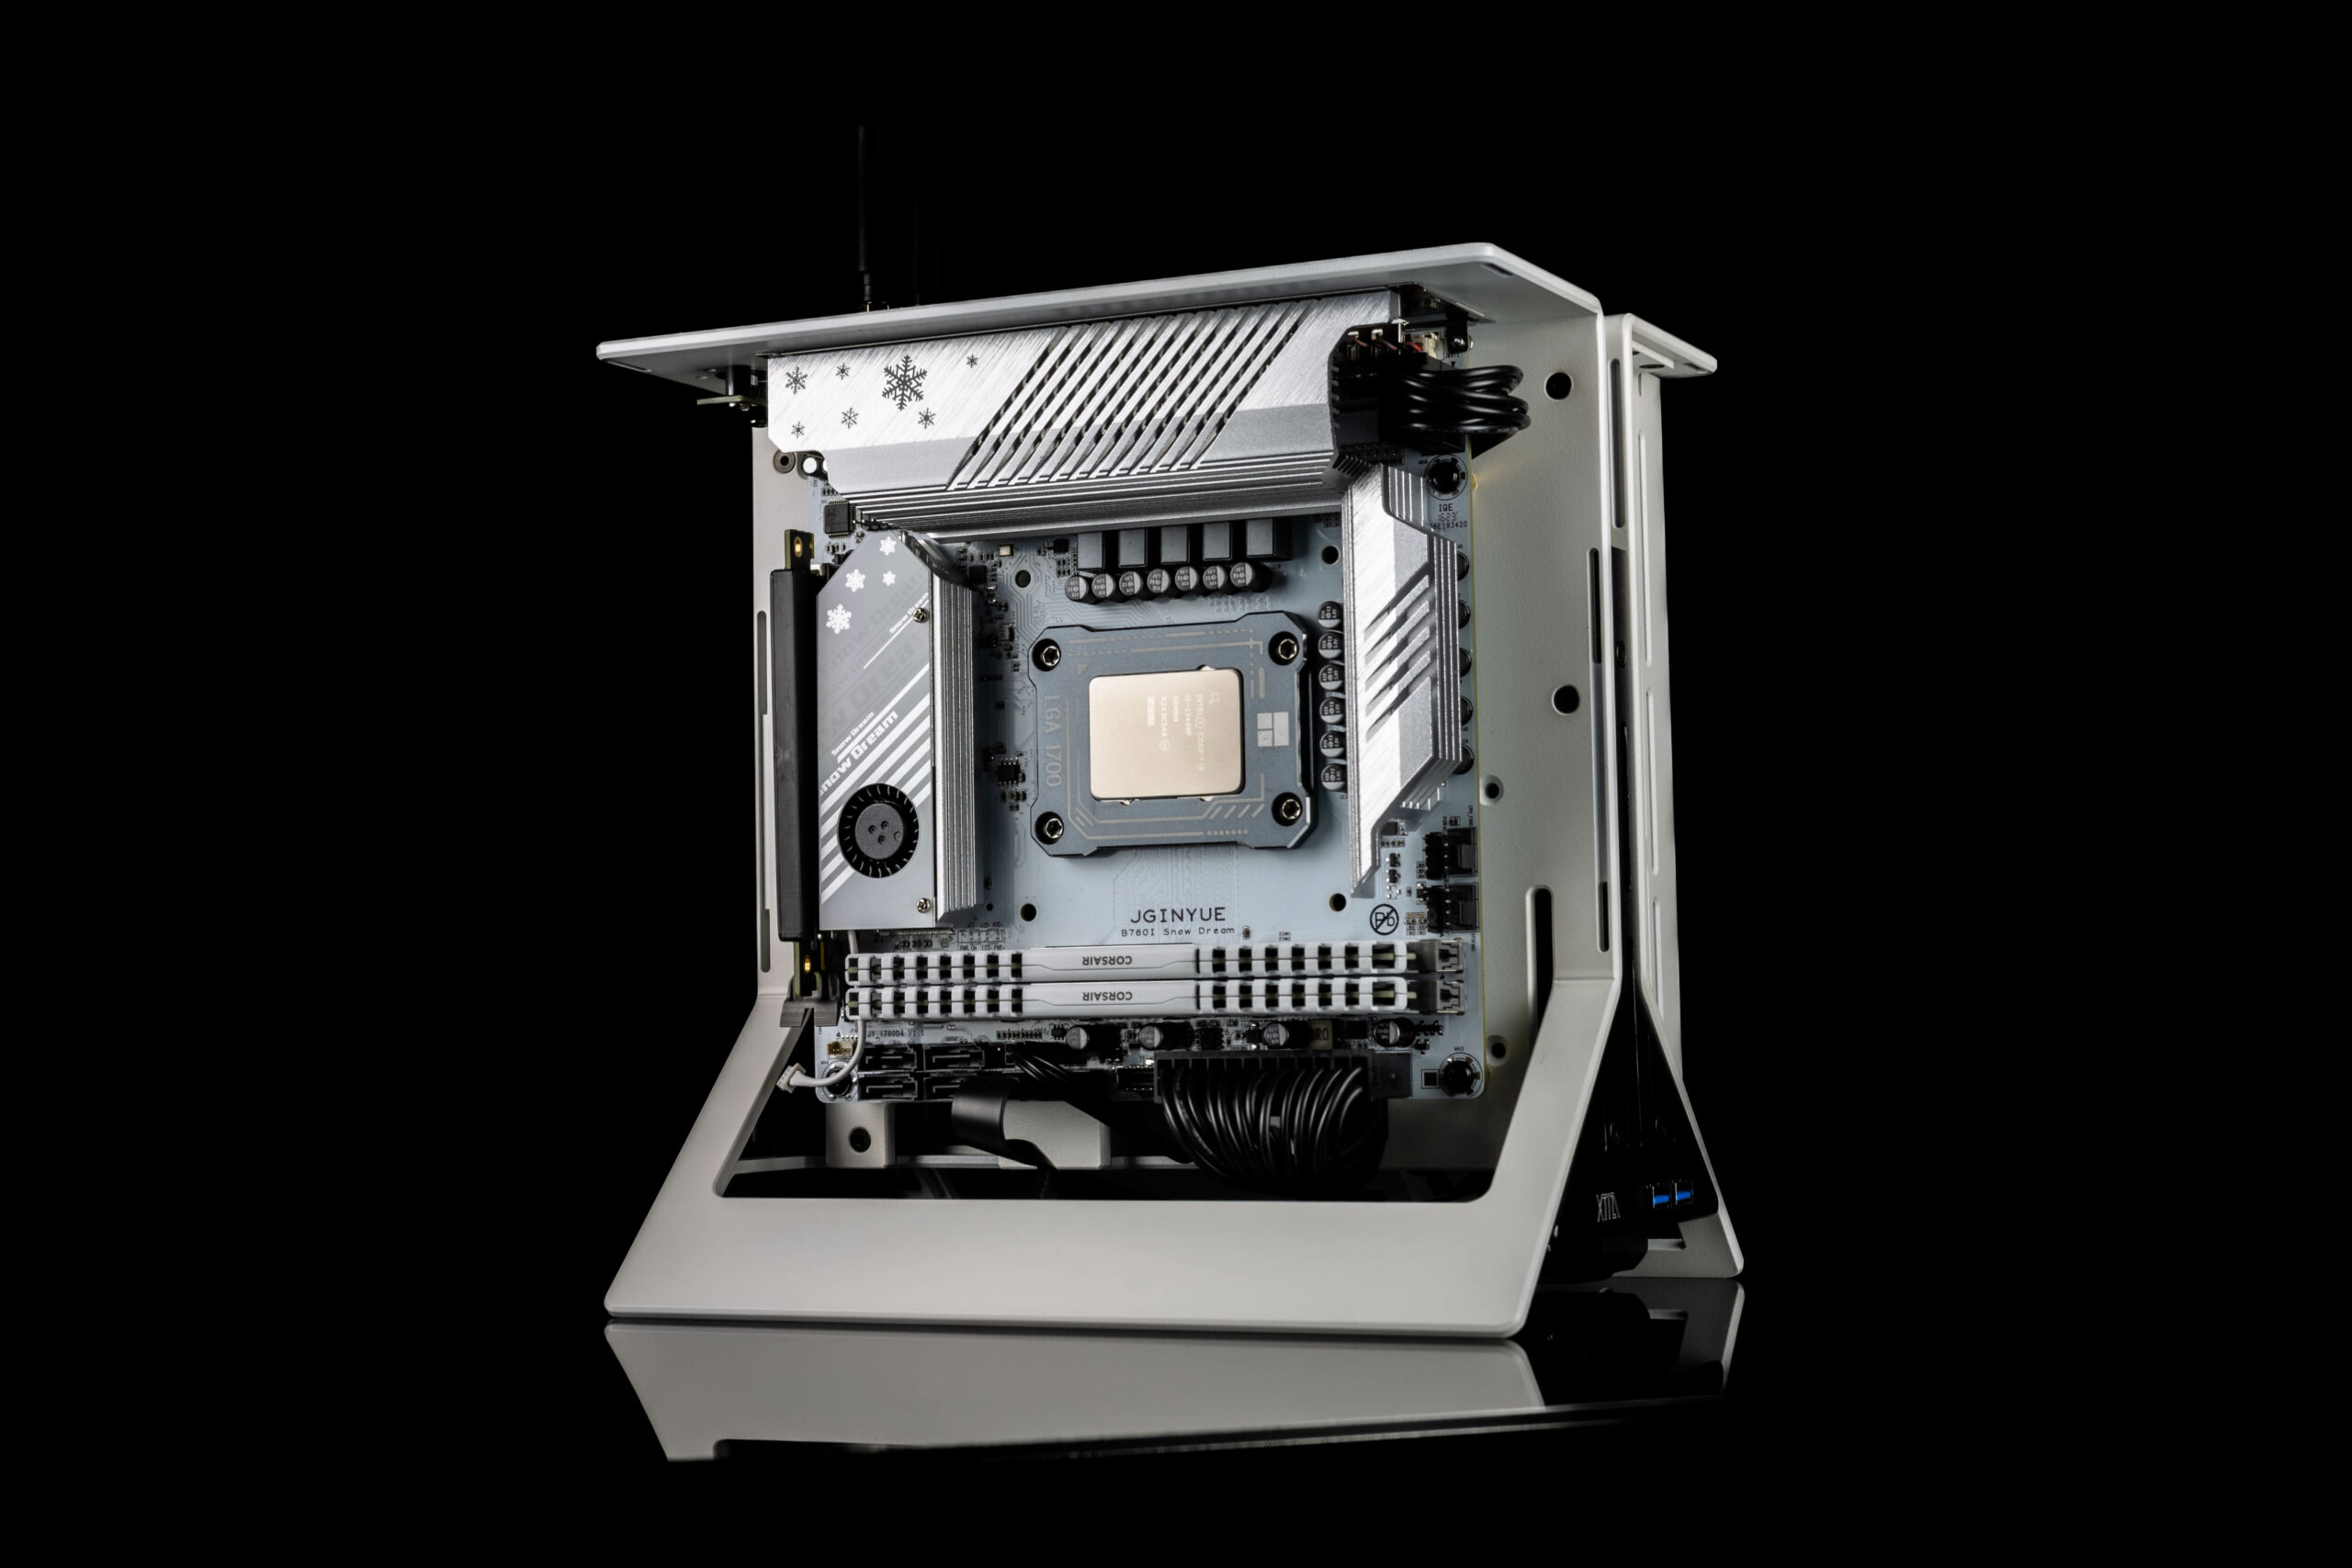
As part of Minibotpc Projects startup, we’re building with this new and fairly unknown brand. The aesthetics are up there with the big leagues, with its all white colour palette to really stand out. 2 Large heatsinks over the VRM’s, should easily power this 13400F under any type of load. The board also features 2x m.2 nvme slots, one on the front under a large heatsink and one on the rear. The active cooling over the nvme heatsink is quite loud though in my testing. With it being only Gen4, it will run fine under the heatsink without the active cooling fan. The board supports DDR4 which is the option we have here, though they also do a DDR5 version. Plenty of connections on the board, 2x pwm fan headers, RGB headers, 4x Sata ports and a internal USB C header. Thus leading us onto the Rear IO.
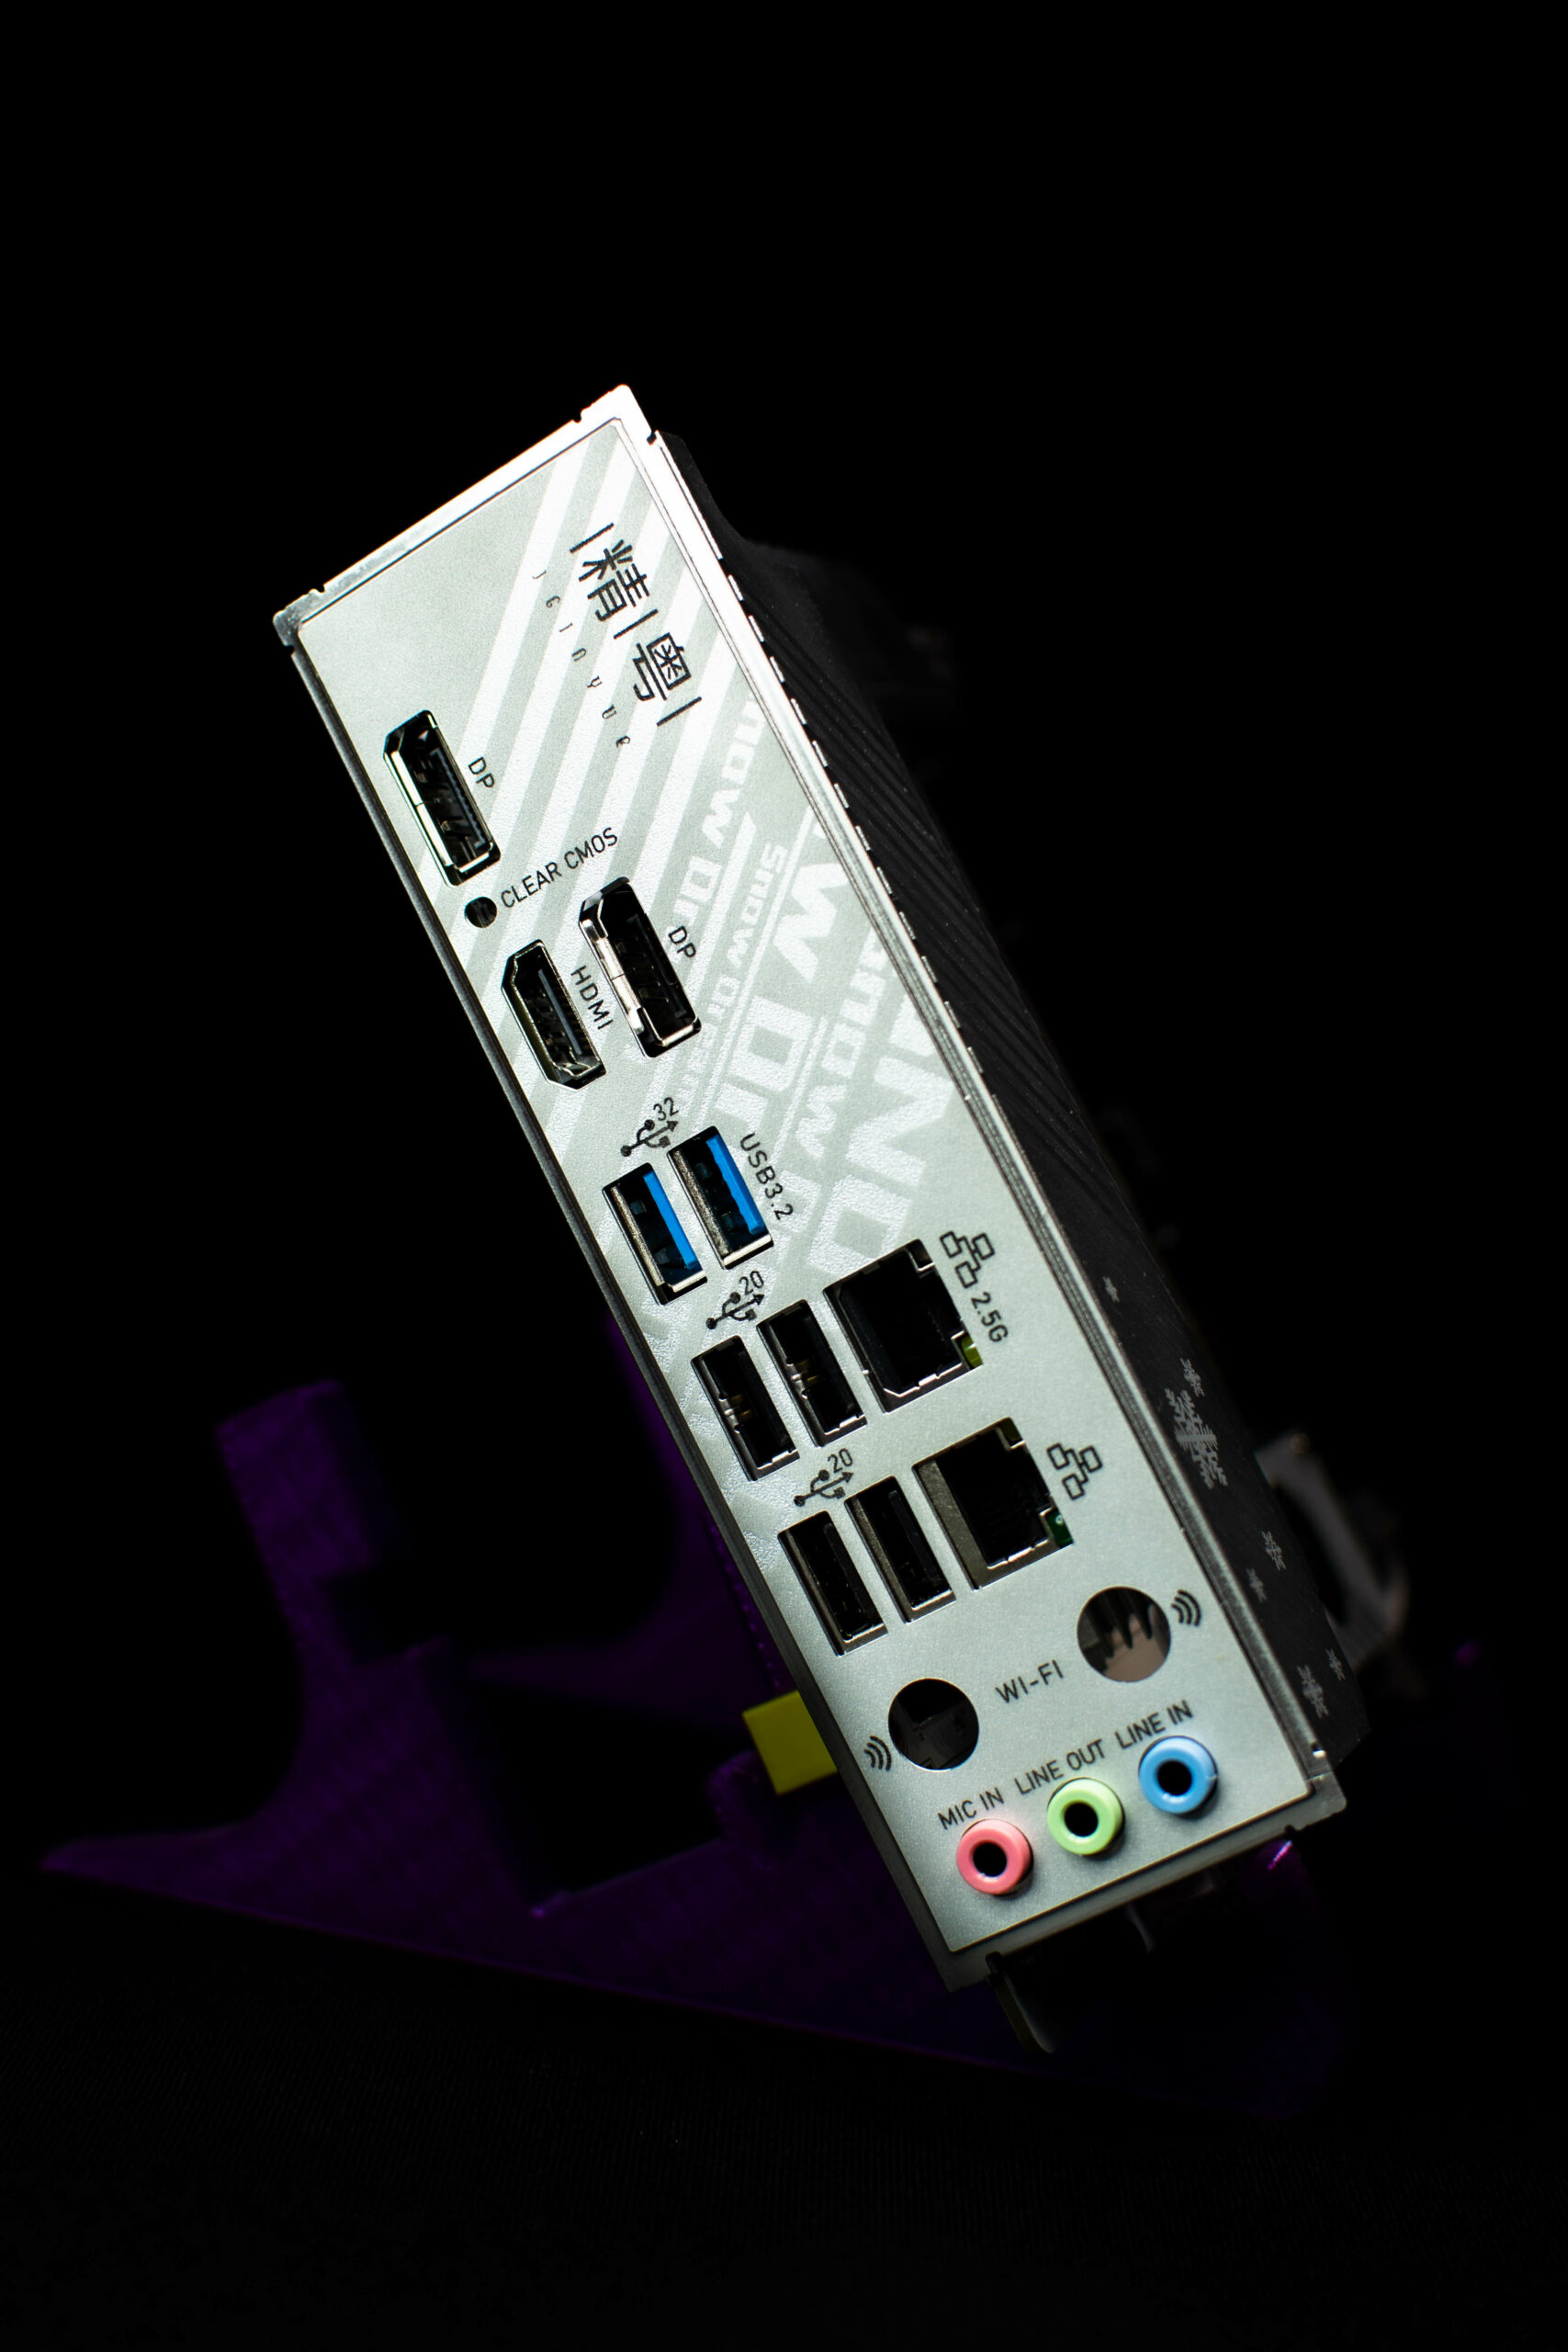
Rear IO is okay for the money you pay, we have enough connections here for proper setup. One thing to note, the board doesn’t come with a Wifi card so we opted for an Intel AX200 Wifi 6 CNVI card. This in my experience was plug and play. Connection was picked up during Windows 11 installation. Nonetheless a few more USB 3.0 slots would be nice but as mentioned, we can’t complain about the price.
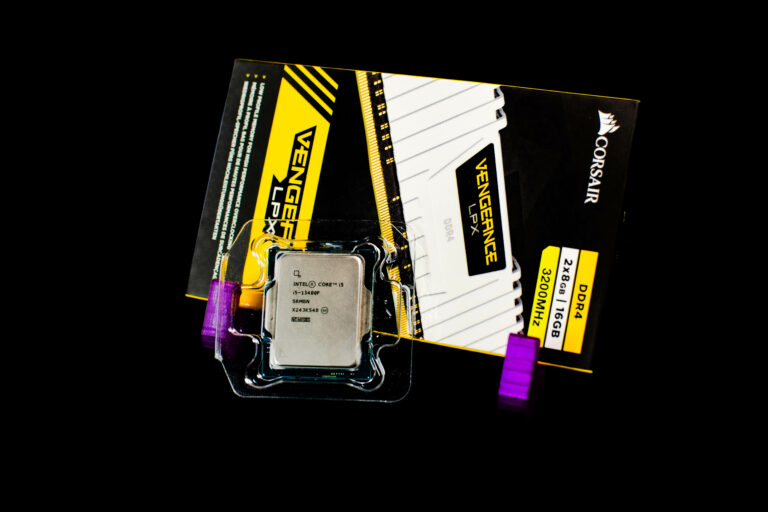
For this build, i’ve opted for an Intel 13400F with 16gb of Corsair LPX DDR4 memory at 3200mhz. With the current bios on this board, JYI76009 we have XMP support. In previous reviews that i have read and watched, XMP support was not enabled so this came as a nice surprise. All timings were automatically set and runs as it should. No complaints! Summing up, we could upgrade the cpu later down the line for something a little beefier.
Motherboard Showcase
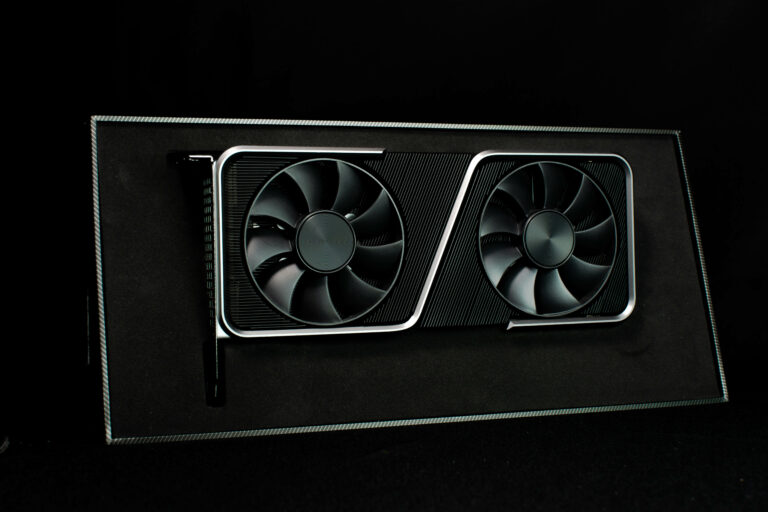
RTX 3070 Founders Edition Graphics Card
The NVIDIA GeForce RTX 3070 is a powerhouse graphics card, part of the coveted RTX 30 series. With 8 GB of GDDR6 video memory and 5888 CUDA cores, it delivers remarkable gaming performance and accelerates graphics-intensive tasks. Embracing the Ampere architecture, the RTX 3070 excels in real-time ray tracing and AI-enhanced graphics, offering an immersive visual experience. Its PCIe 4.0 support ensures high-speed data transfer, while NVIDIA DLSS enhances performance intelligently. The card’s sleek design and efficient cooling make it a sought-after choice for enthusiasts, striking a perfect balance between cutting-edge technology and optimal gaming experience.
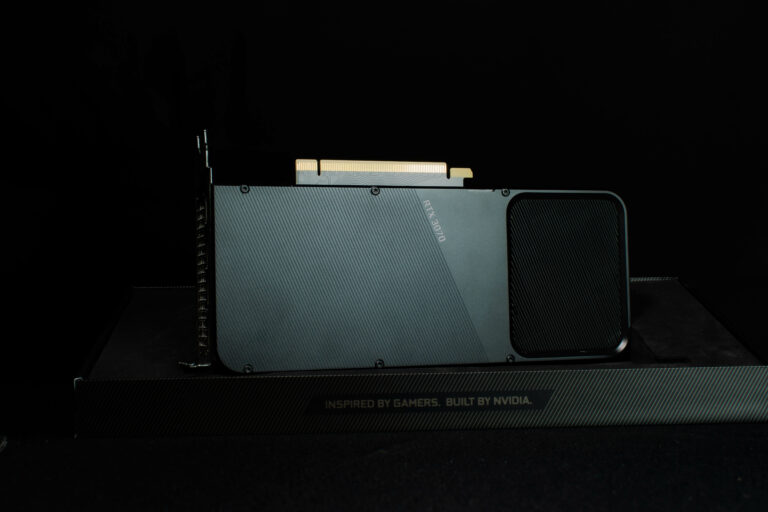
The relatively low TDP of this card makes it a great pairing in small form factor builds and as such when mated with a waterblock, is the perfect card for this project. In collaboration with with Bitspower, we’ll be using a full suite of their watercooling components to showcase this project.
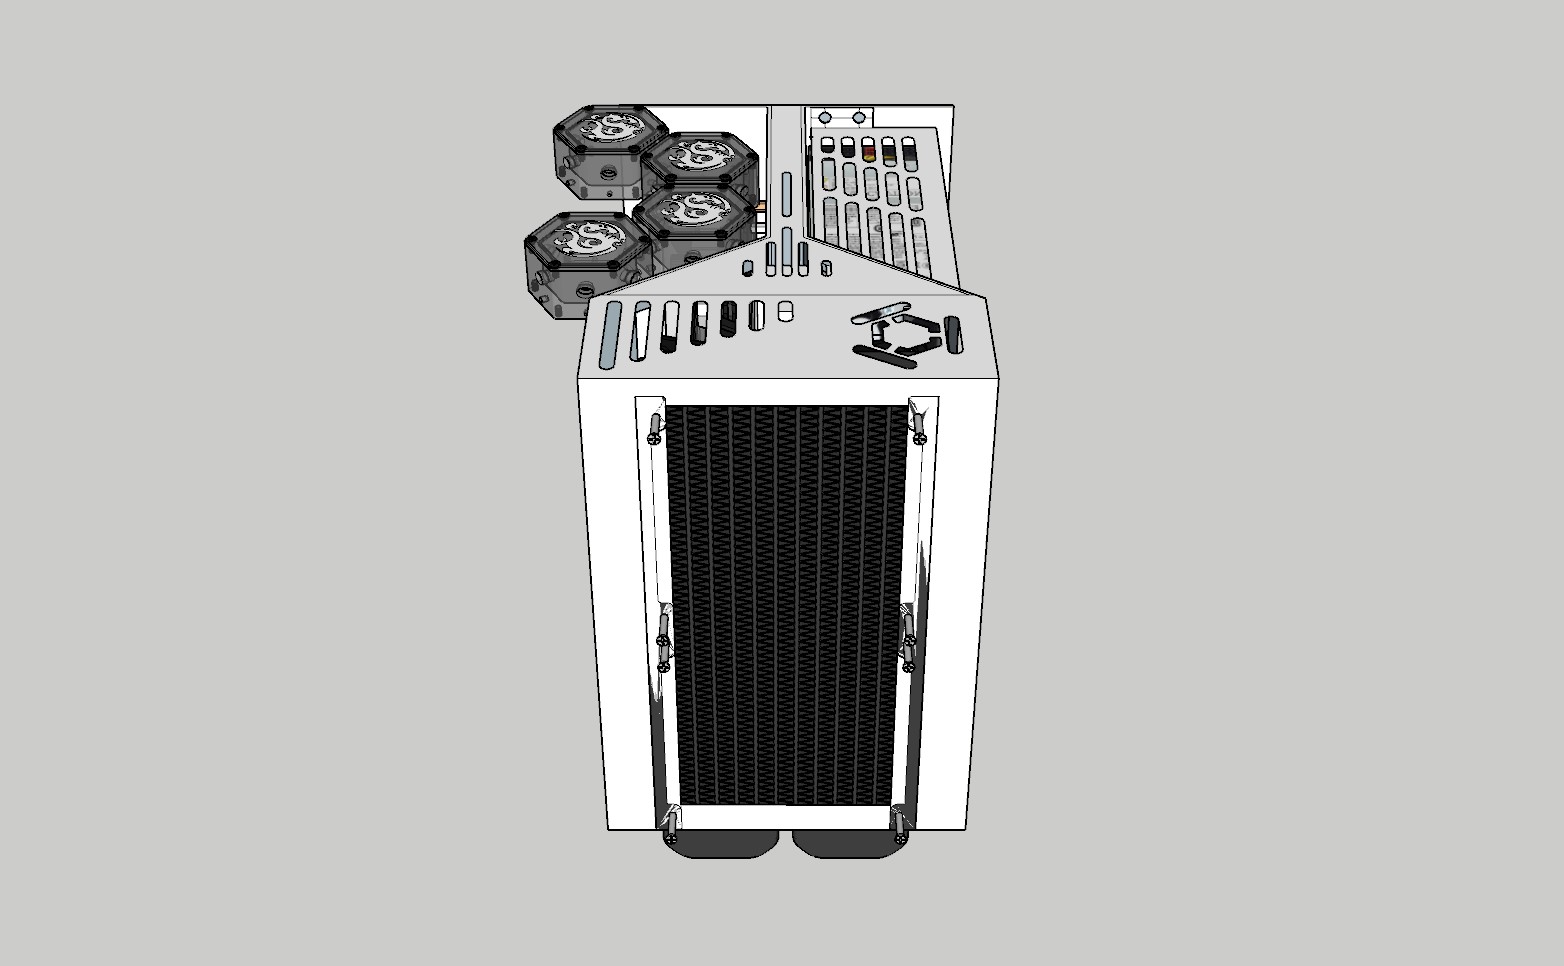
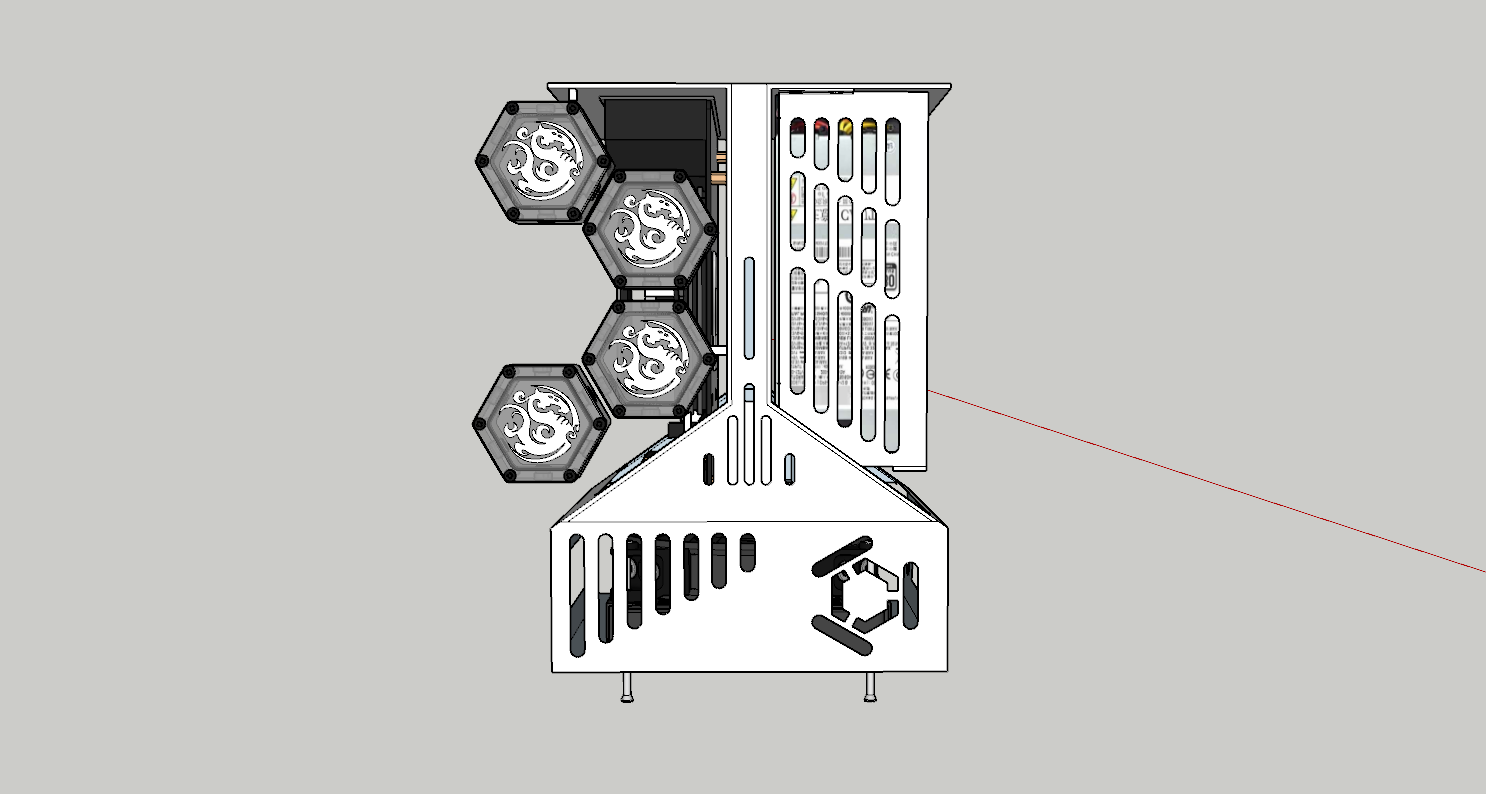
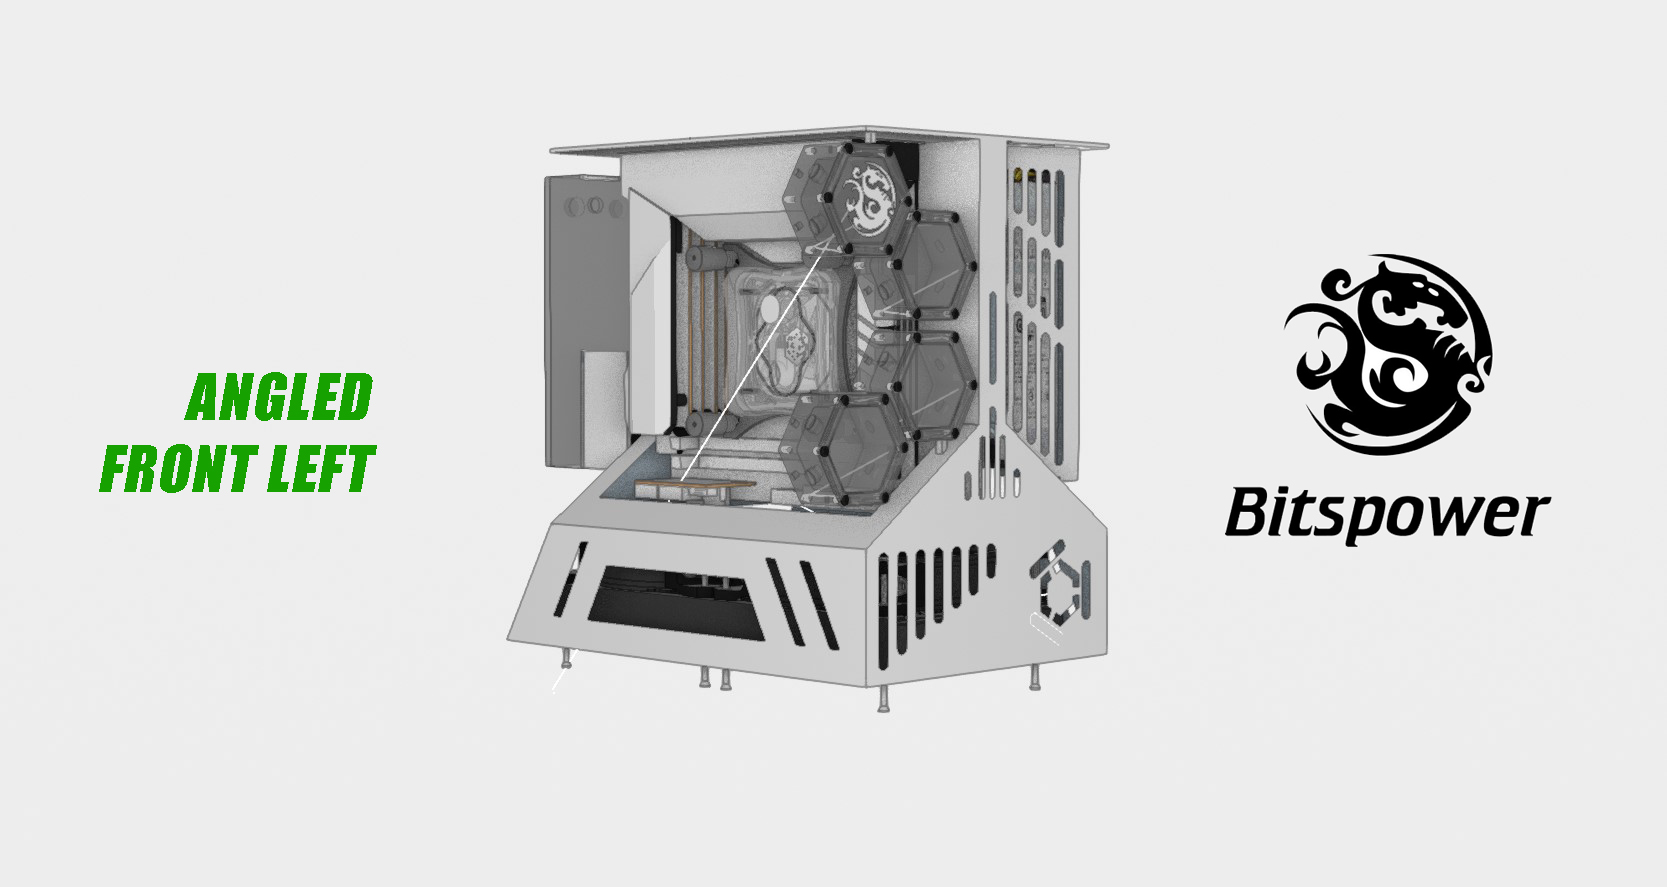
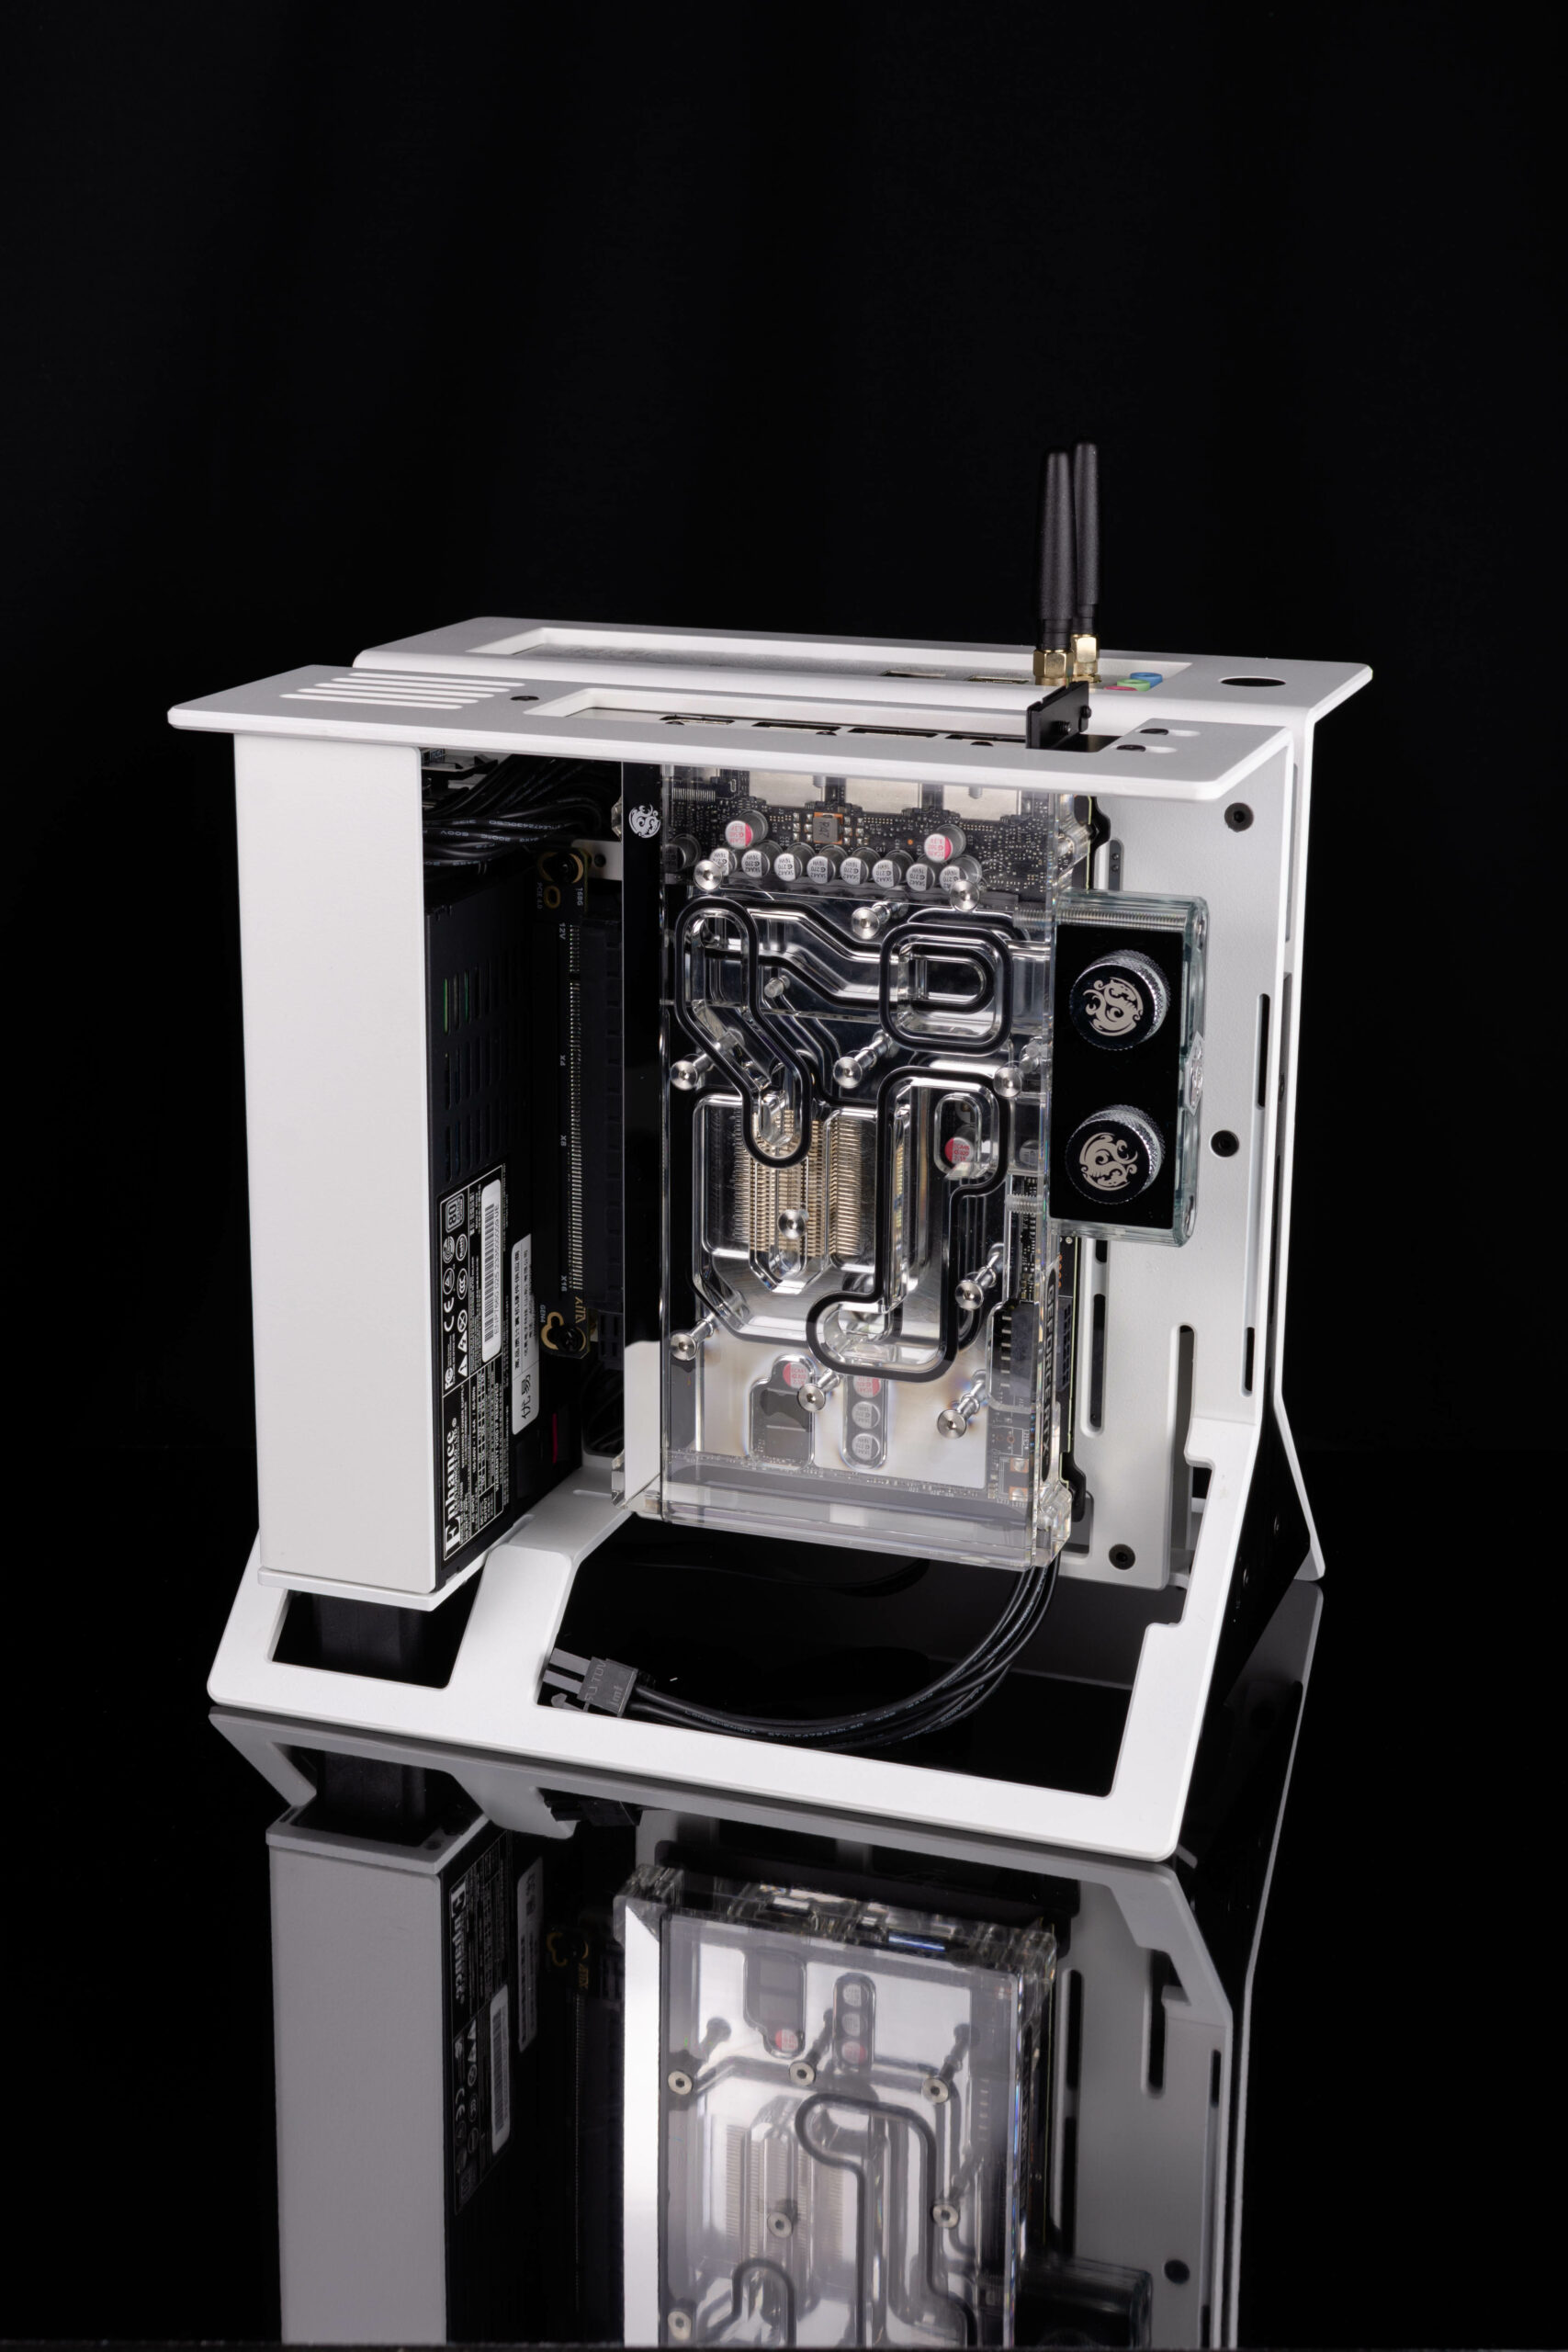
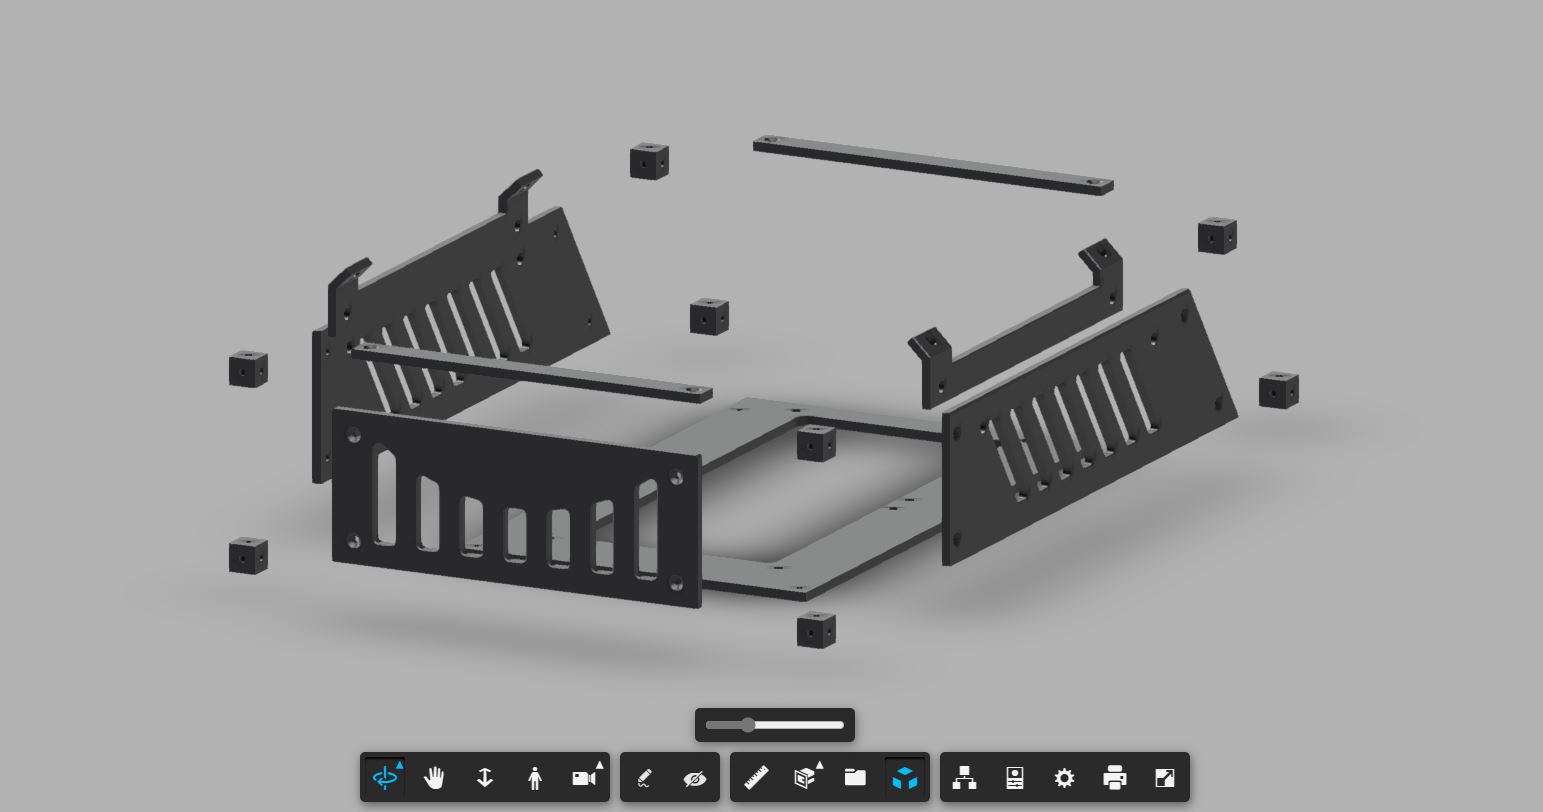
Proposed case layout - Xtia XProto Mini
My Sponsor over at Xtia has kindly sent over their XProto Mini open frame for this build. Minibotpc Projects will be expanding it’s partnerships over the next few months so stay tuned! What’s included in this bundle of joy?
Xtia XProto Mini Frame
Xtia Fan Bracket
Xtia SFX PSU Bracket
Enhance 7660B 600w PSU
Custom Cable kit
JHH4.0 Riser Cable
Mesh Panelling
This complete kit ensures full flexibility for the build to allow for any iteration or design imagined throughout this project while being without a doubt one of the smallest cases i’ve worked on thus far. With the aid of 3D printing and local fabrication works, i aim to create something that is both compact and original. With its small size, this could also prove to be a great LAN party system depending on the final weight… when we’re done.
Further Ideas…
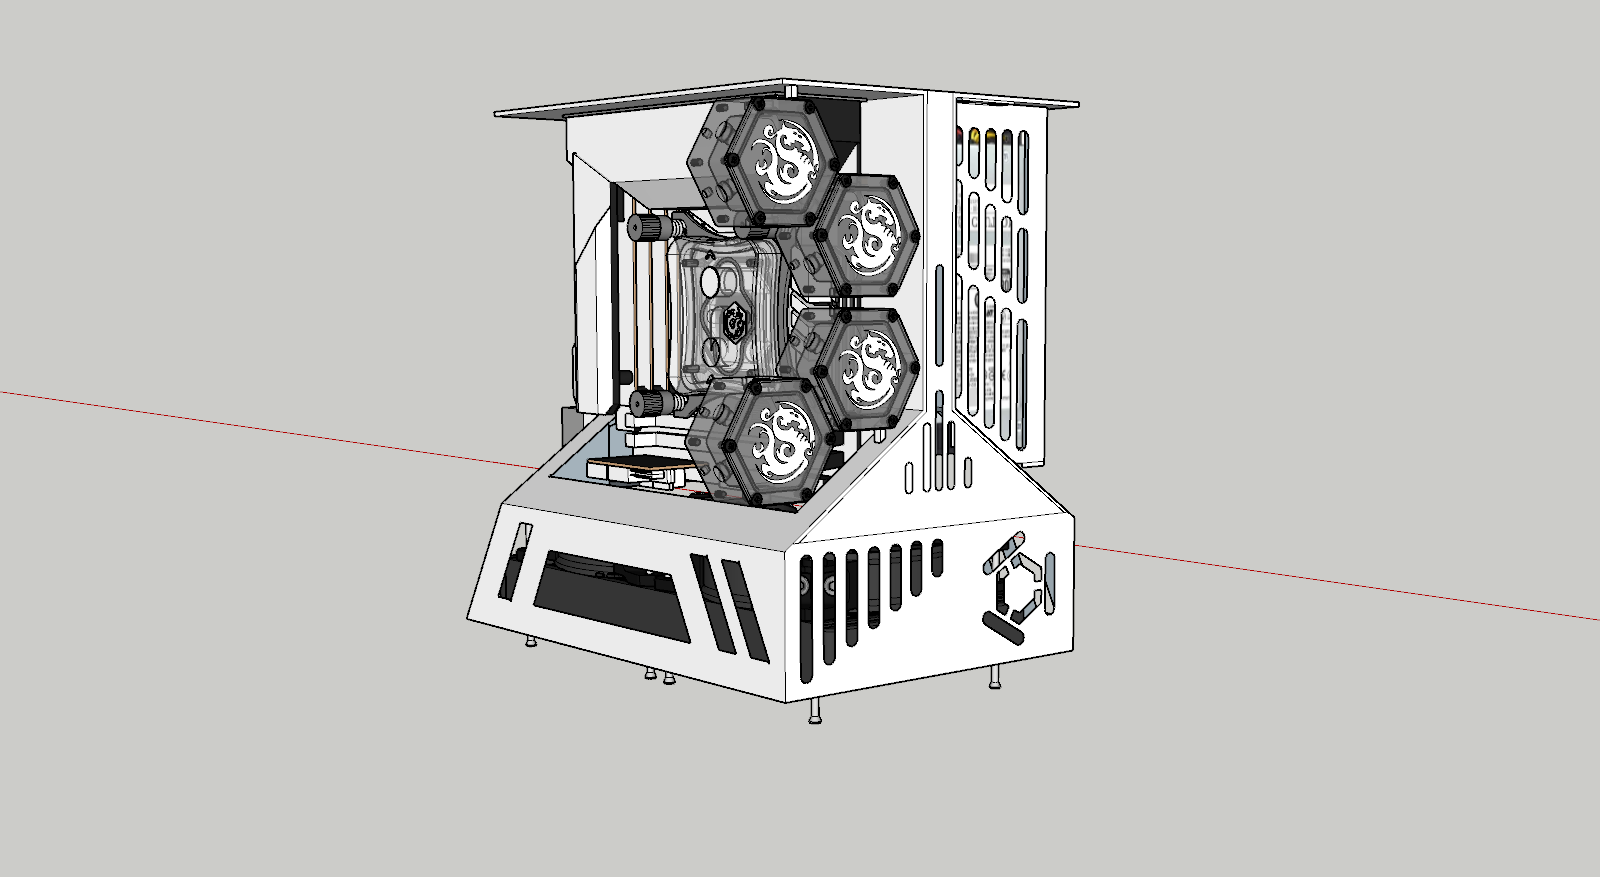
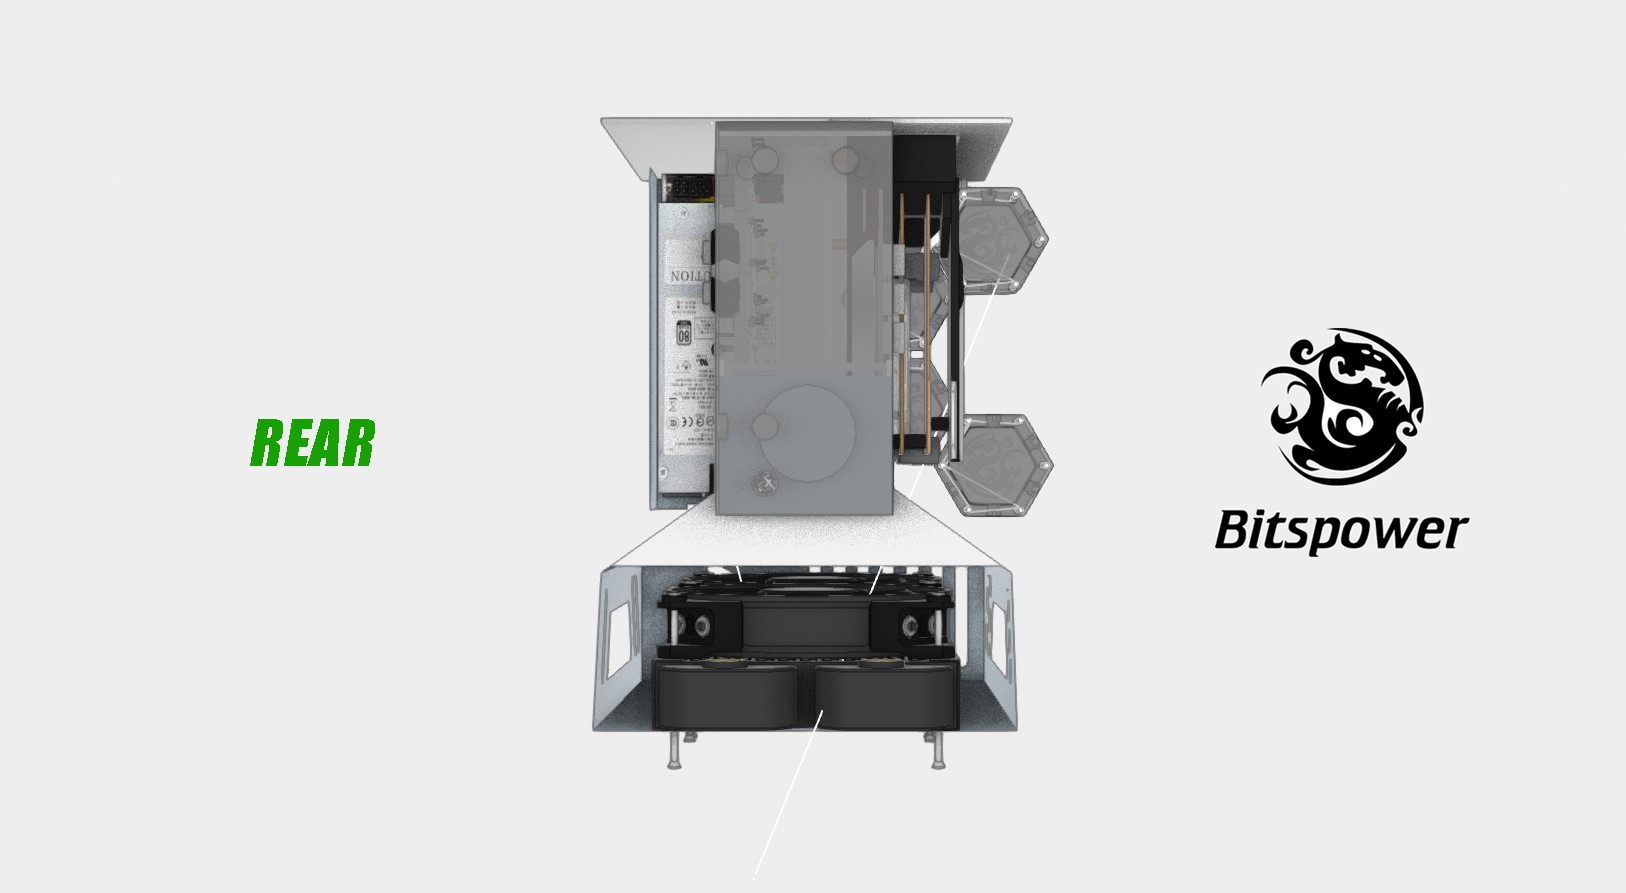
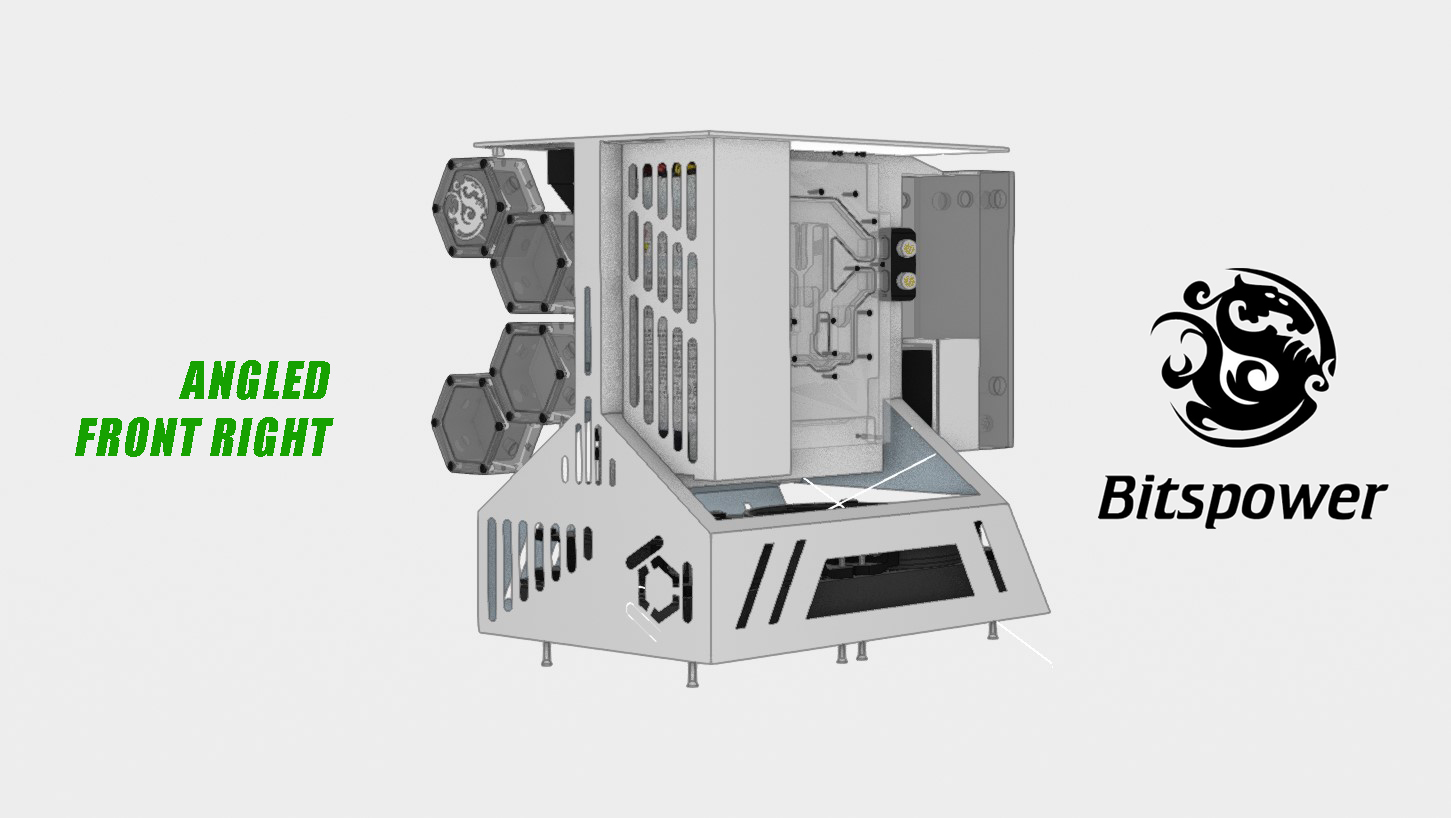
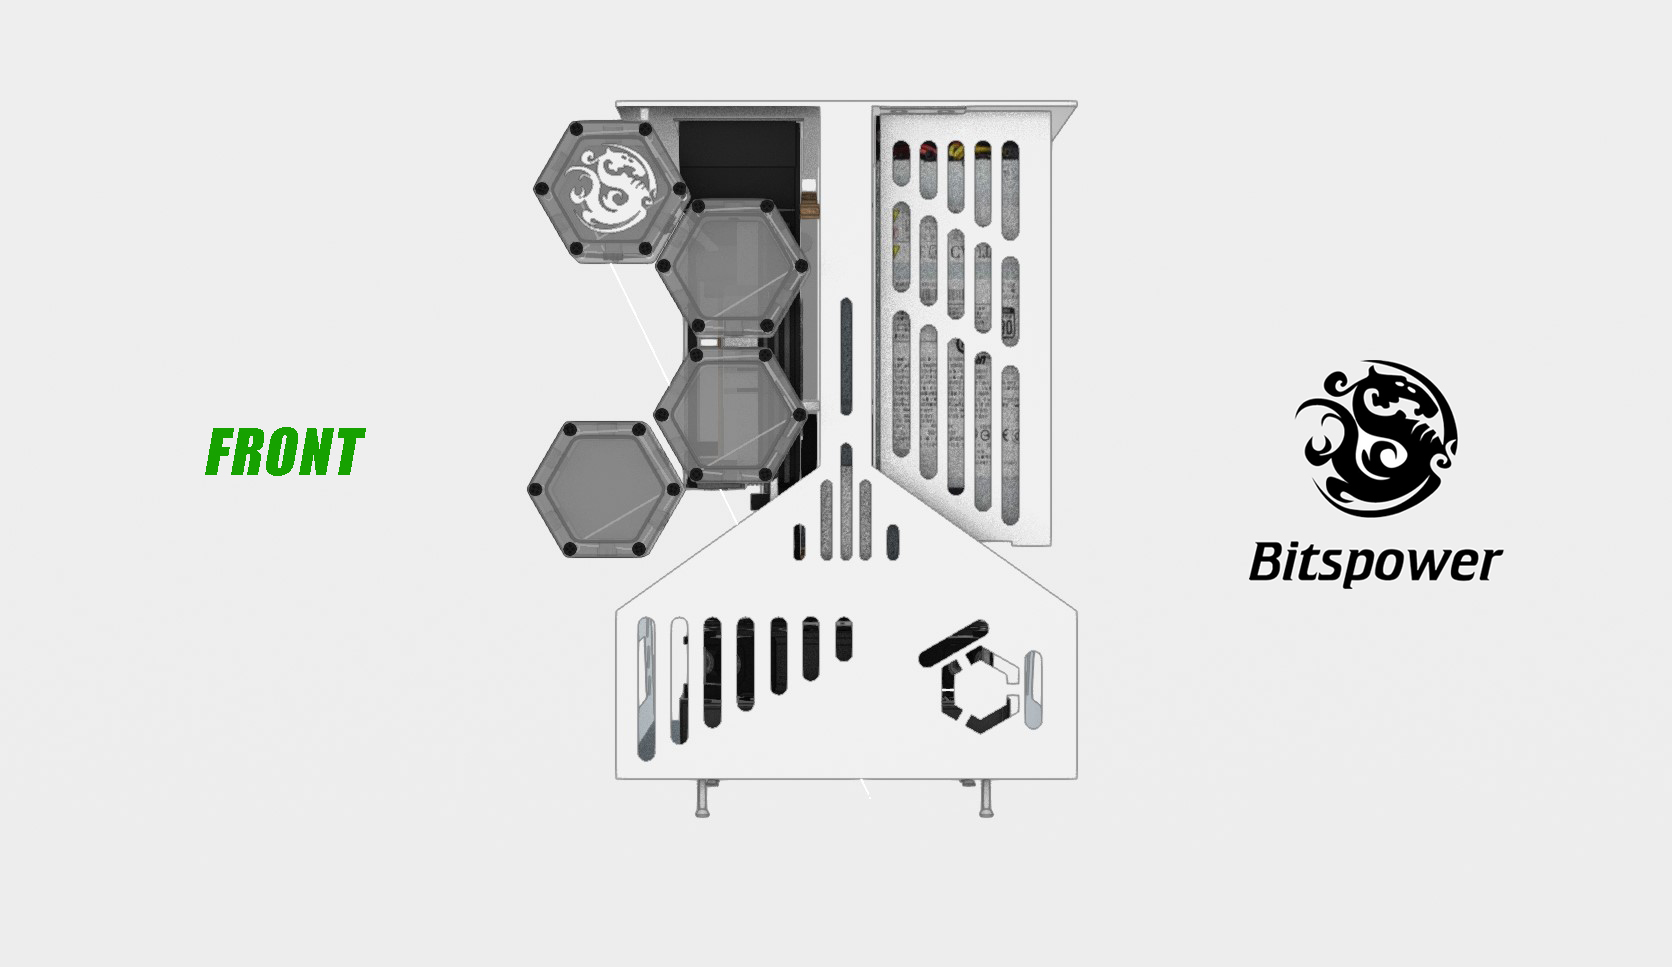
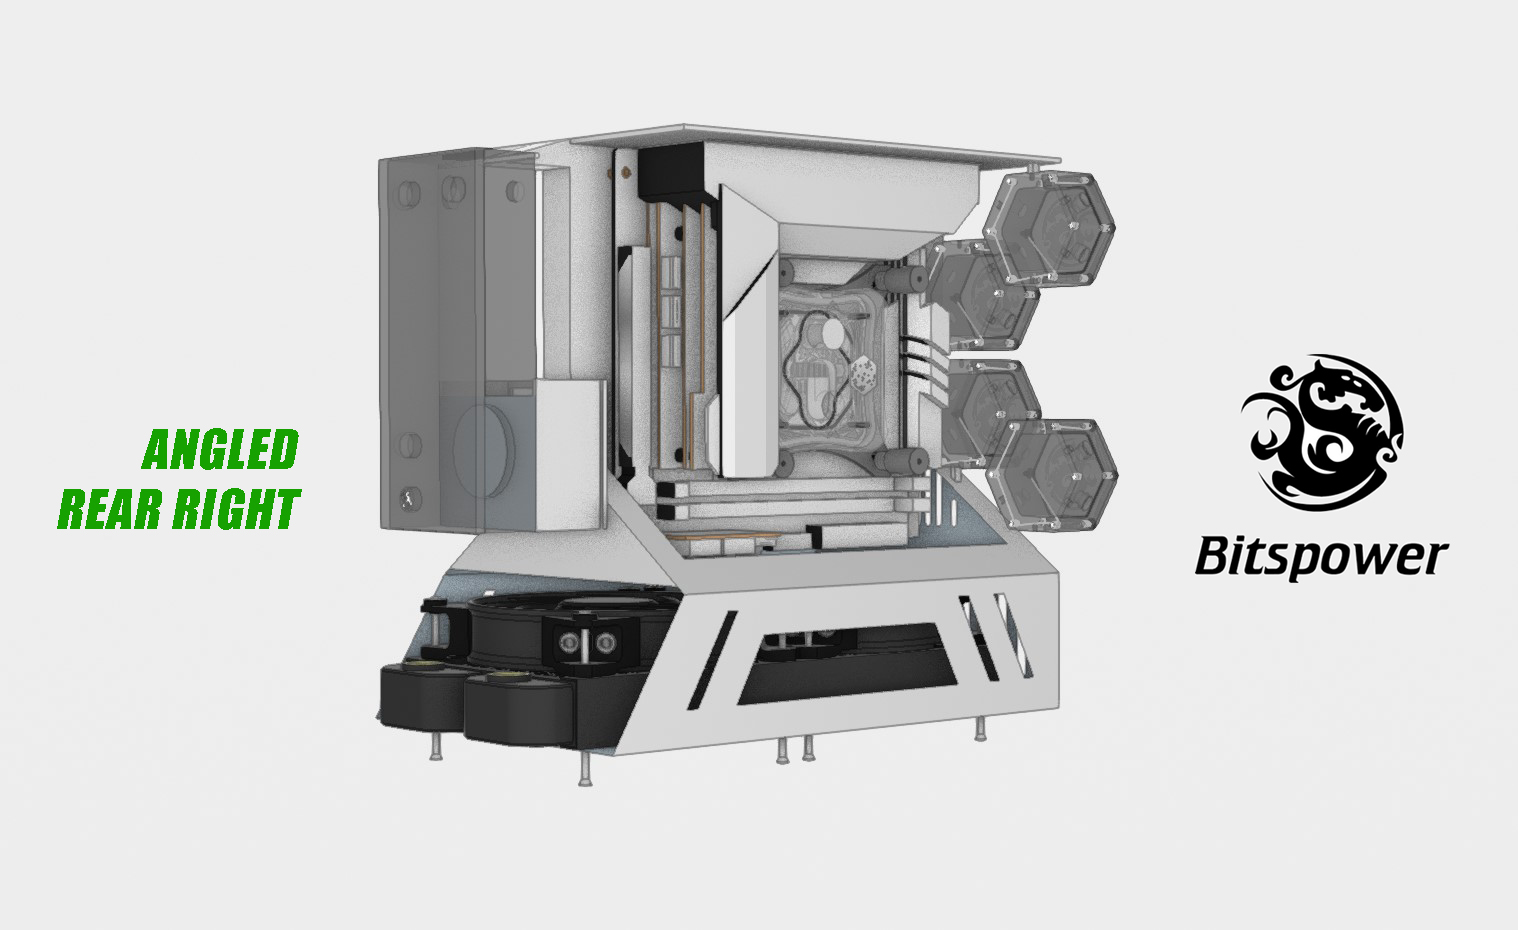
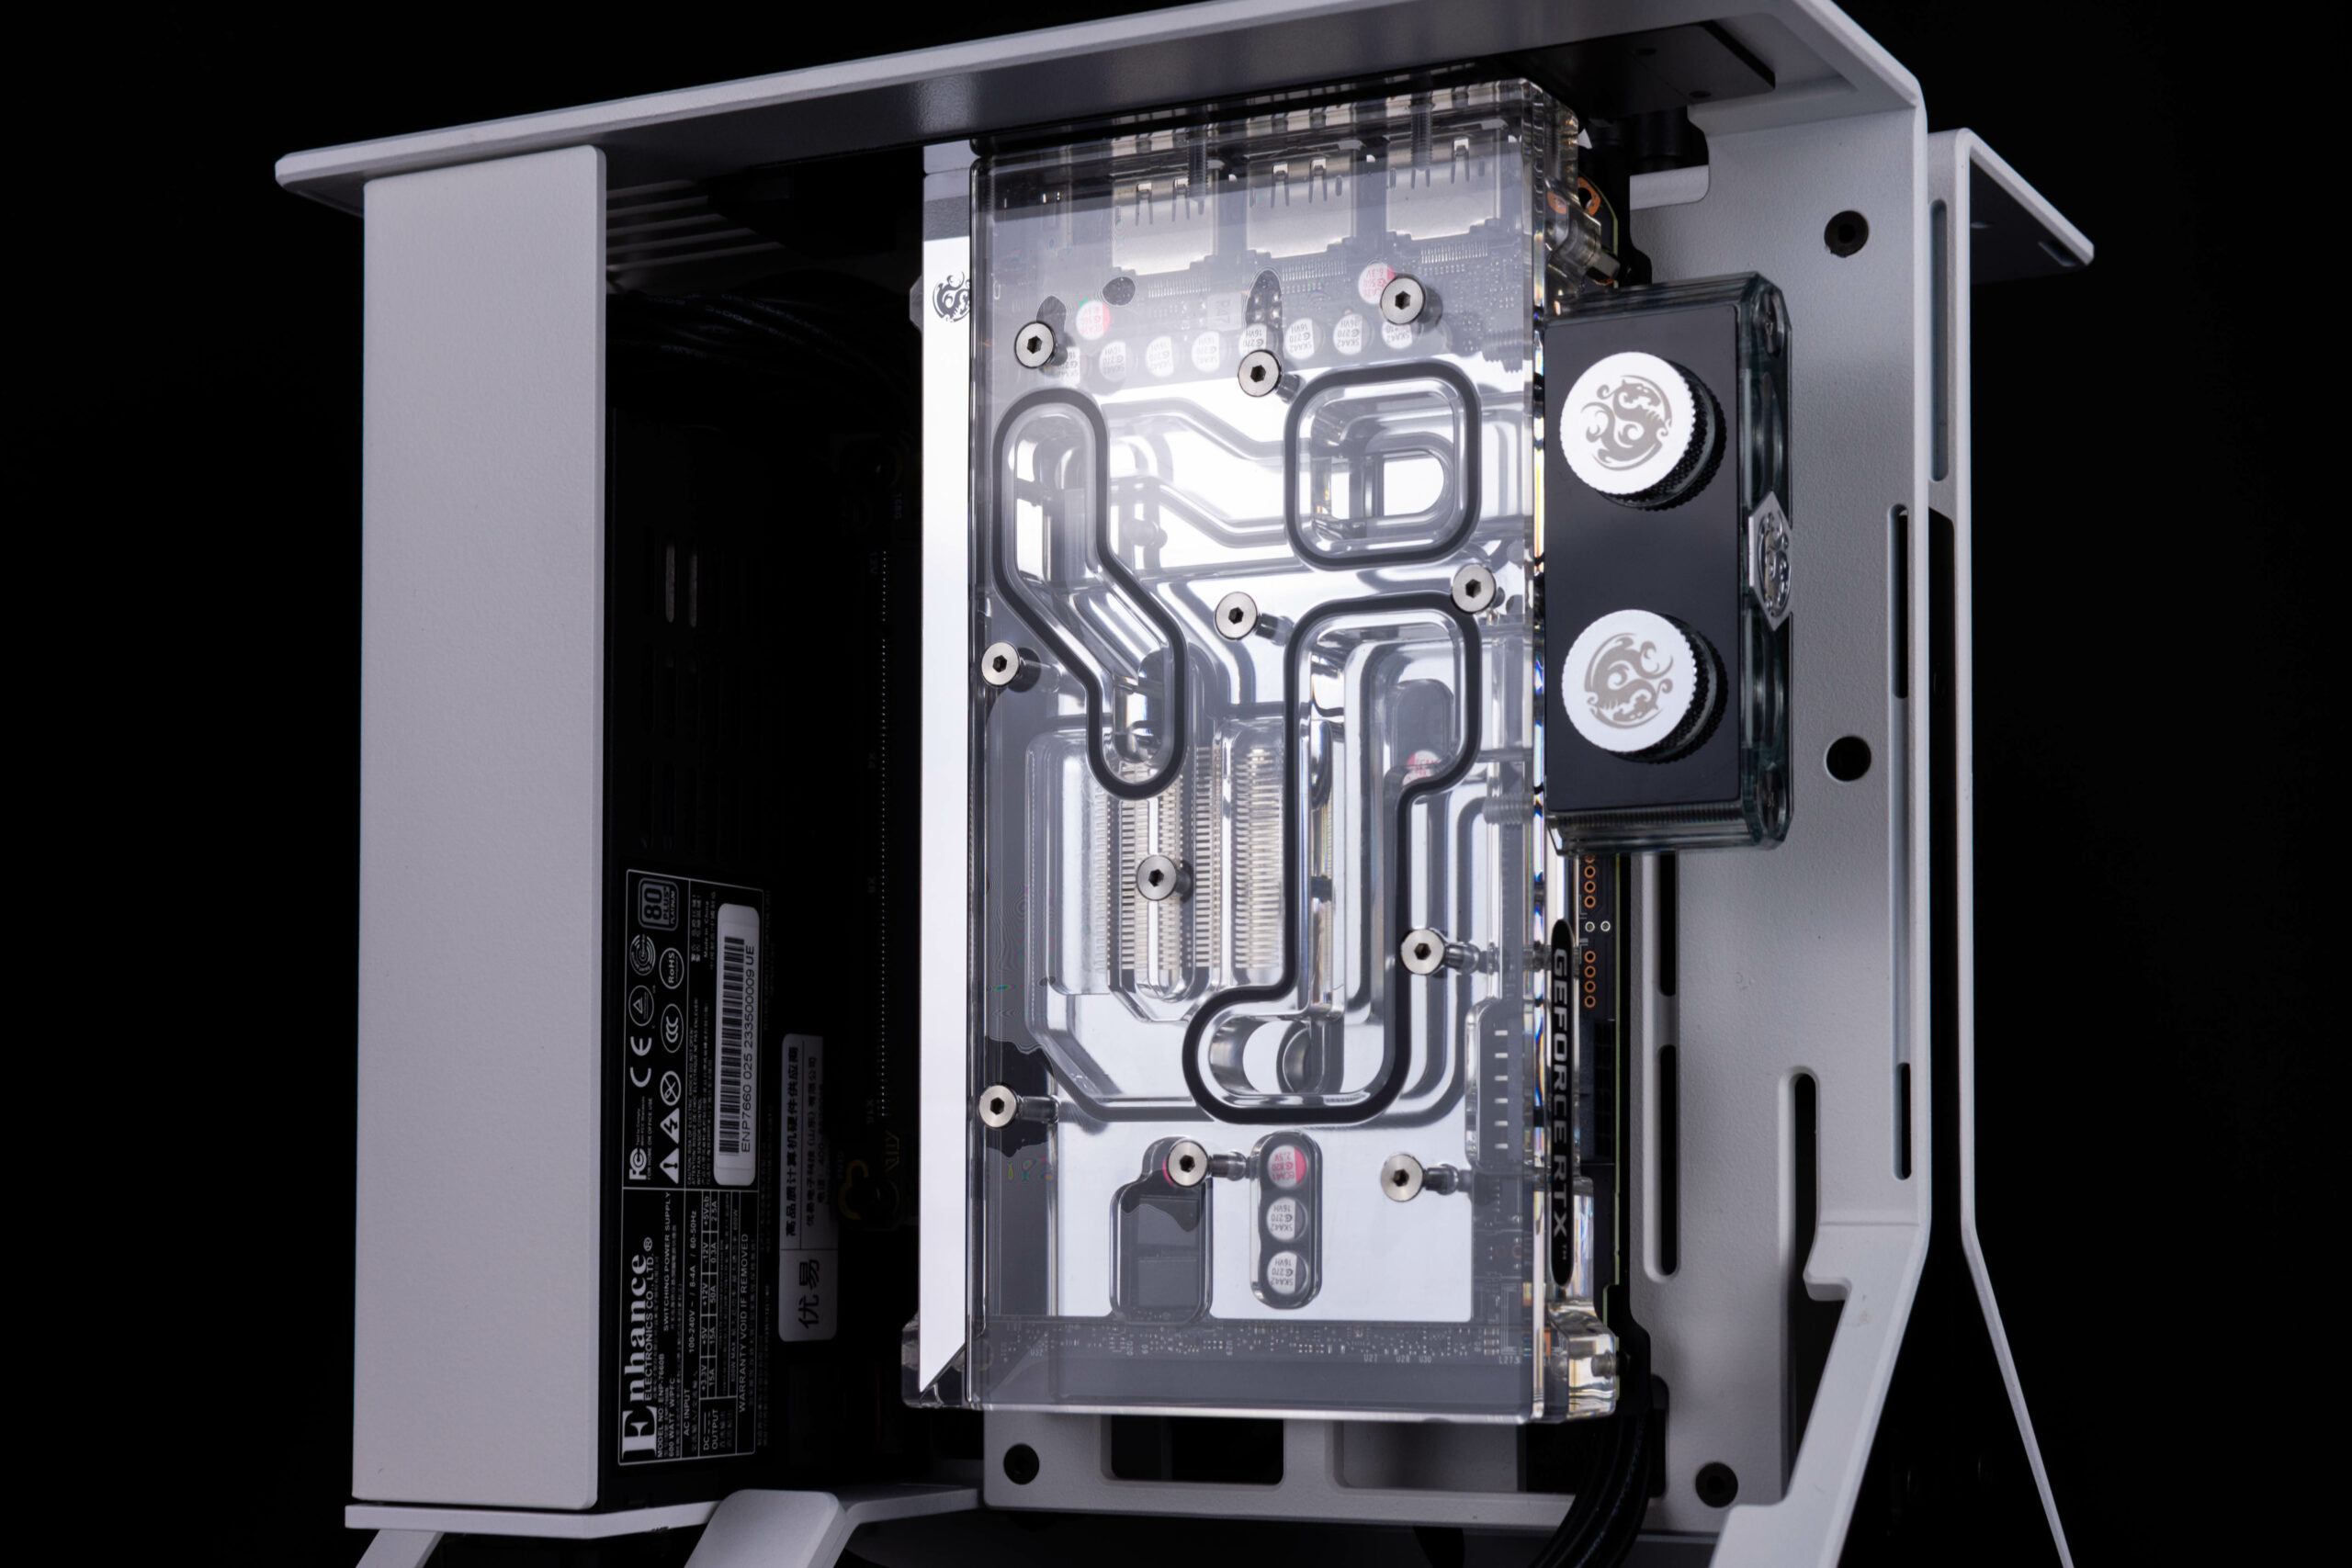
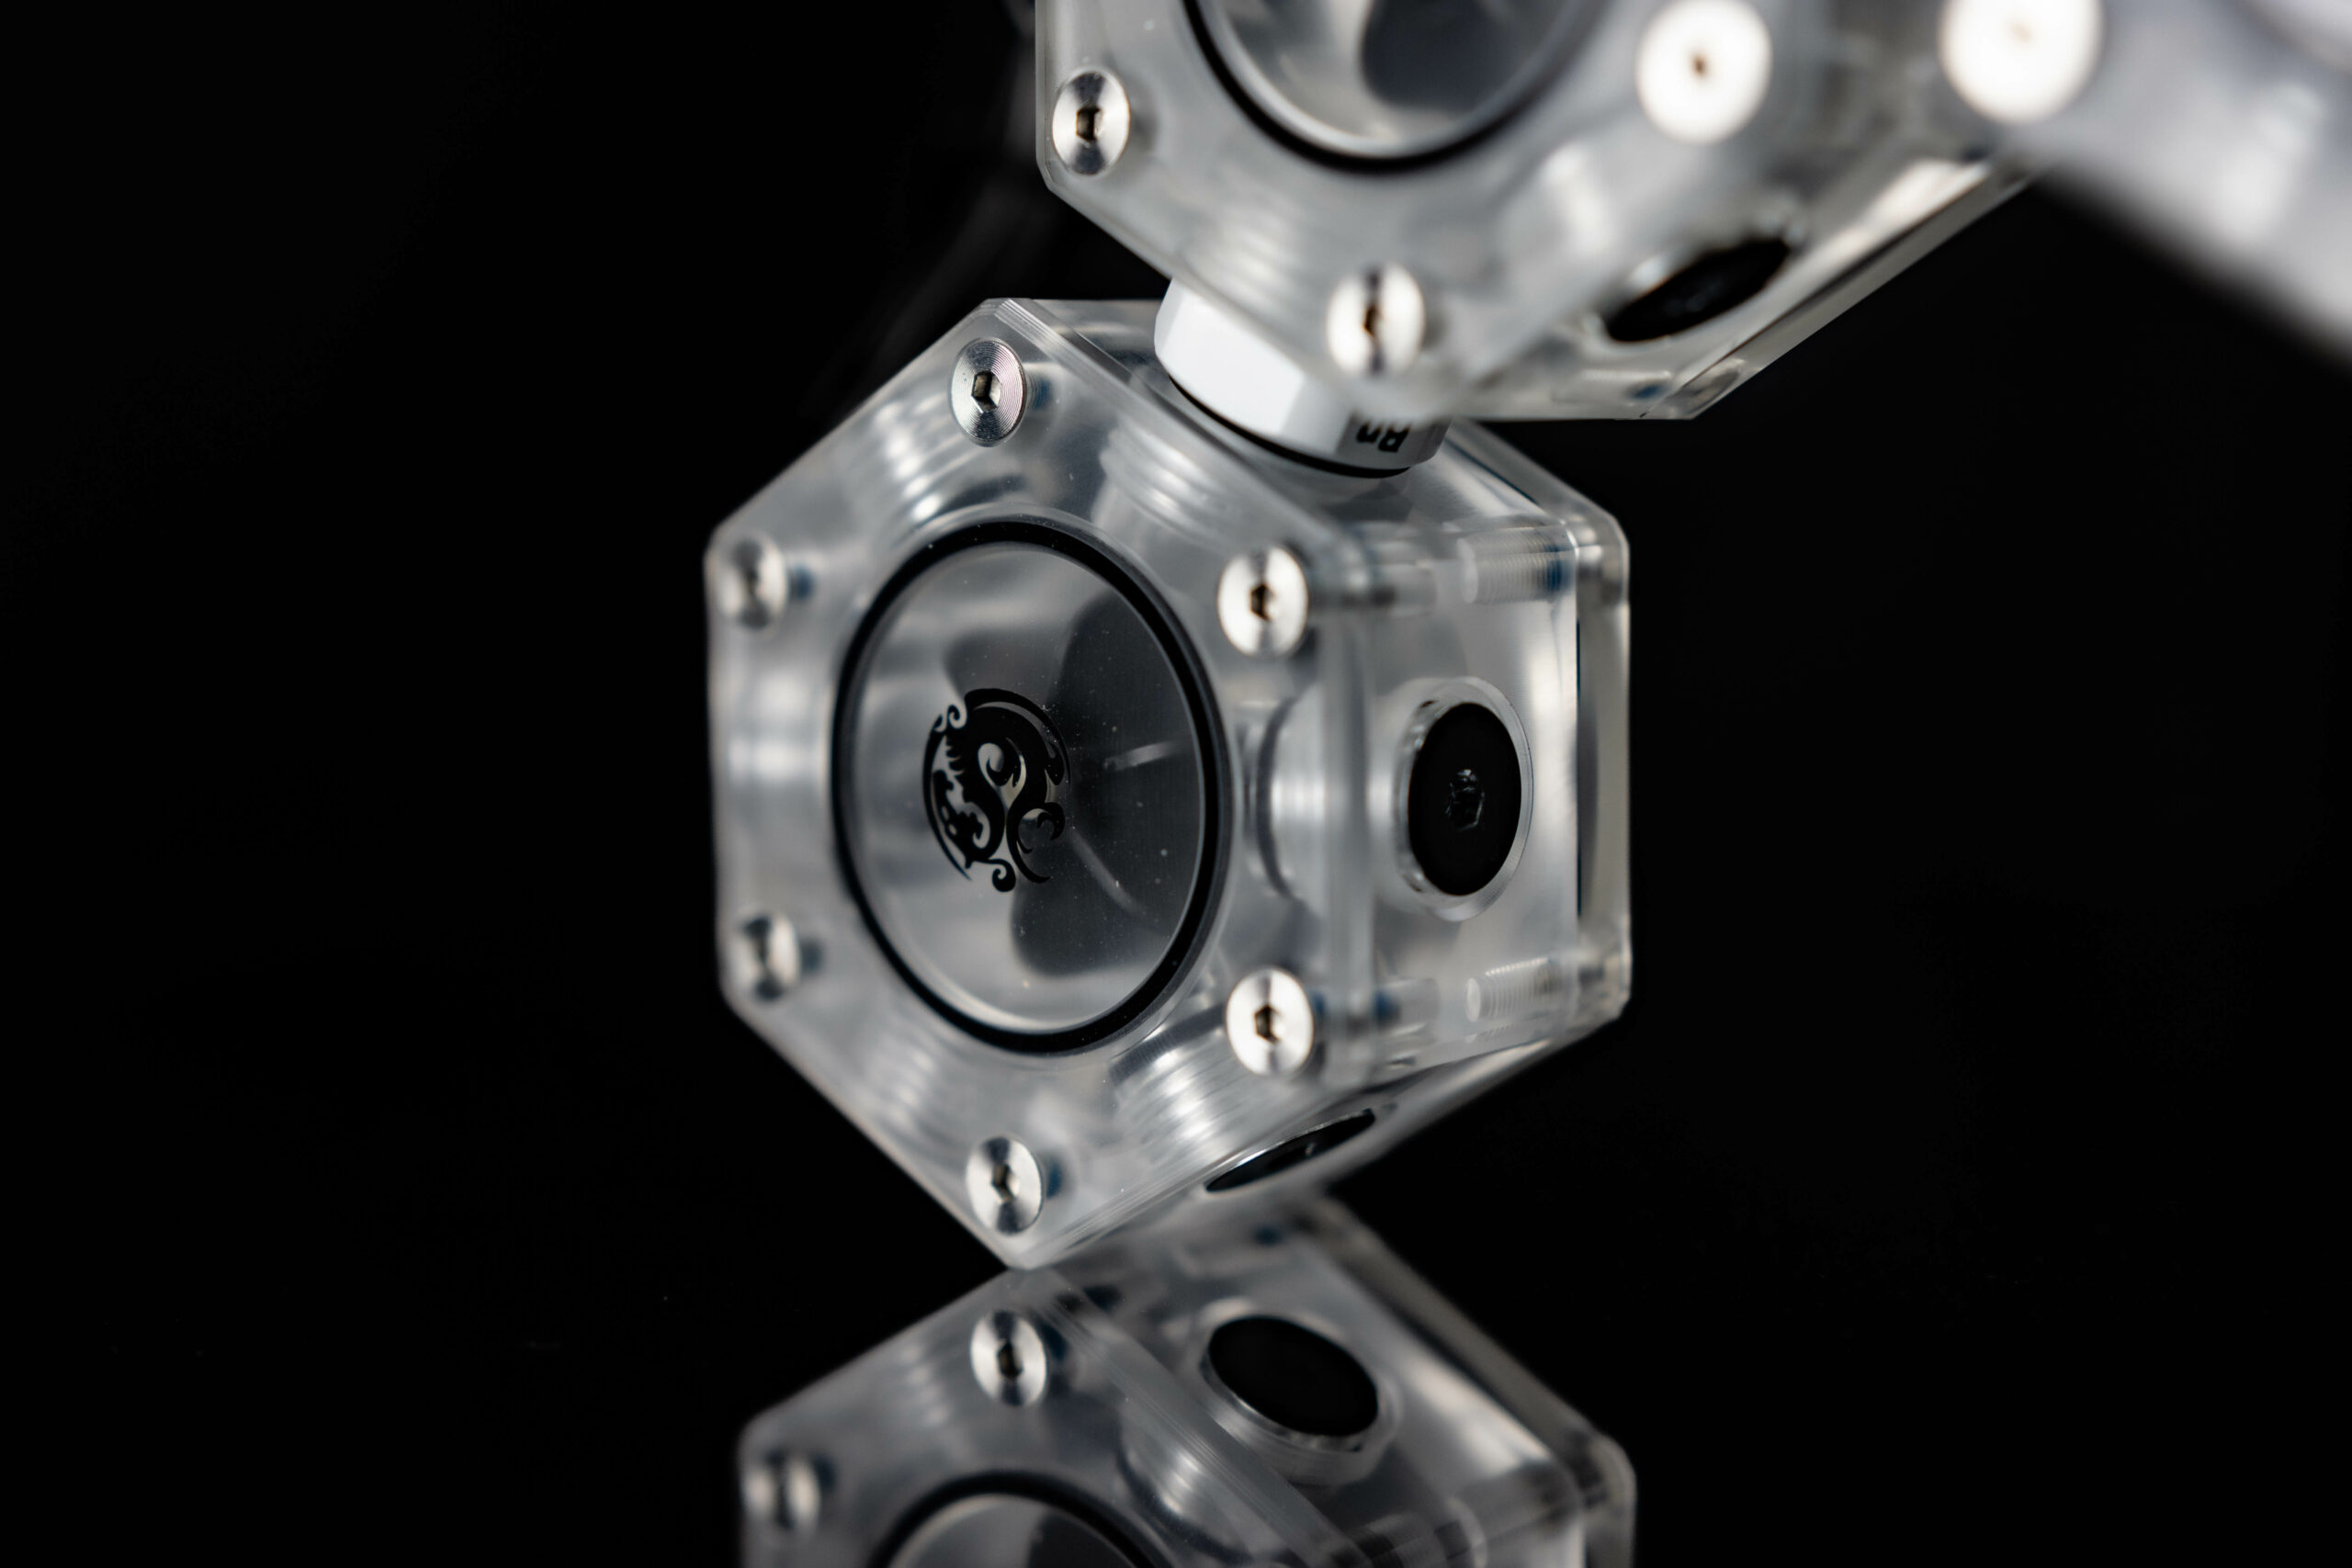
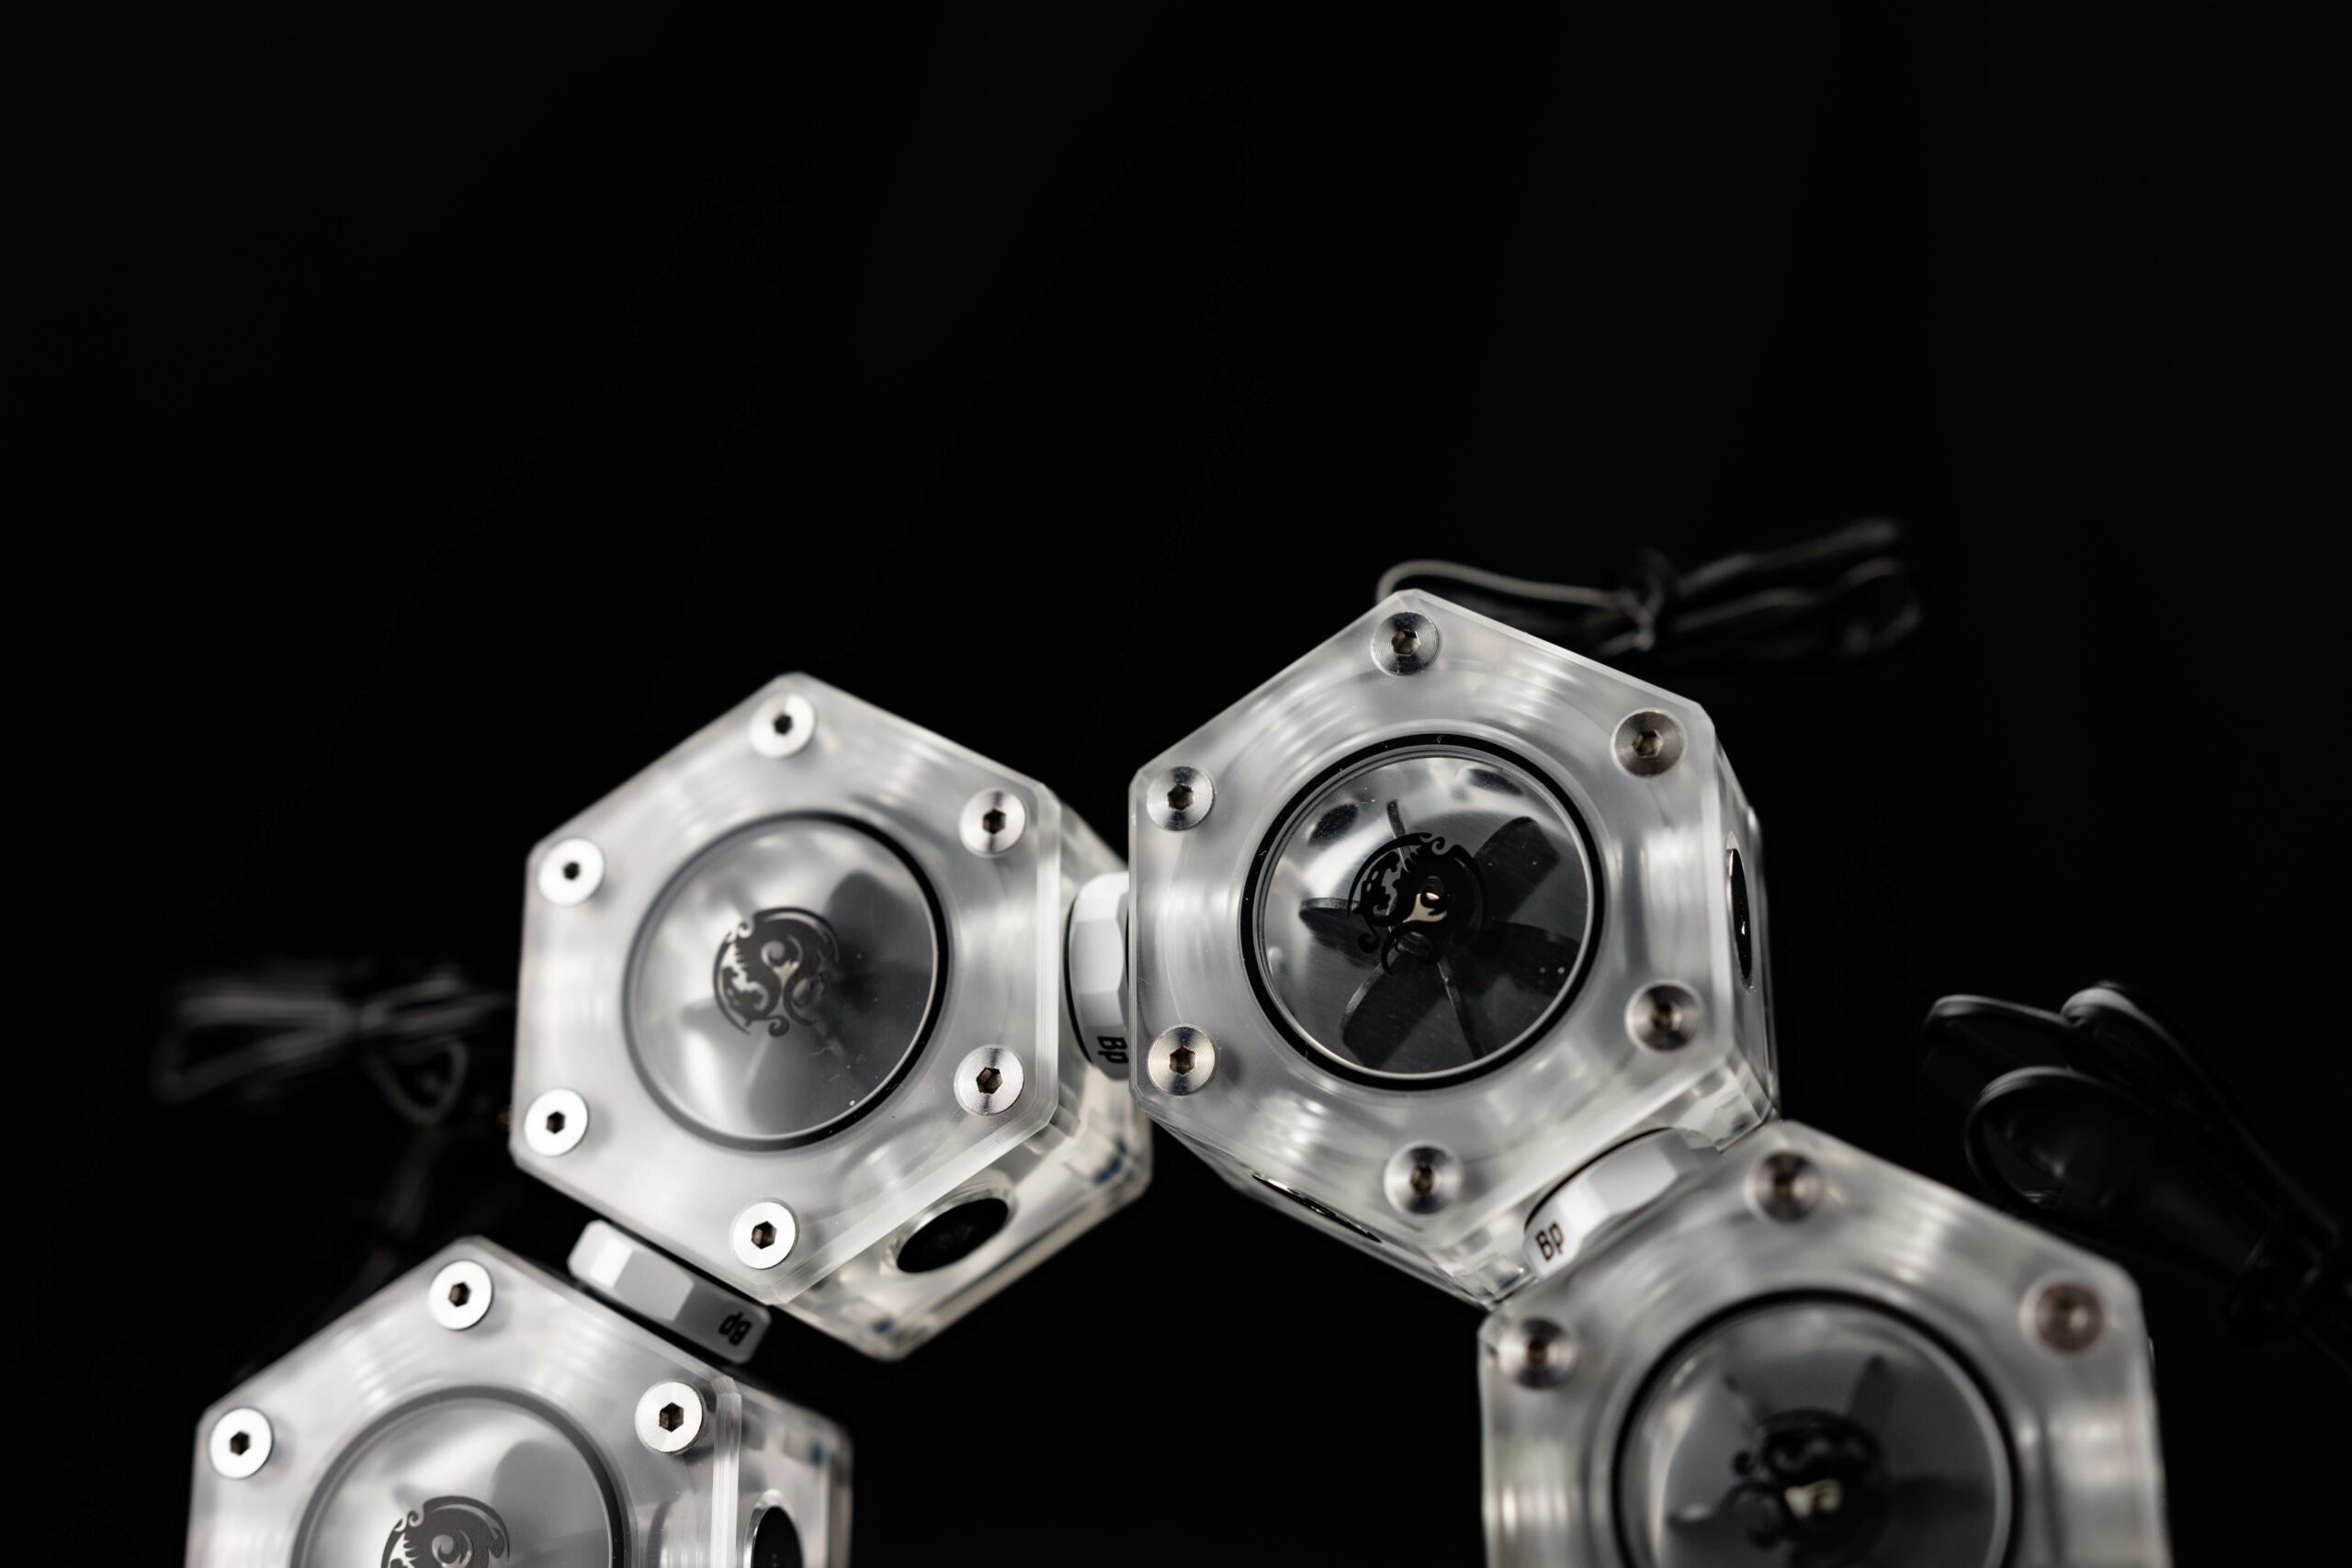
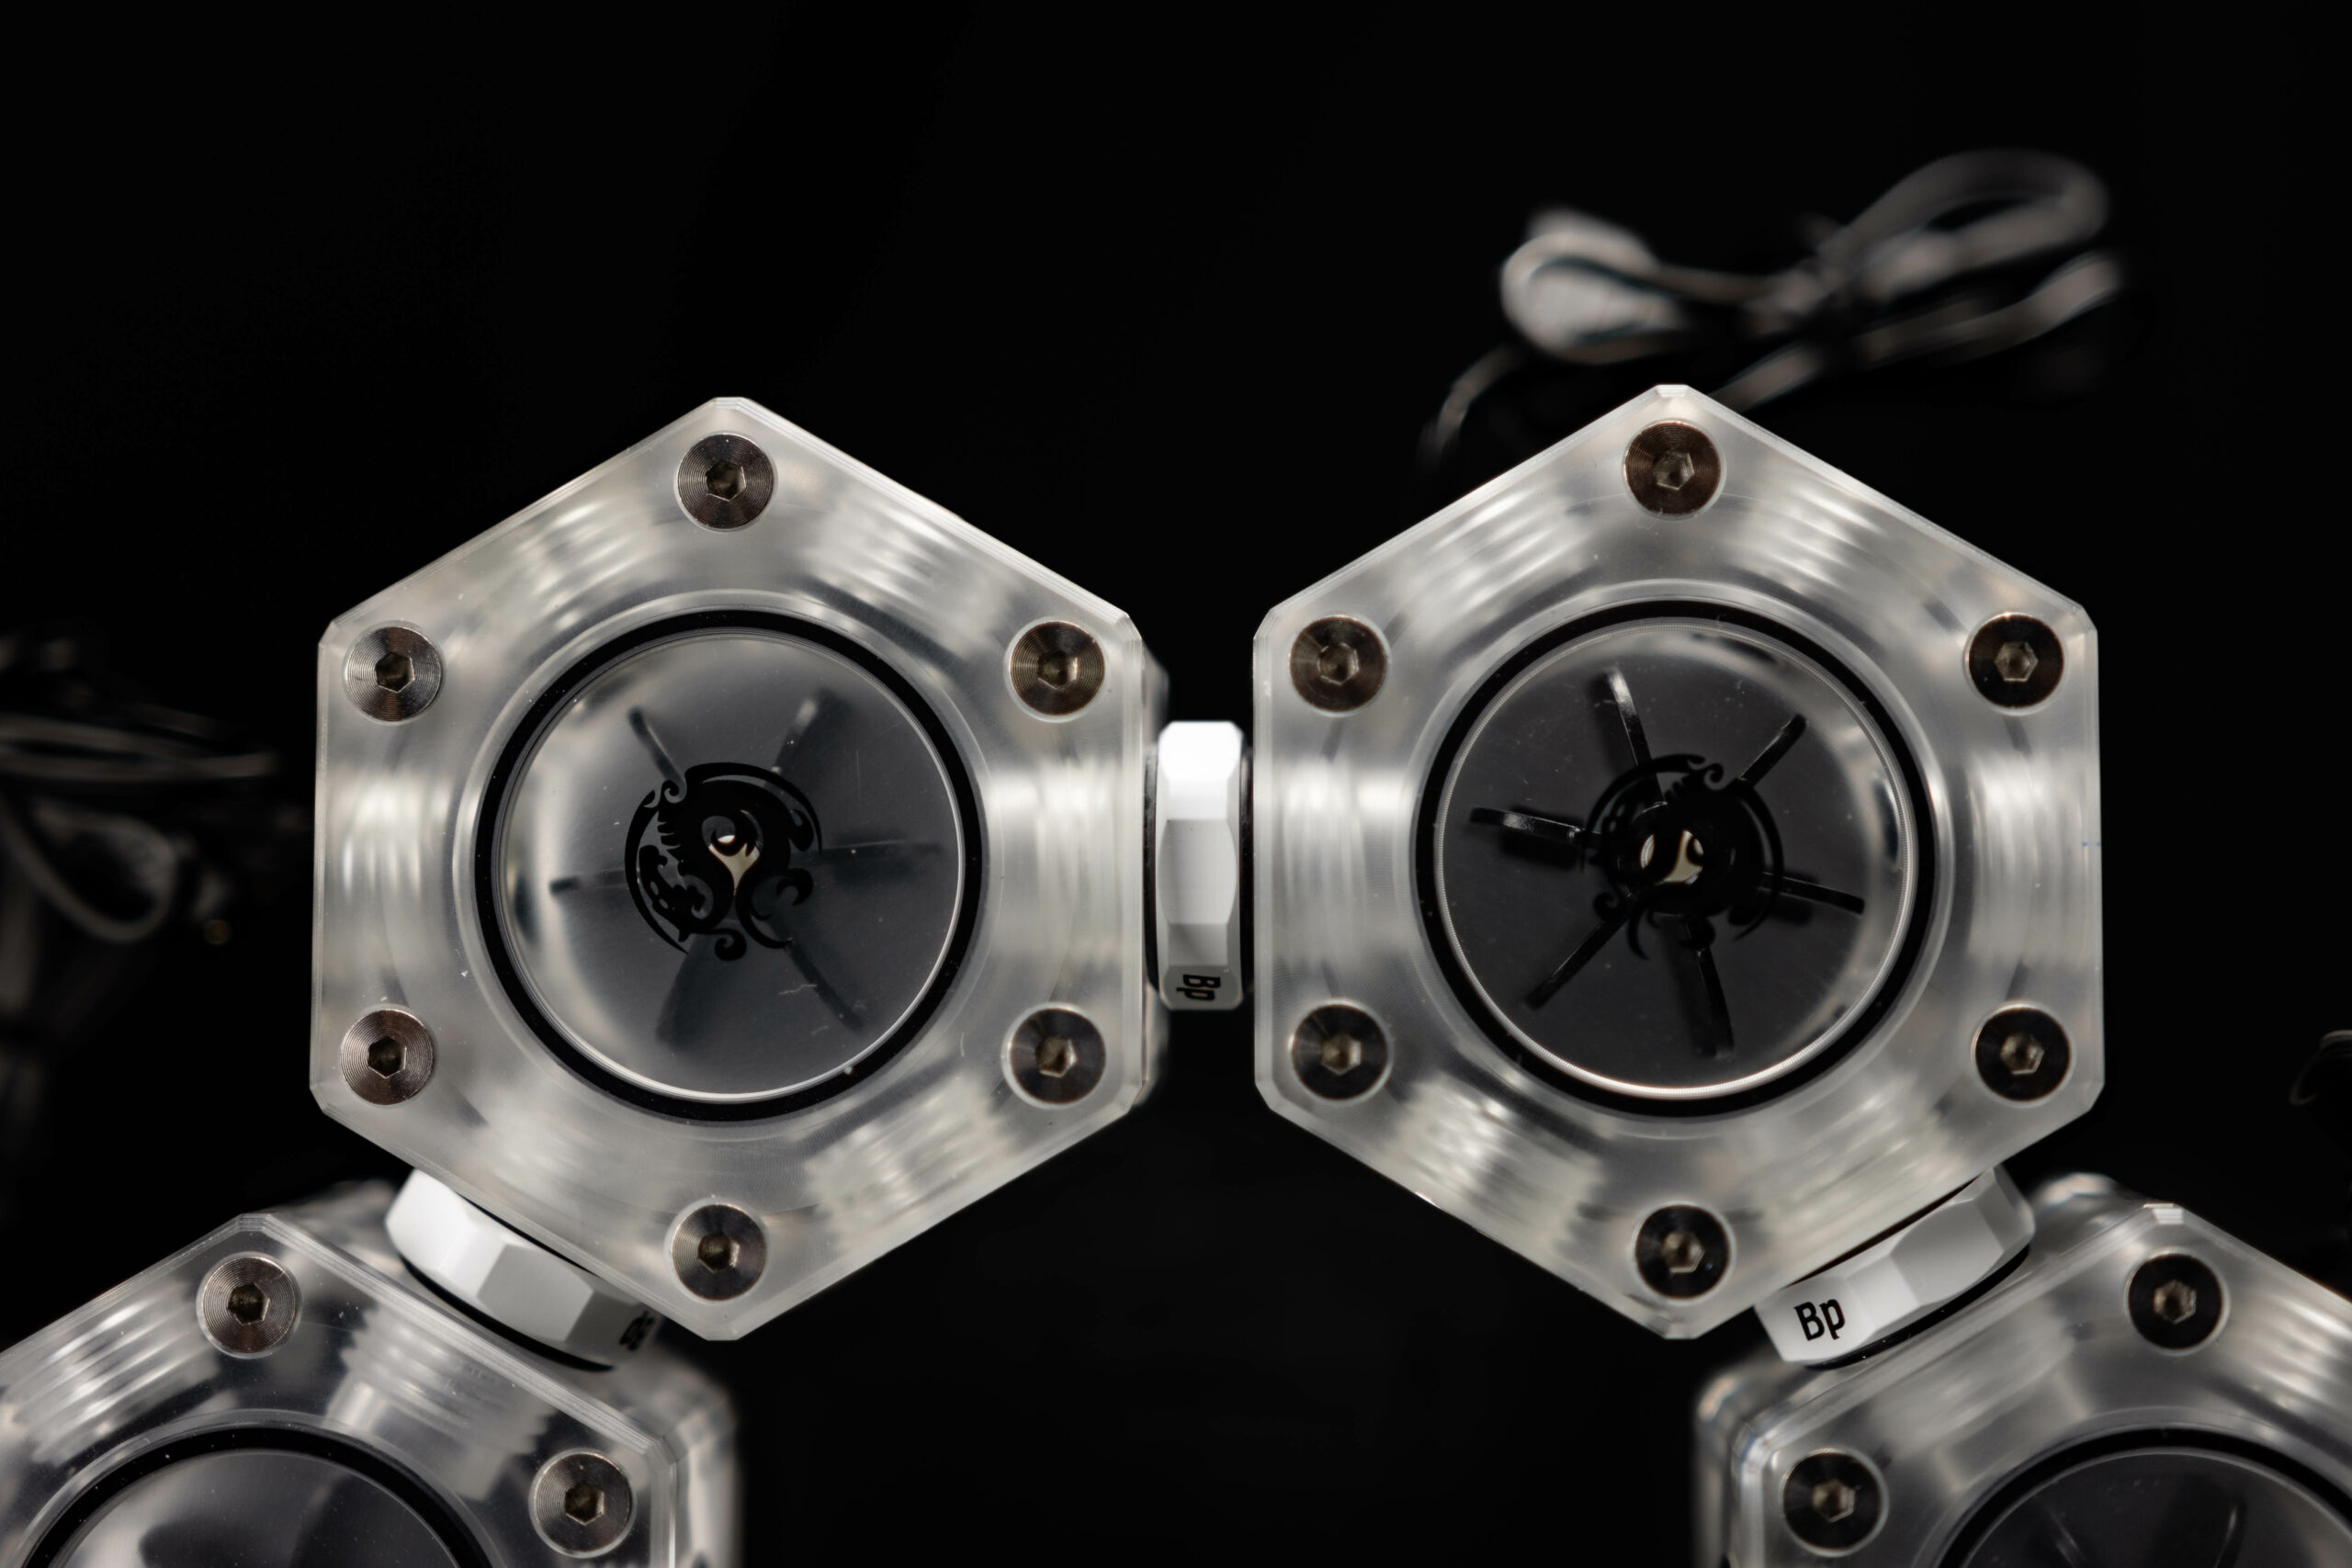
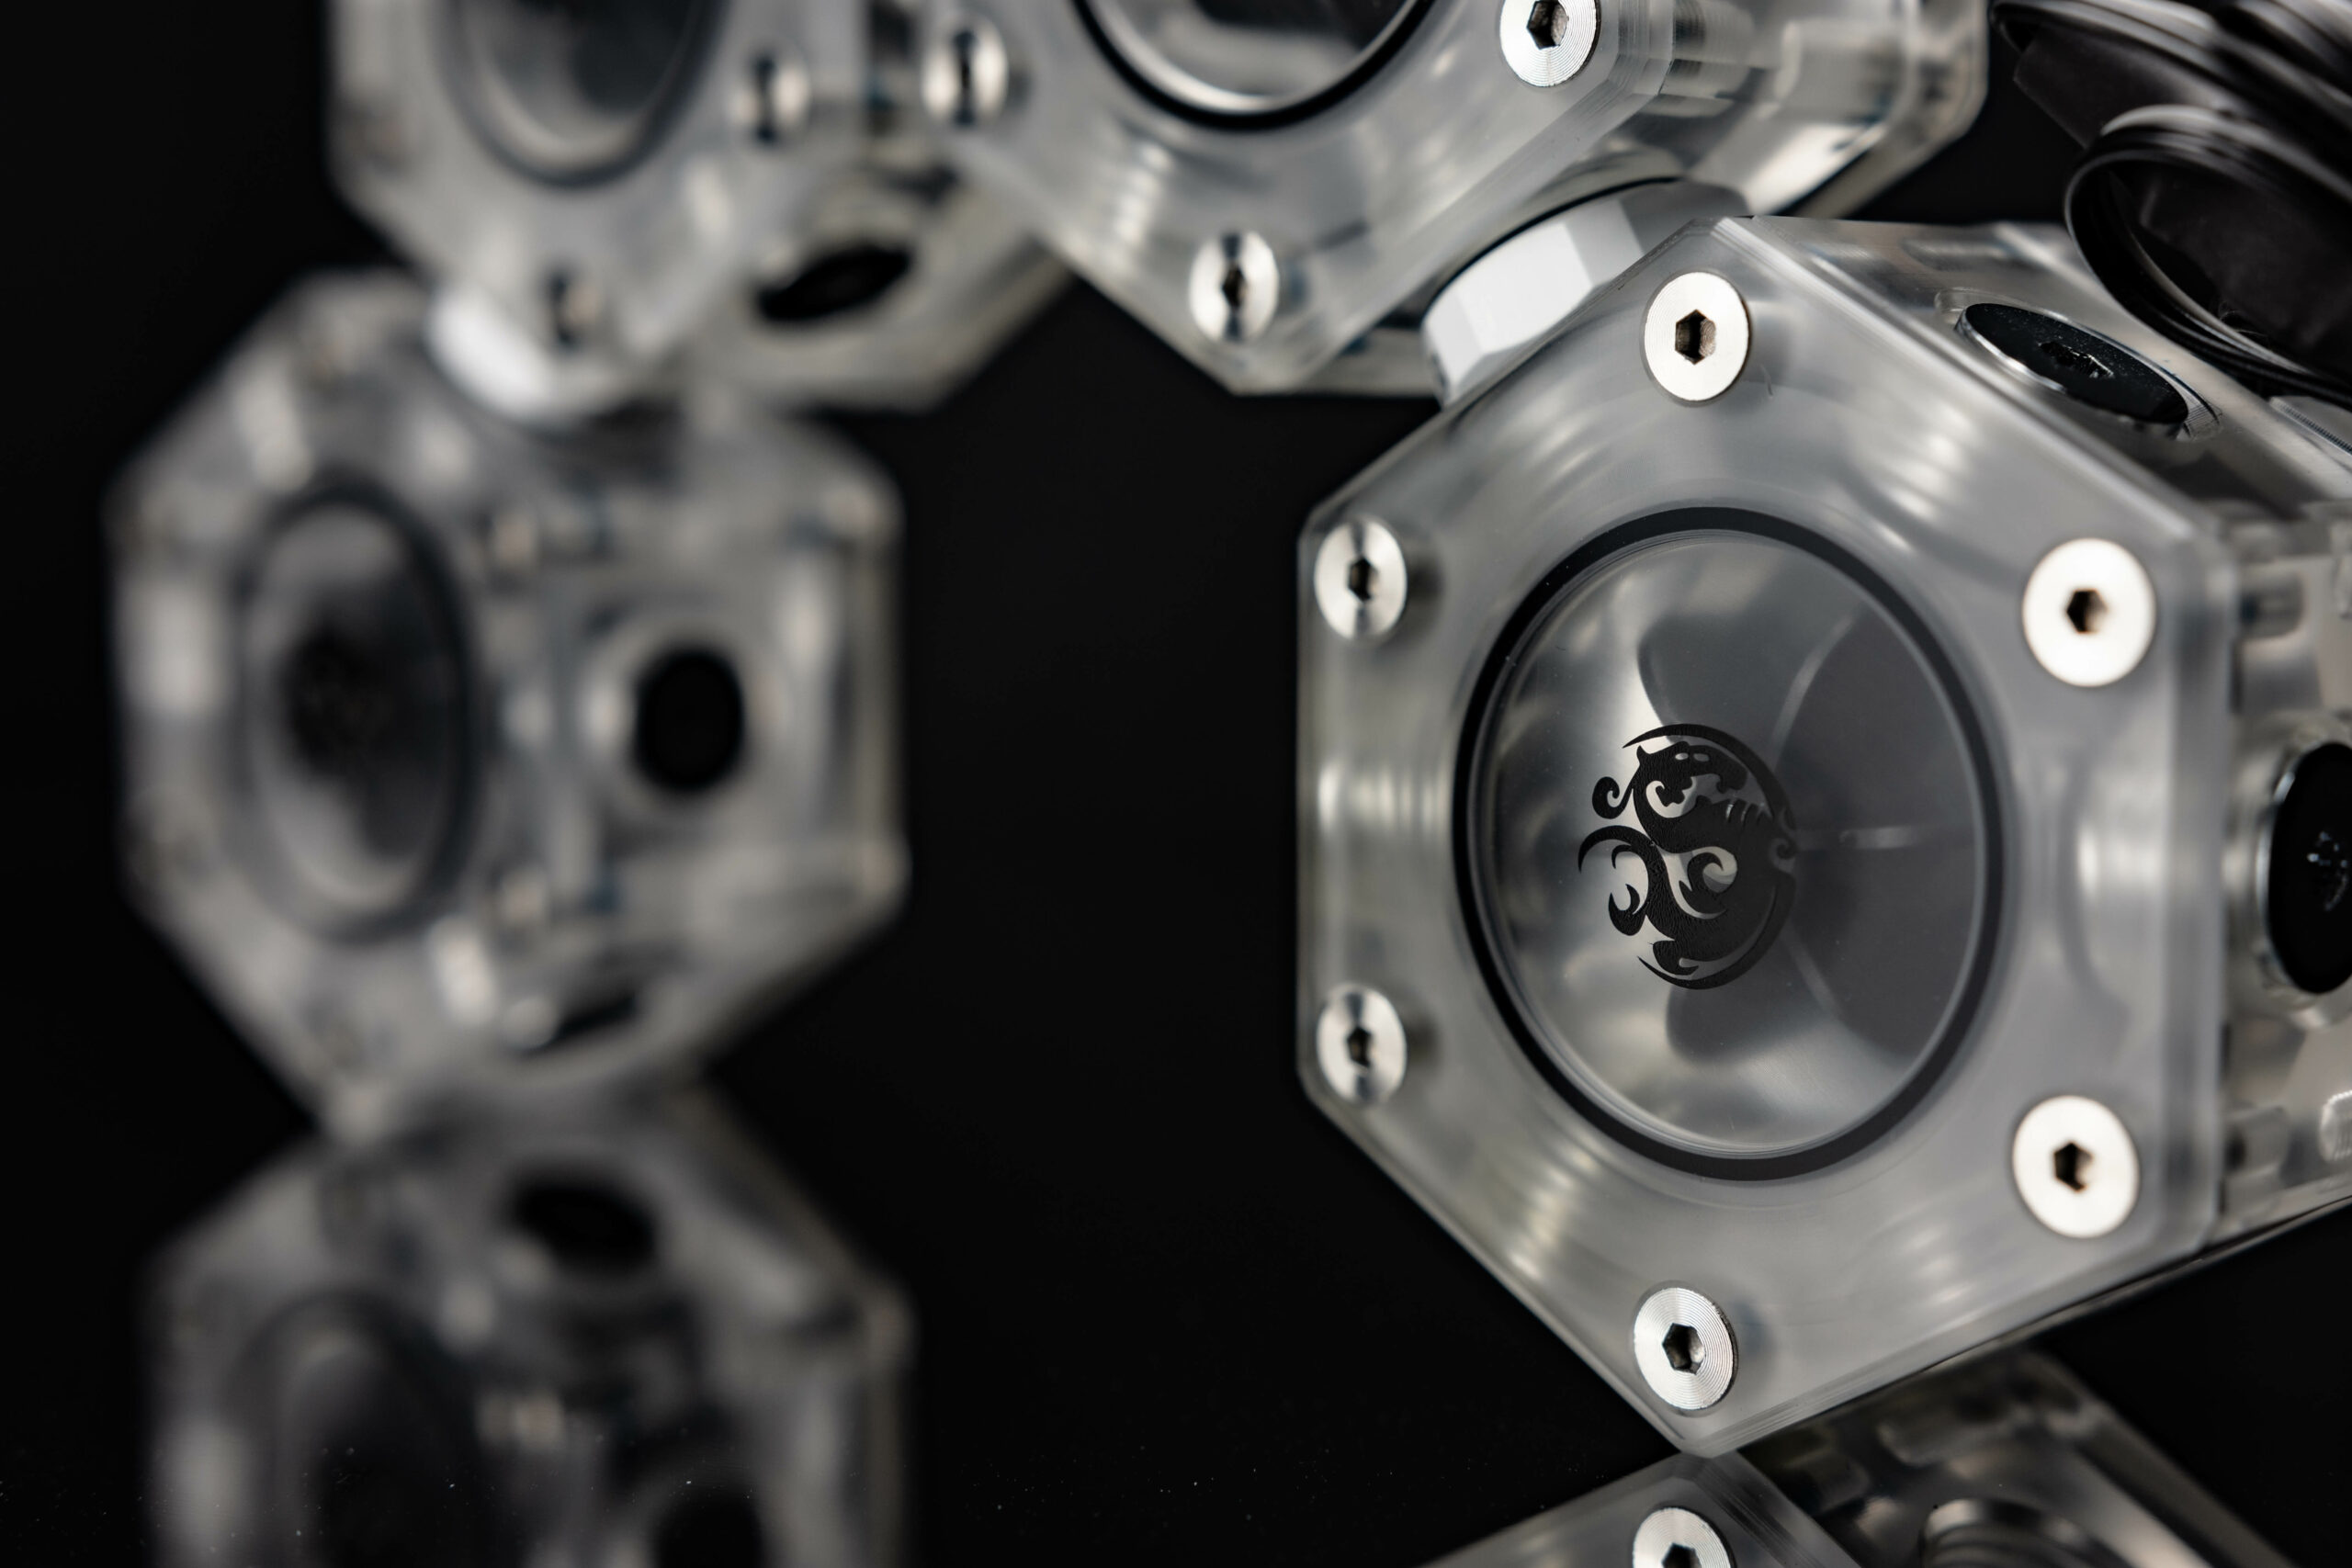
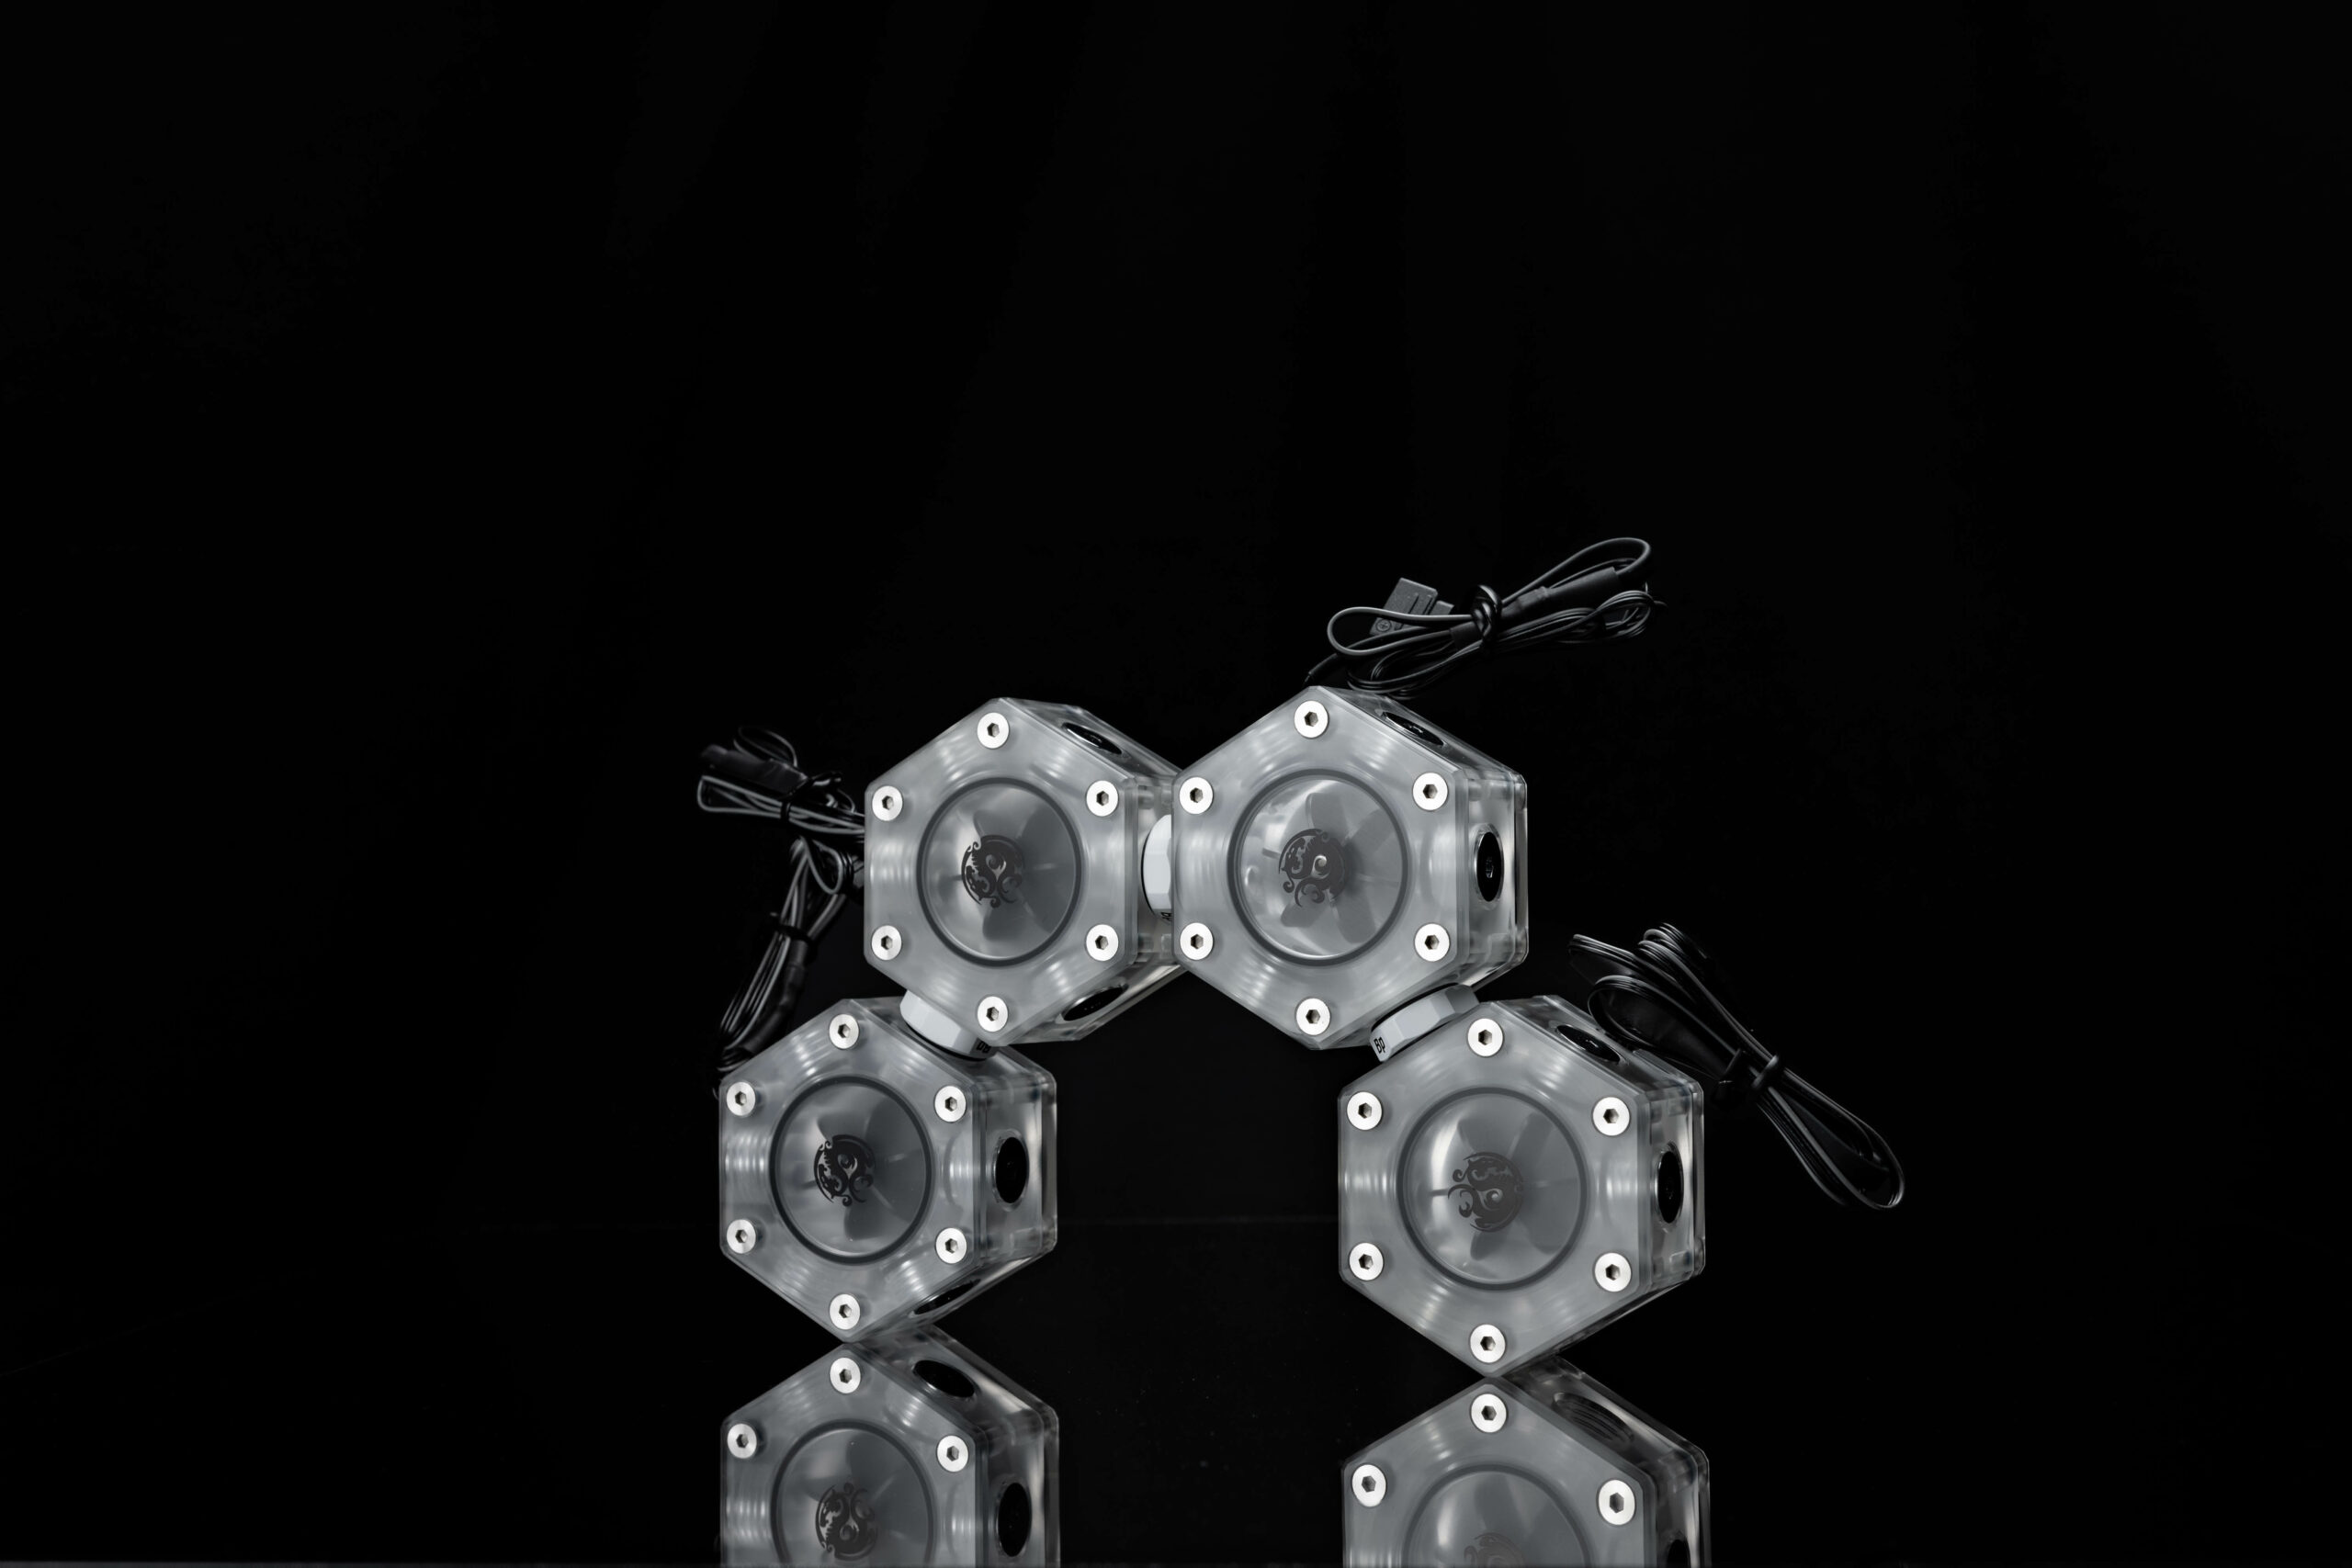
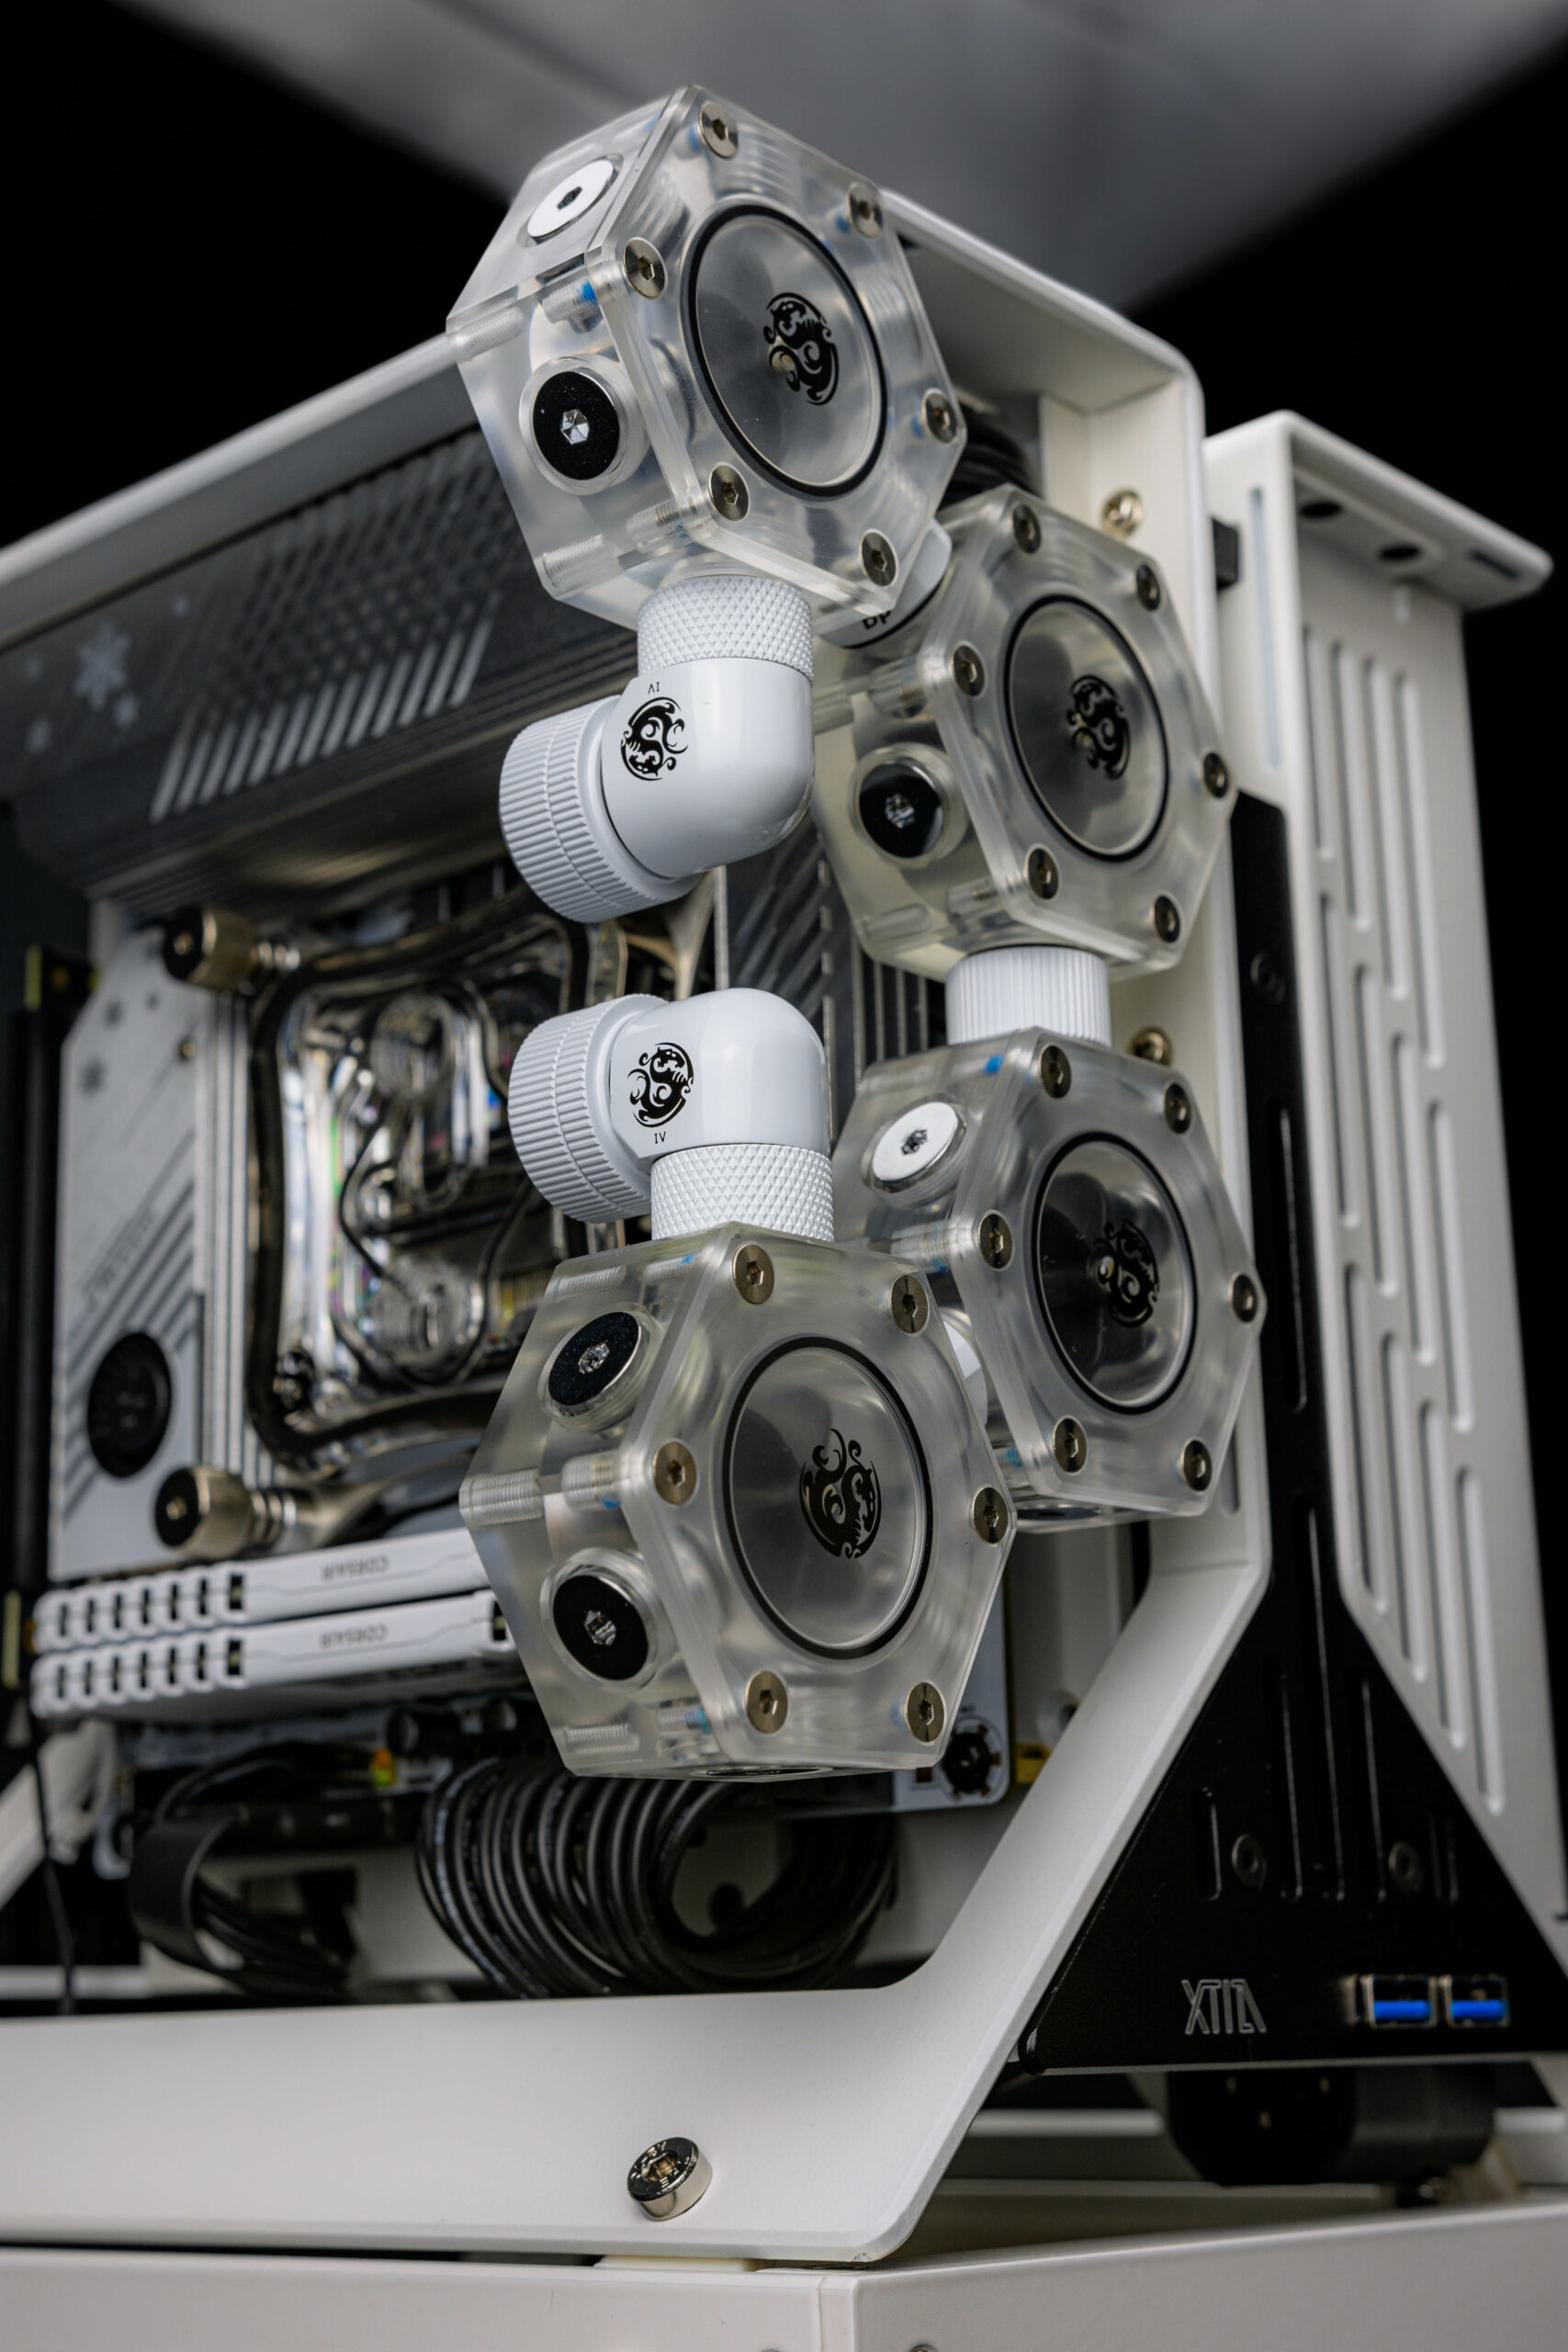
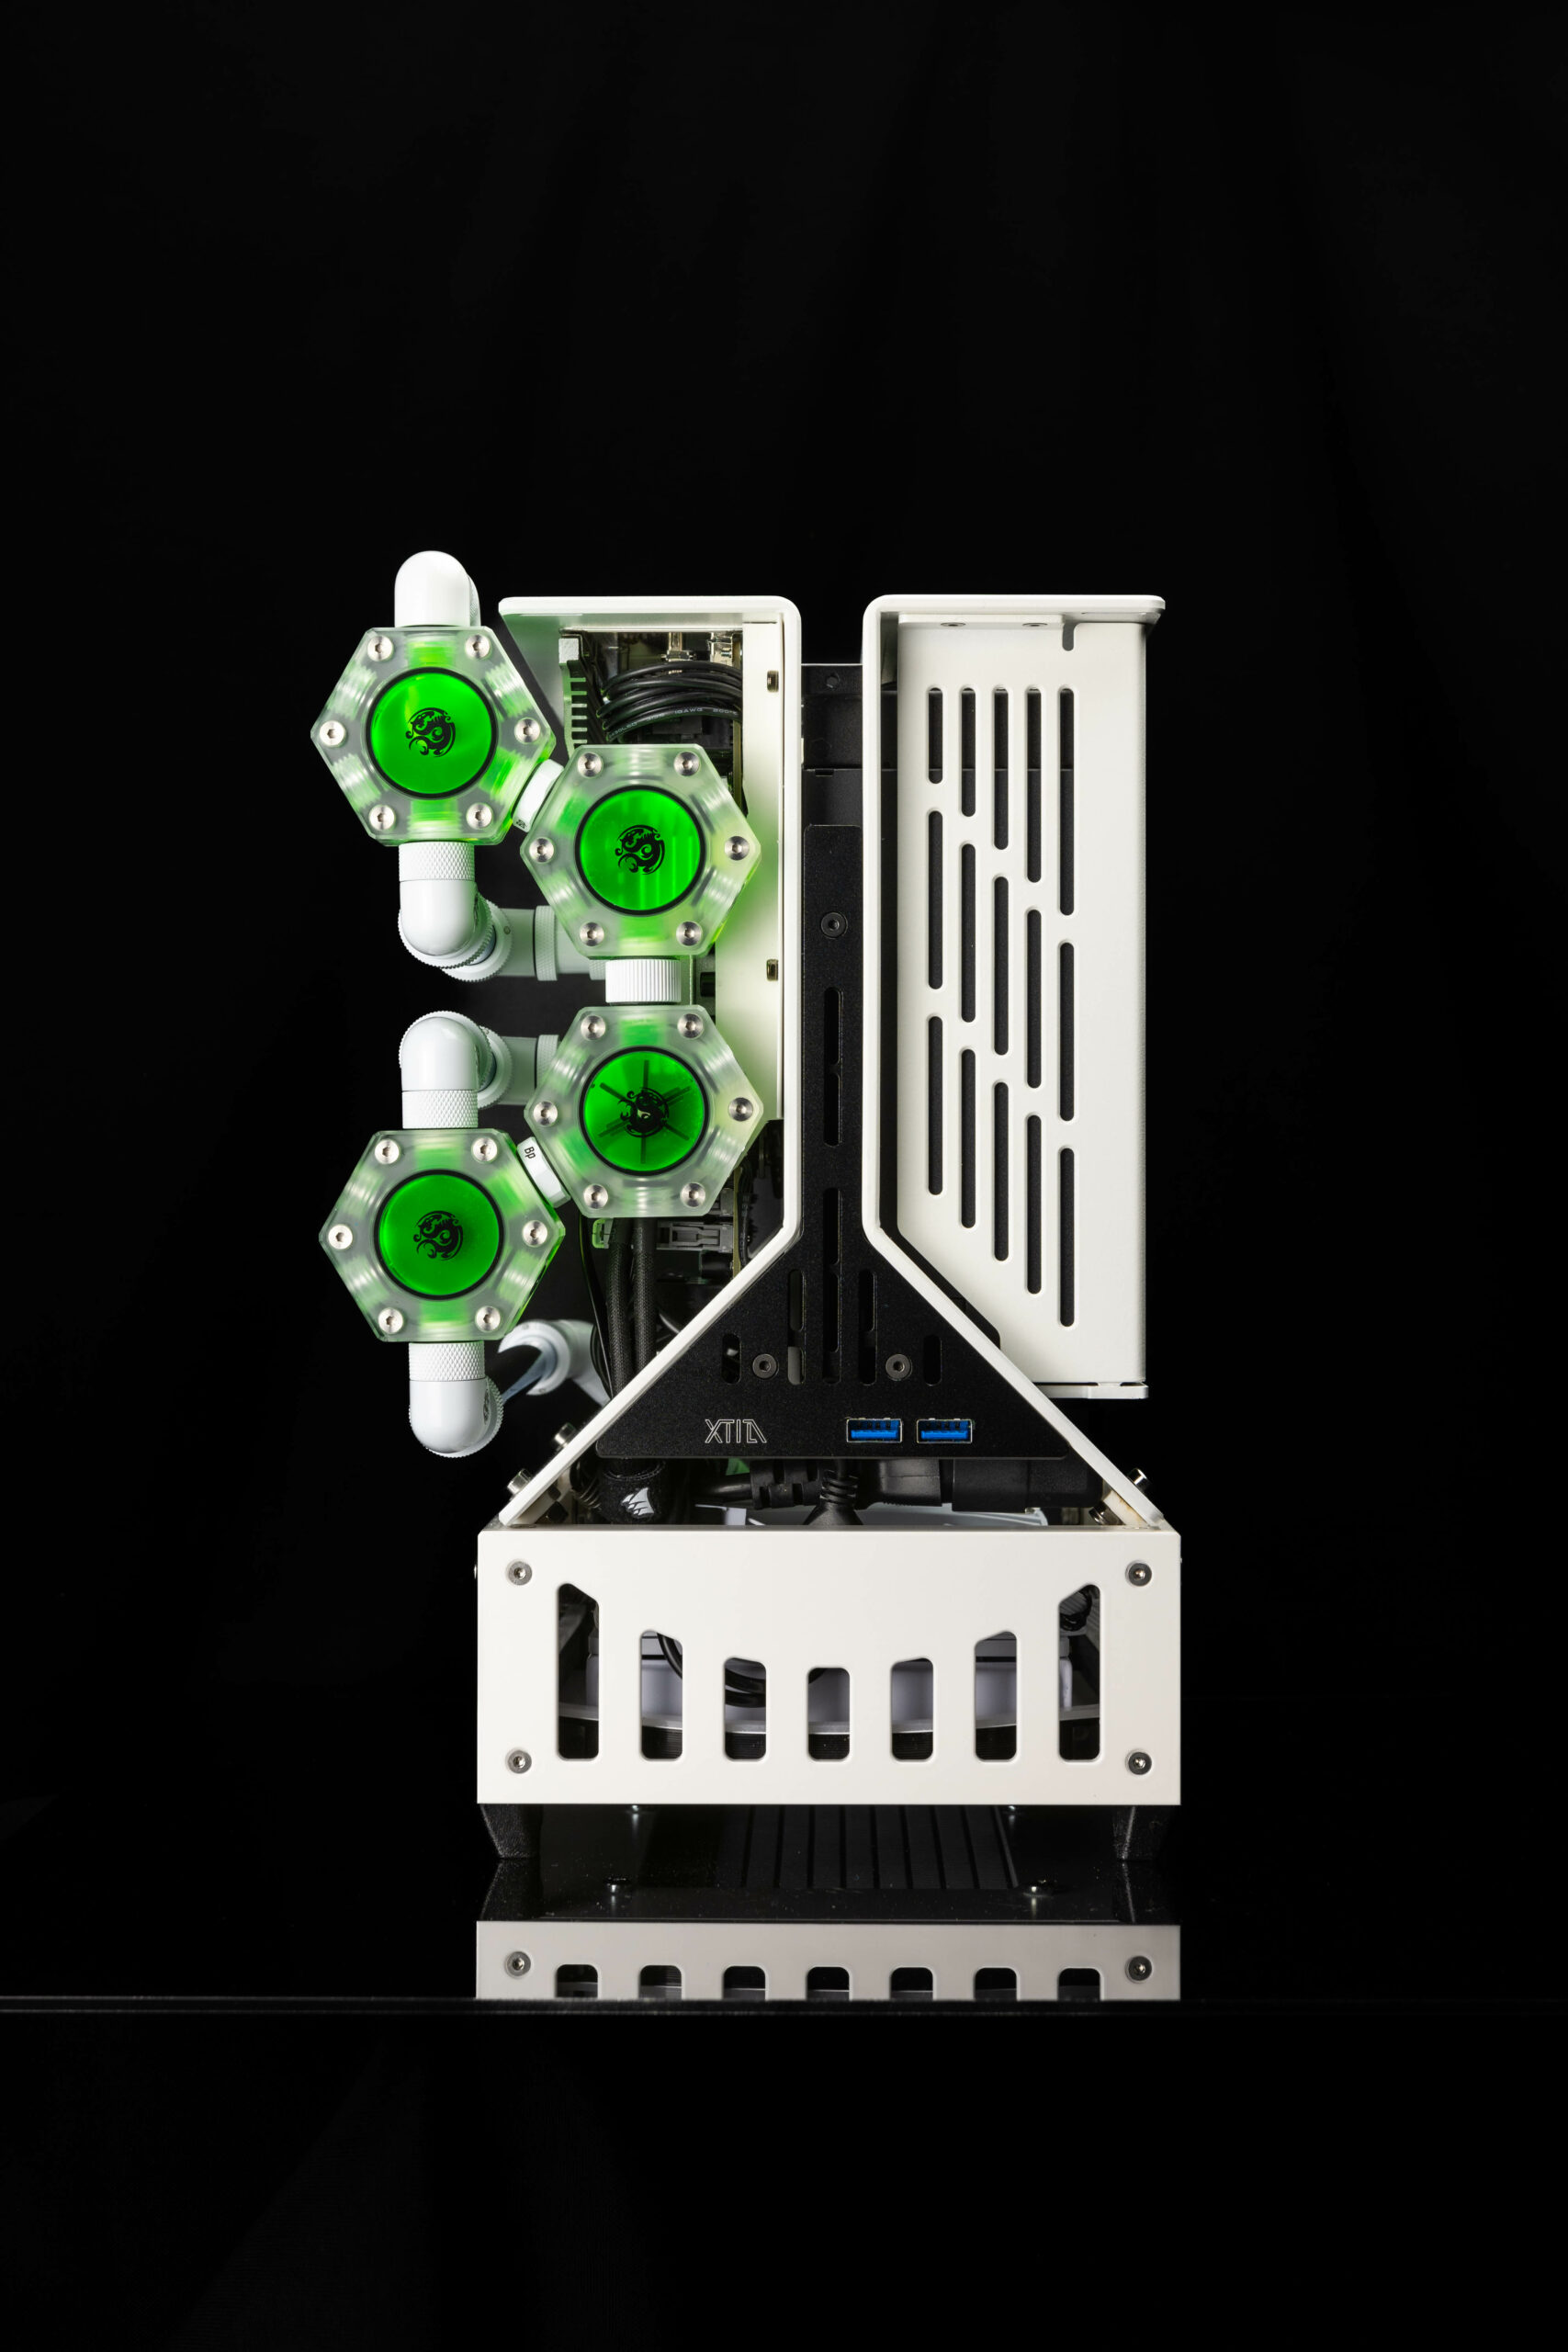
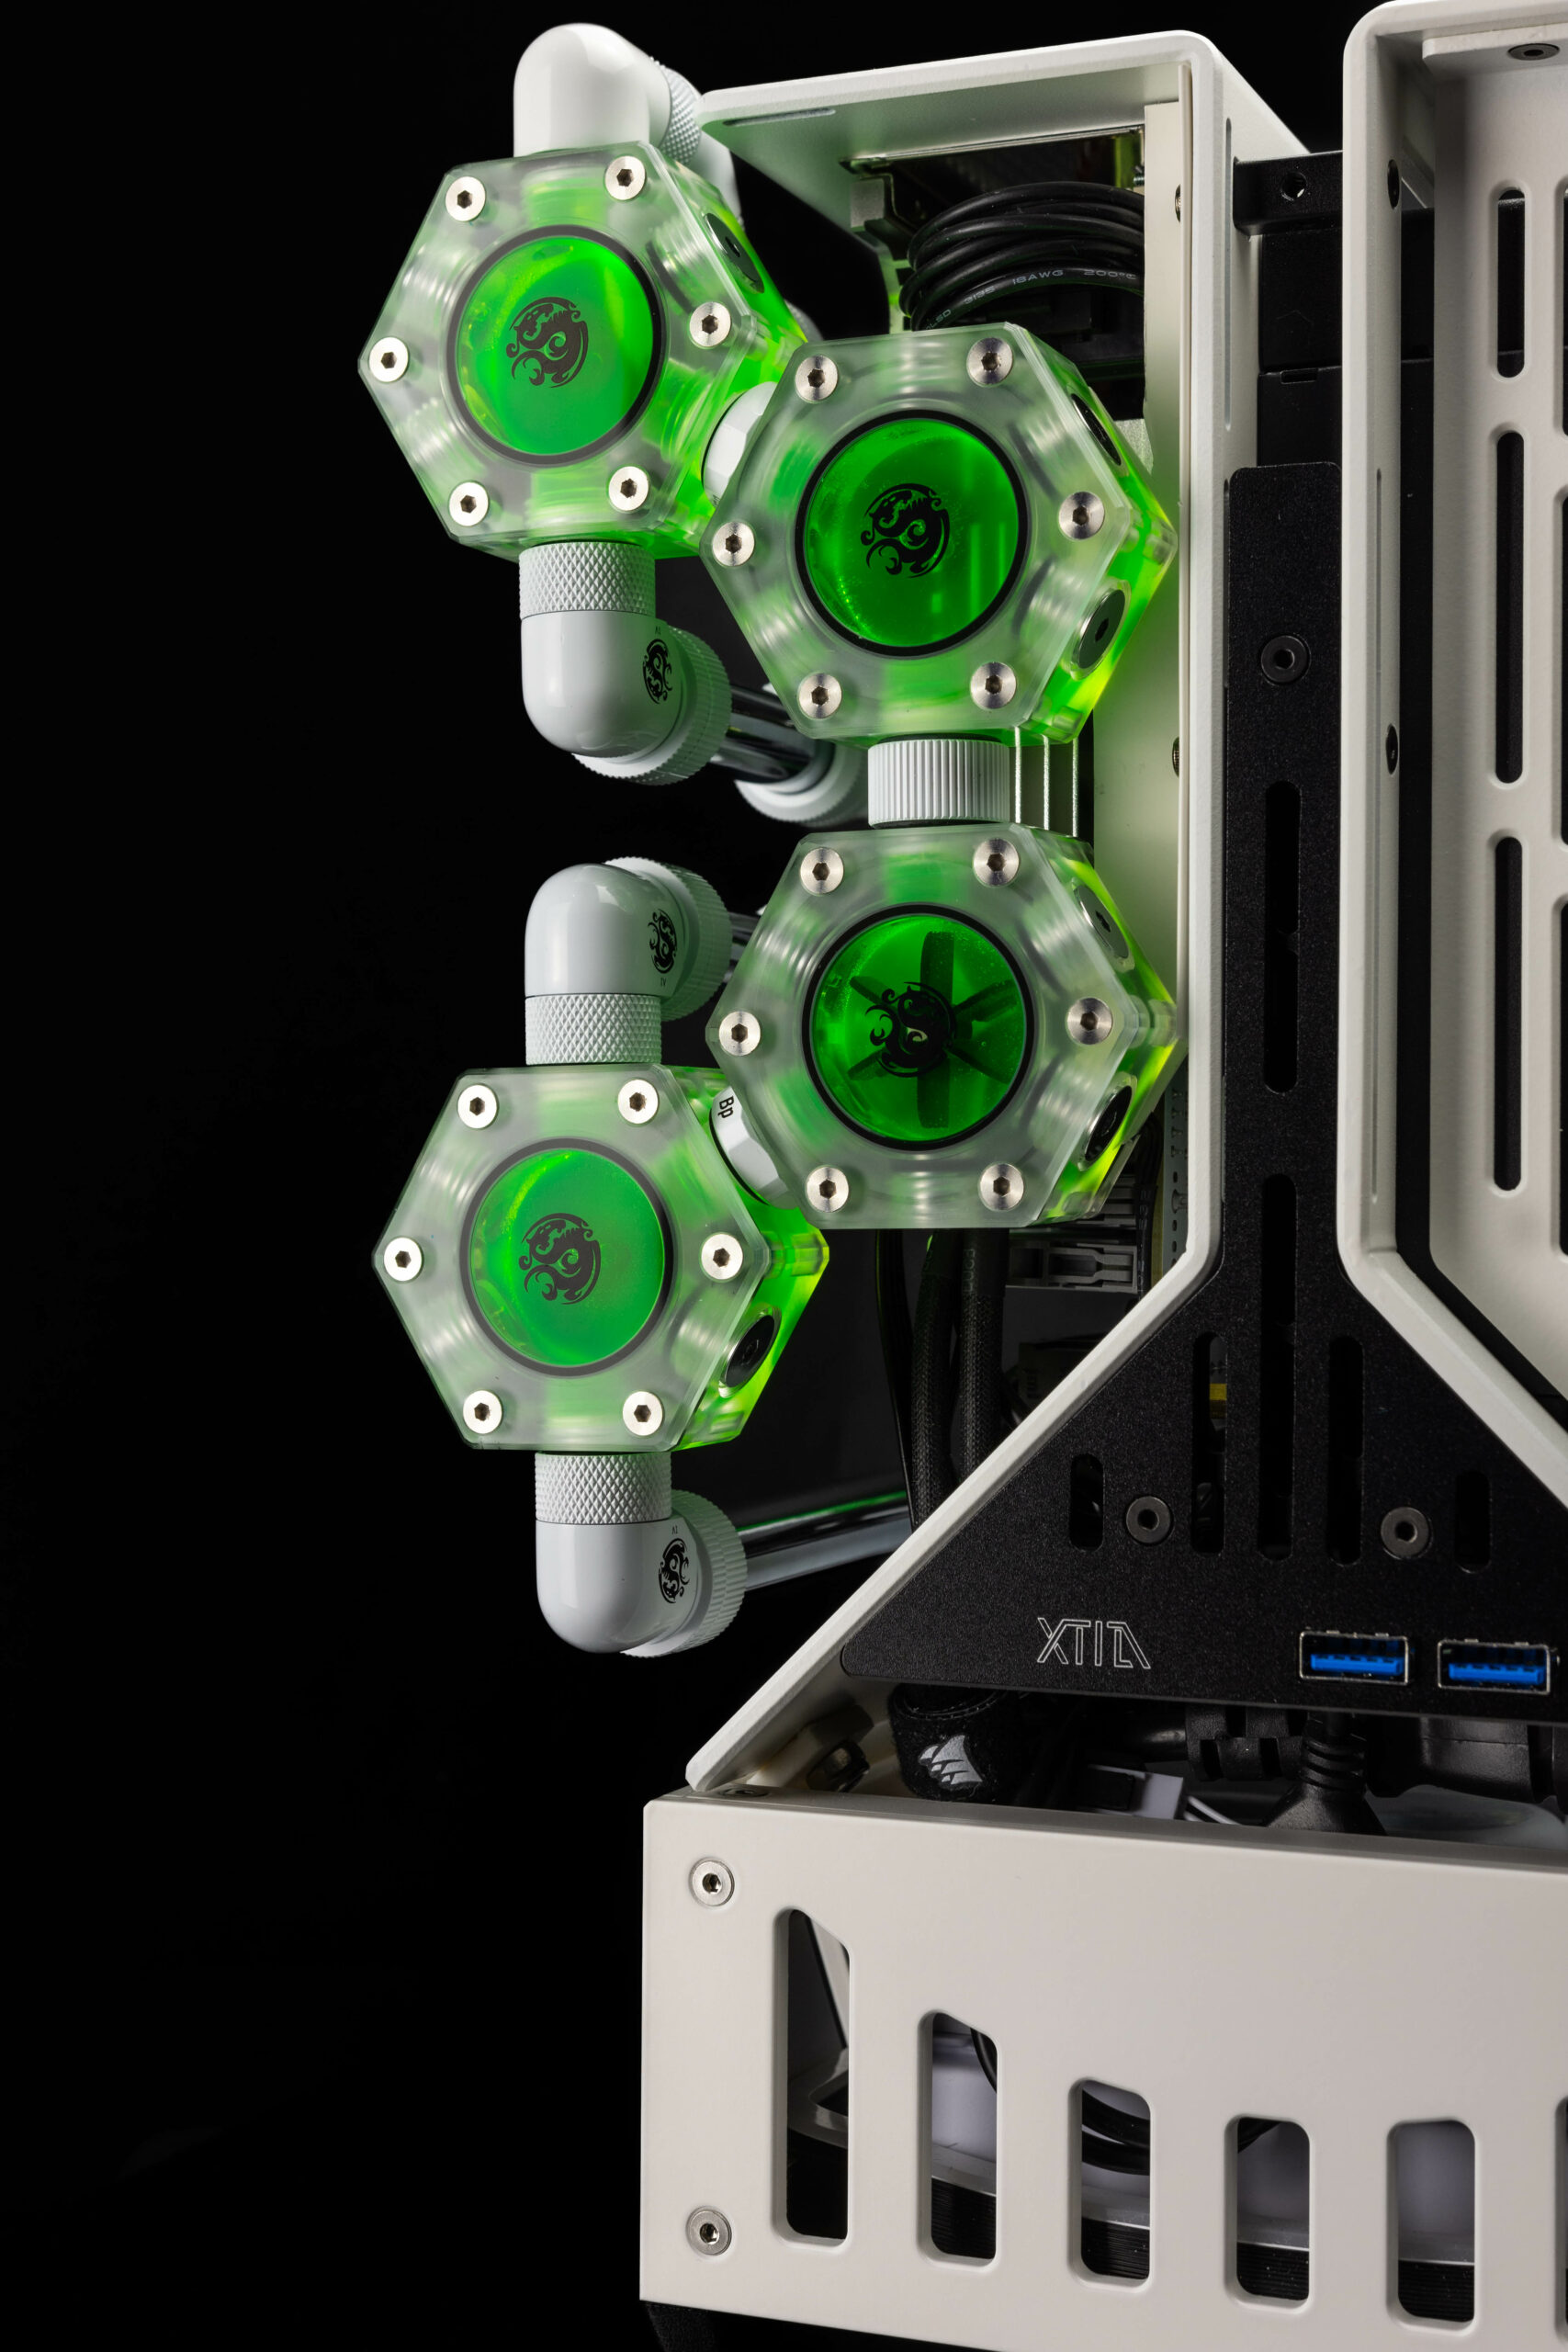
For the Distro i’ve proposed to convert Bitspowers Hexagon Flow meters into mini water tanks connected together. With the multi ports on each hexa watertank, it gives us a wide range of connections for the tubing. Custom mounting points and brackets will be needed to hold the tanks in place which will also be needed to align the tanks with the tubing coming to and from the CPU block. A similar sliding type bracket might be used in this instance to allow for vertical and horizontal movement for alignment.
Details to follow in regards to the rest of the watercooling components.
First Assembly
As part of Minibotpc Projects, we’d once again like to give a huge thanks to Xtia for the swift delivery. From China to UK in less than 5 days is quite something and you can’t beat that for quality service. There is a slight issue in regards to a missing gpu waterblock that was supposed to have arrived this week. However, Royal mail’s best has lost it and has been sat limbo for quite a few days now. Can only hope it eventually gets moved to the right depot or the retailer, Watercooling UK will send me another one out.
Initial thoughts…
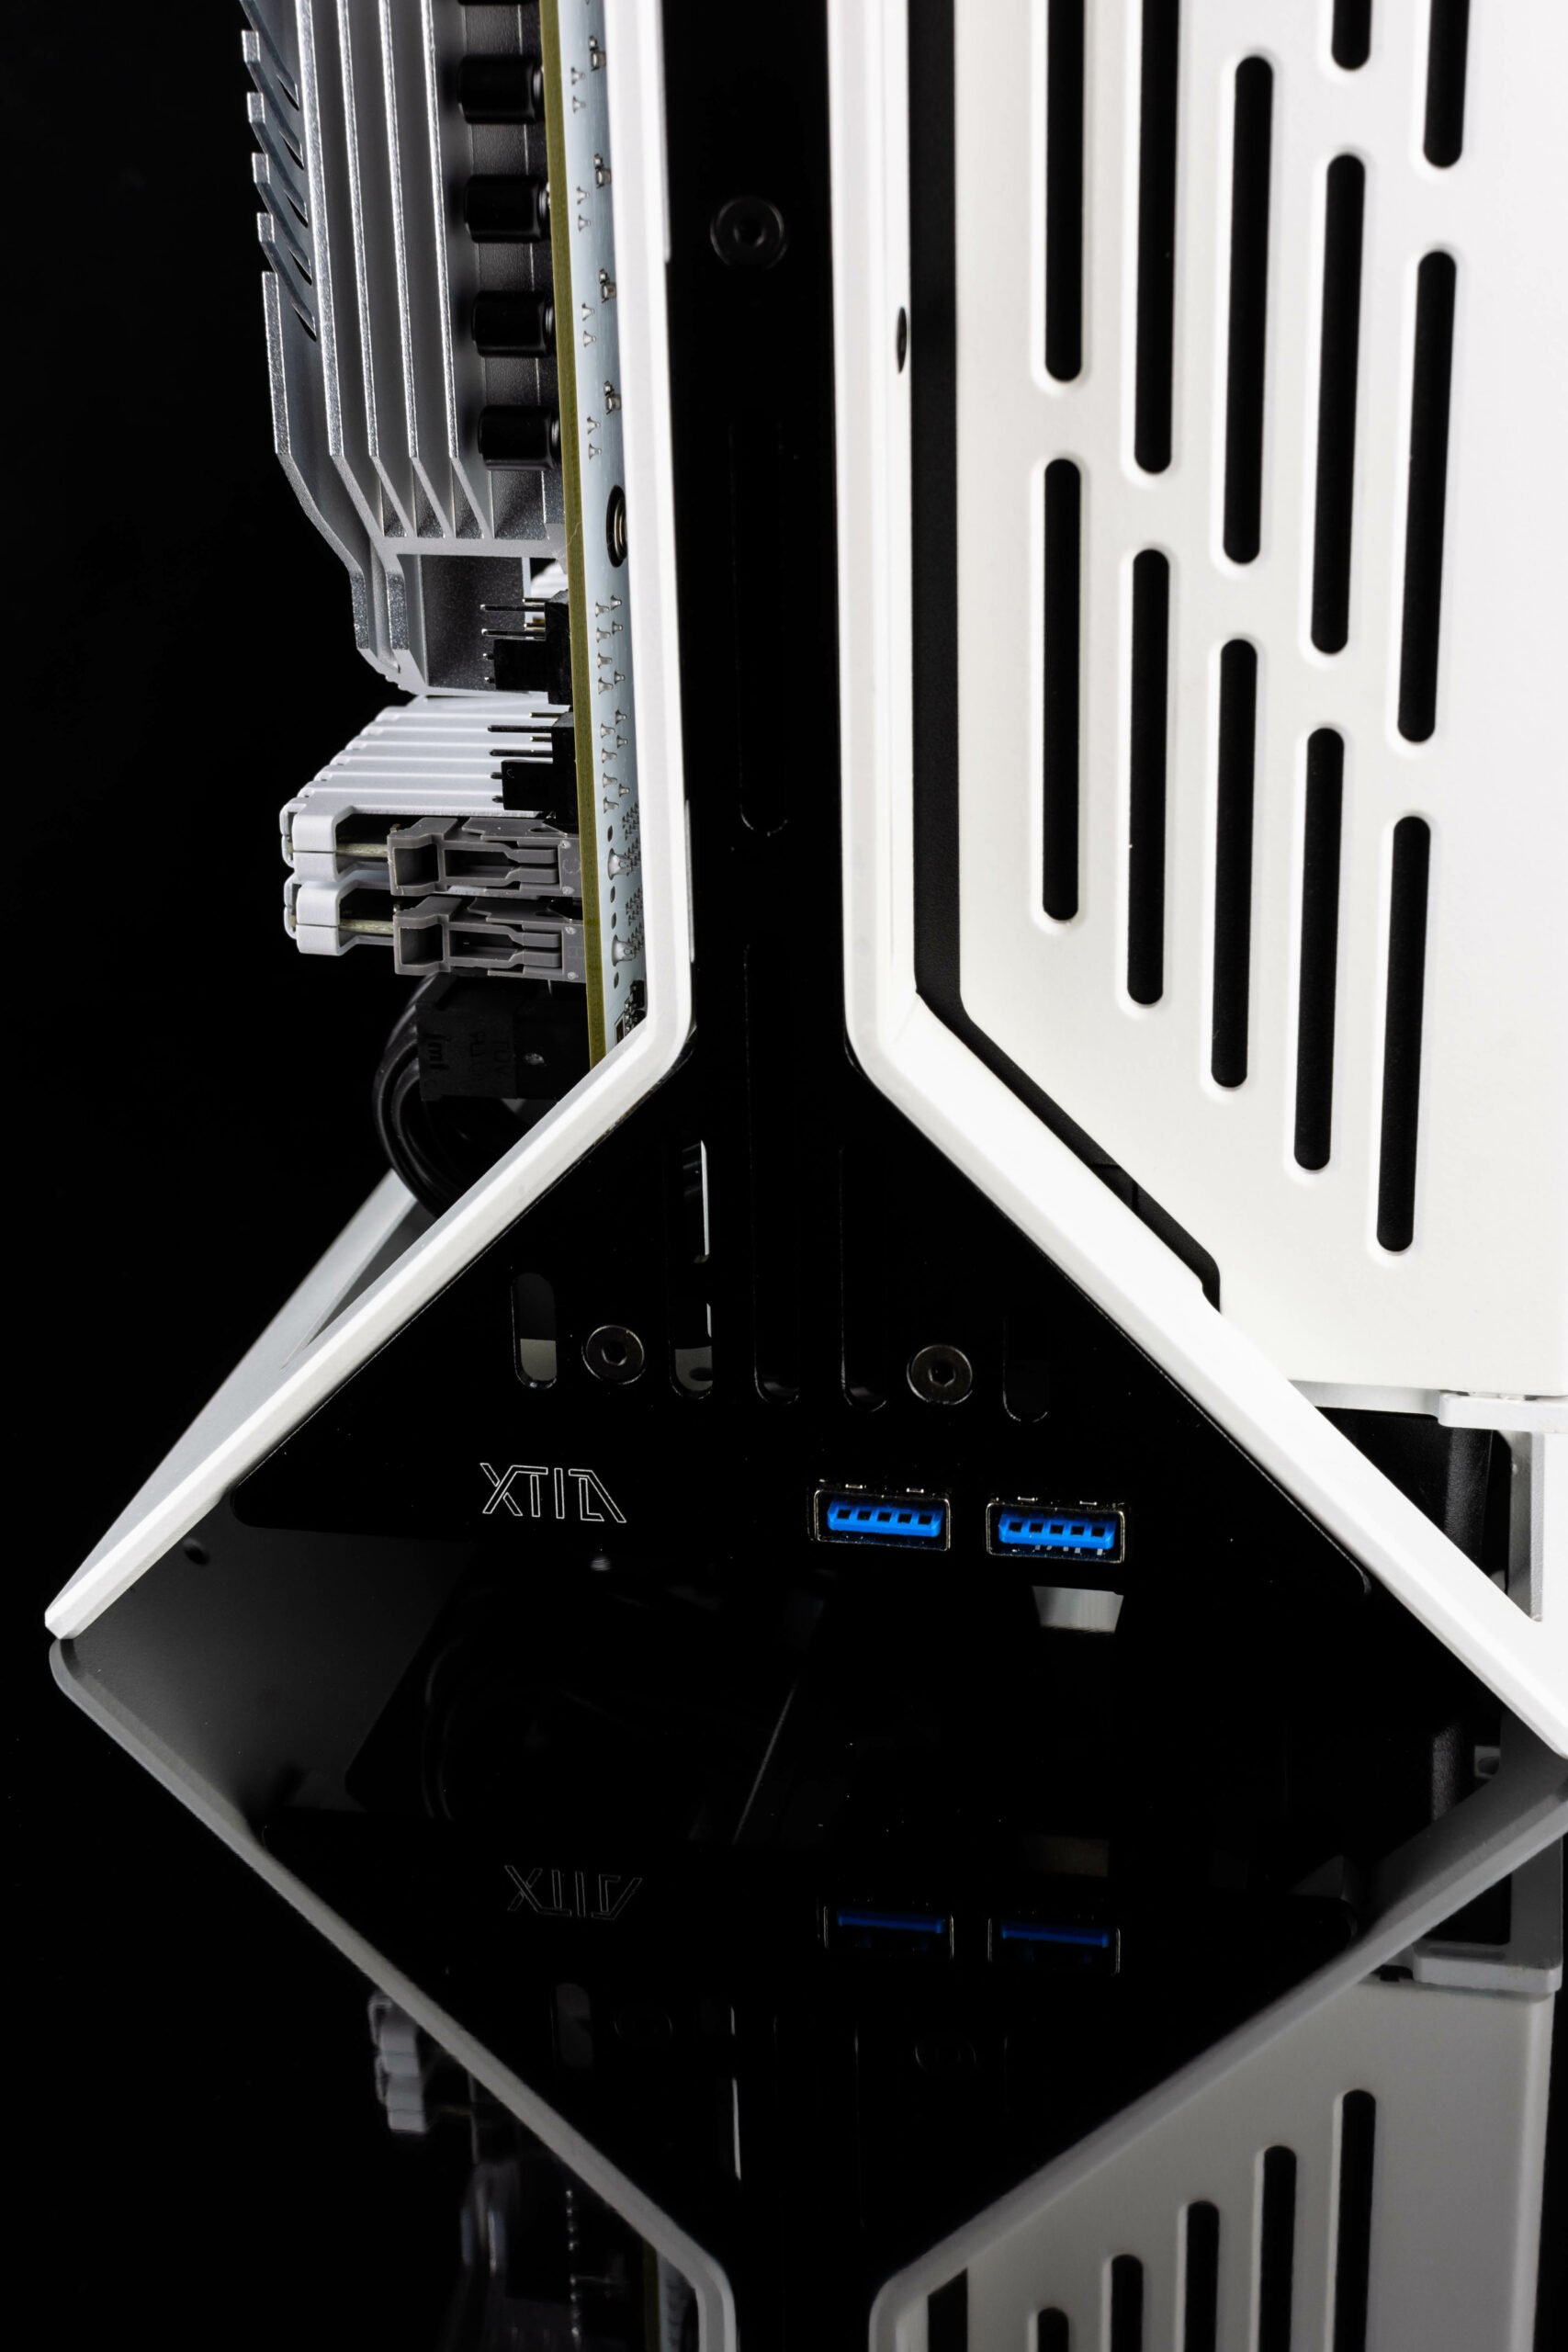
The initial build went smoothly so far, everything installed as it should and since Xtia shipped me all the accessories with the case, it allowed me to mess about with the fan brackets and adapters. Seeing what options i can design in regards to 3D printing parts to adapt existing brackets. I particularly love the mini antennas they sent me in both straight and 90 degrees for different aesthetic tastes. The custom length soft silicone cables with the flex psu are easy to work with and feel great quality. In a small build like this, the flexibility of the cables is particularly important as most times, you will need to manipulate them in a way that sleeved cables won’t work. The front IO also sports a generation double USB 3.0 but would have been nice to have a USB C plug there too.
The case usually comes in white, black or grey but since i wanted to do a white build and Xtia had sent me a black case, i decided to paint the 2 halves and psu cover in white for a 2 tone look. Adding depth and character to this magnificent piece.. If only it came like this by default.
Updated Design Concept
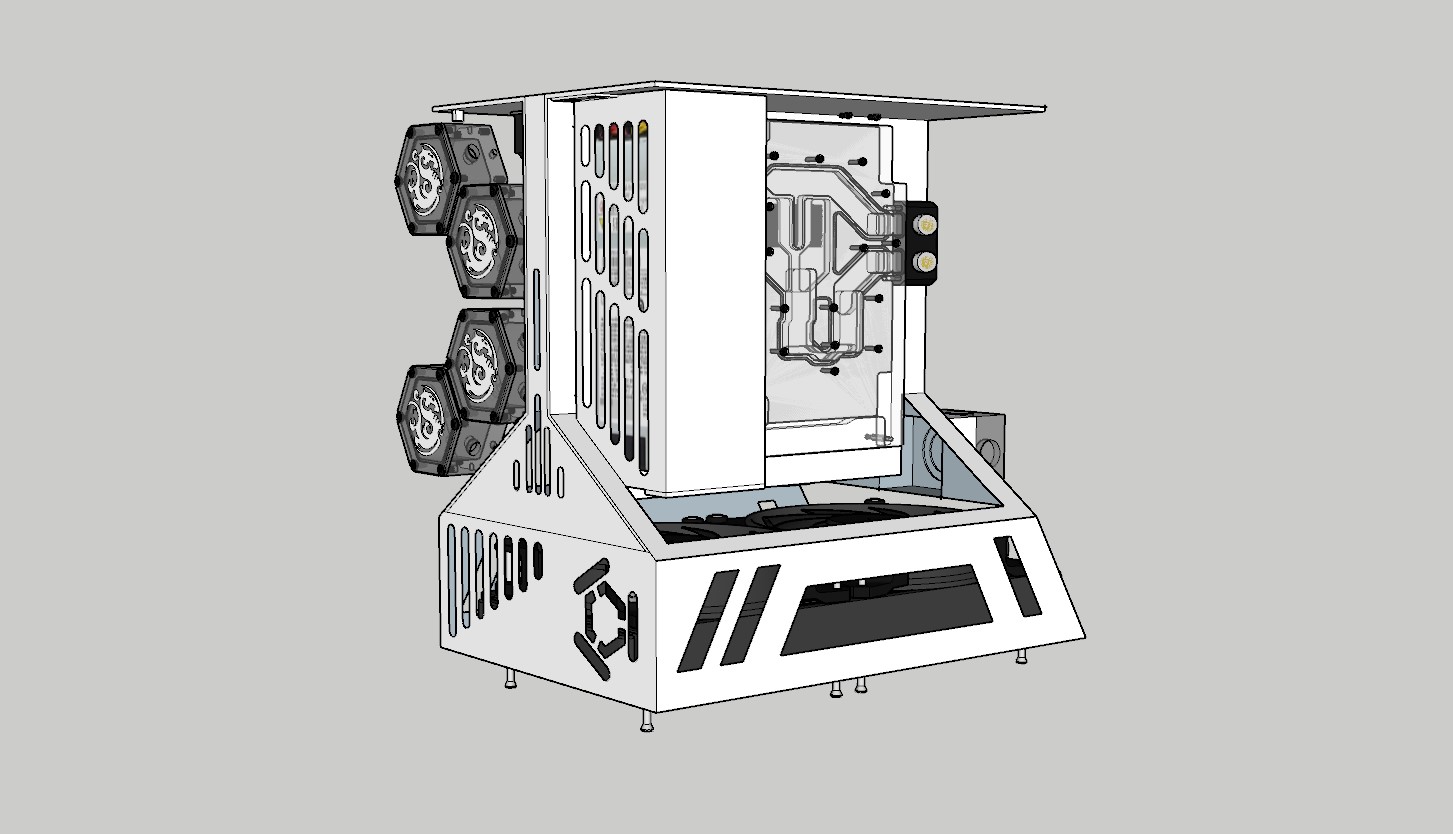
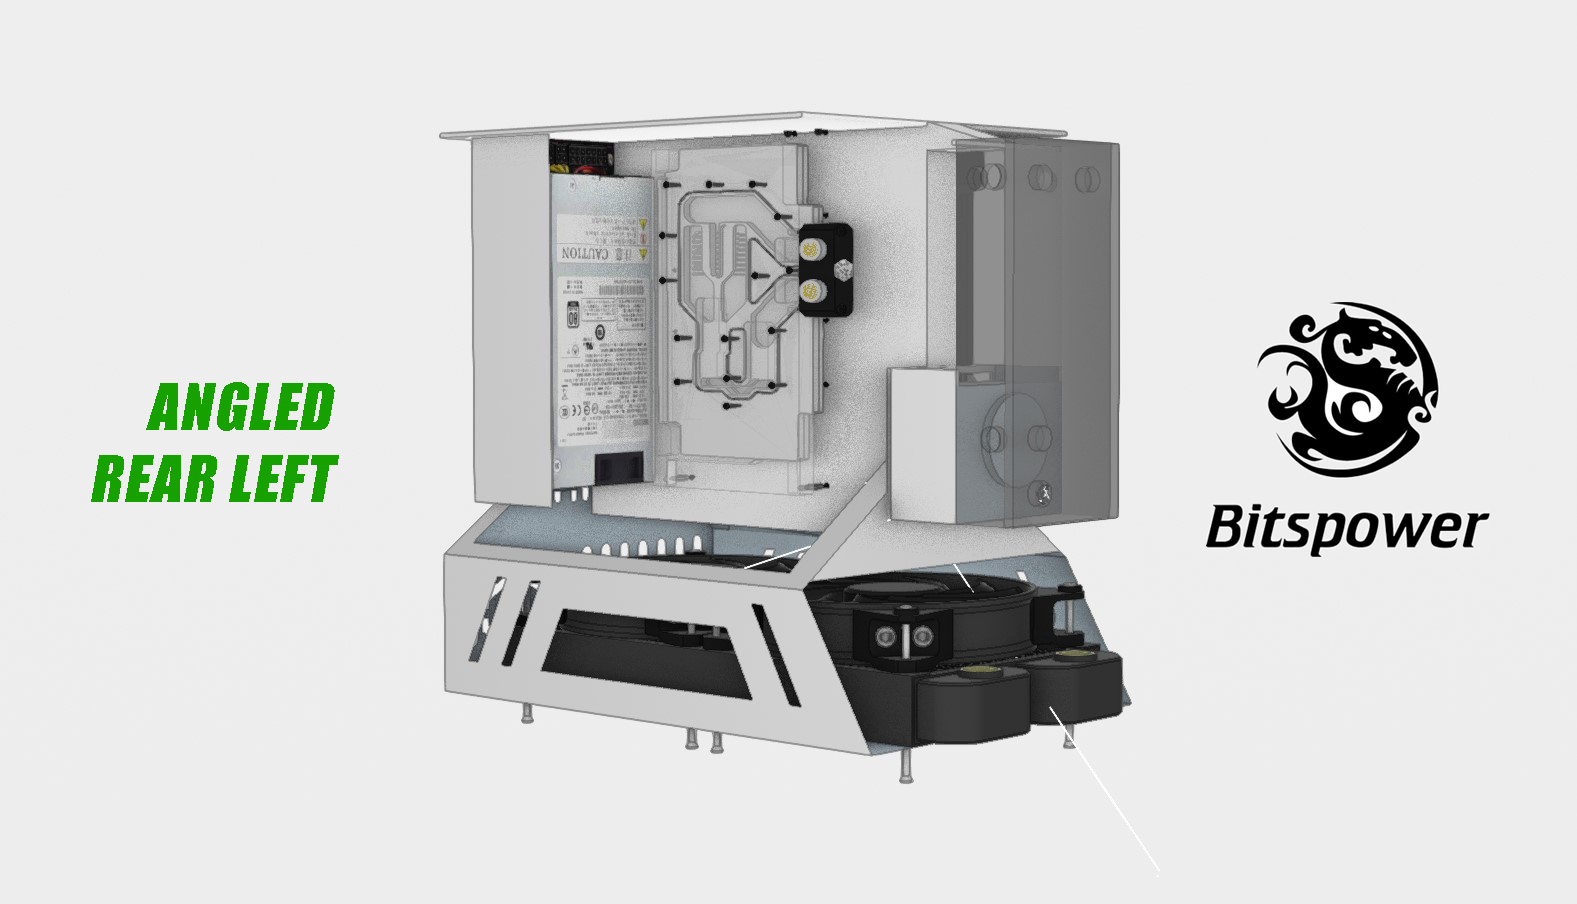
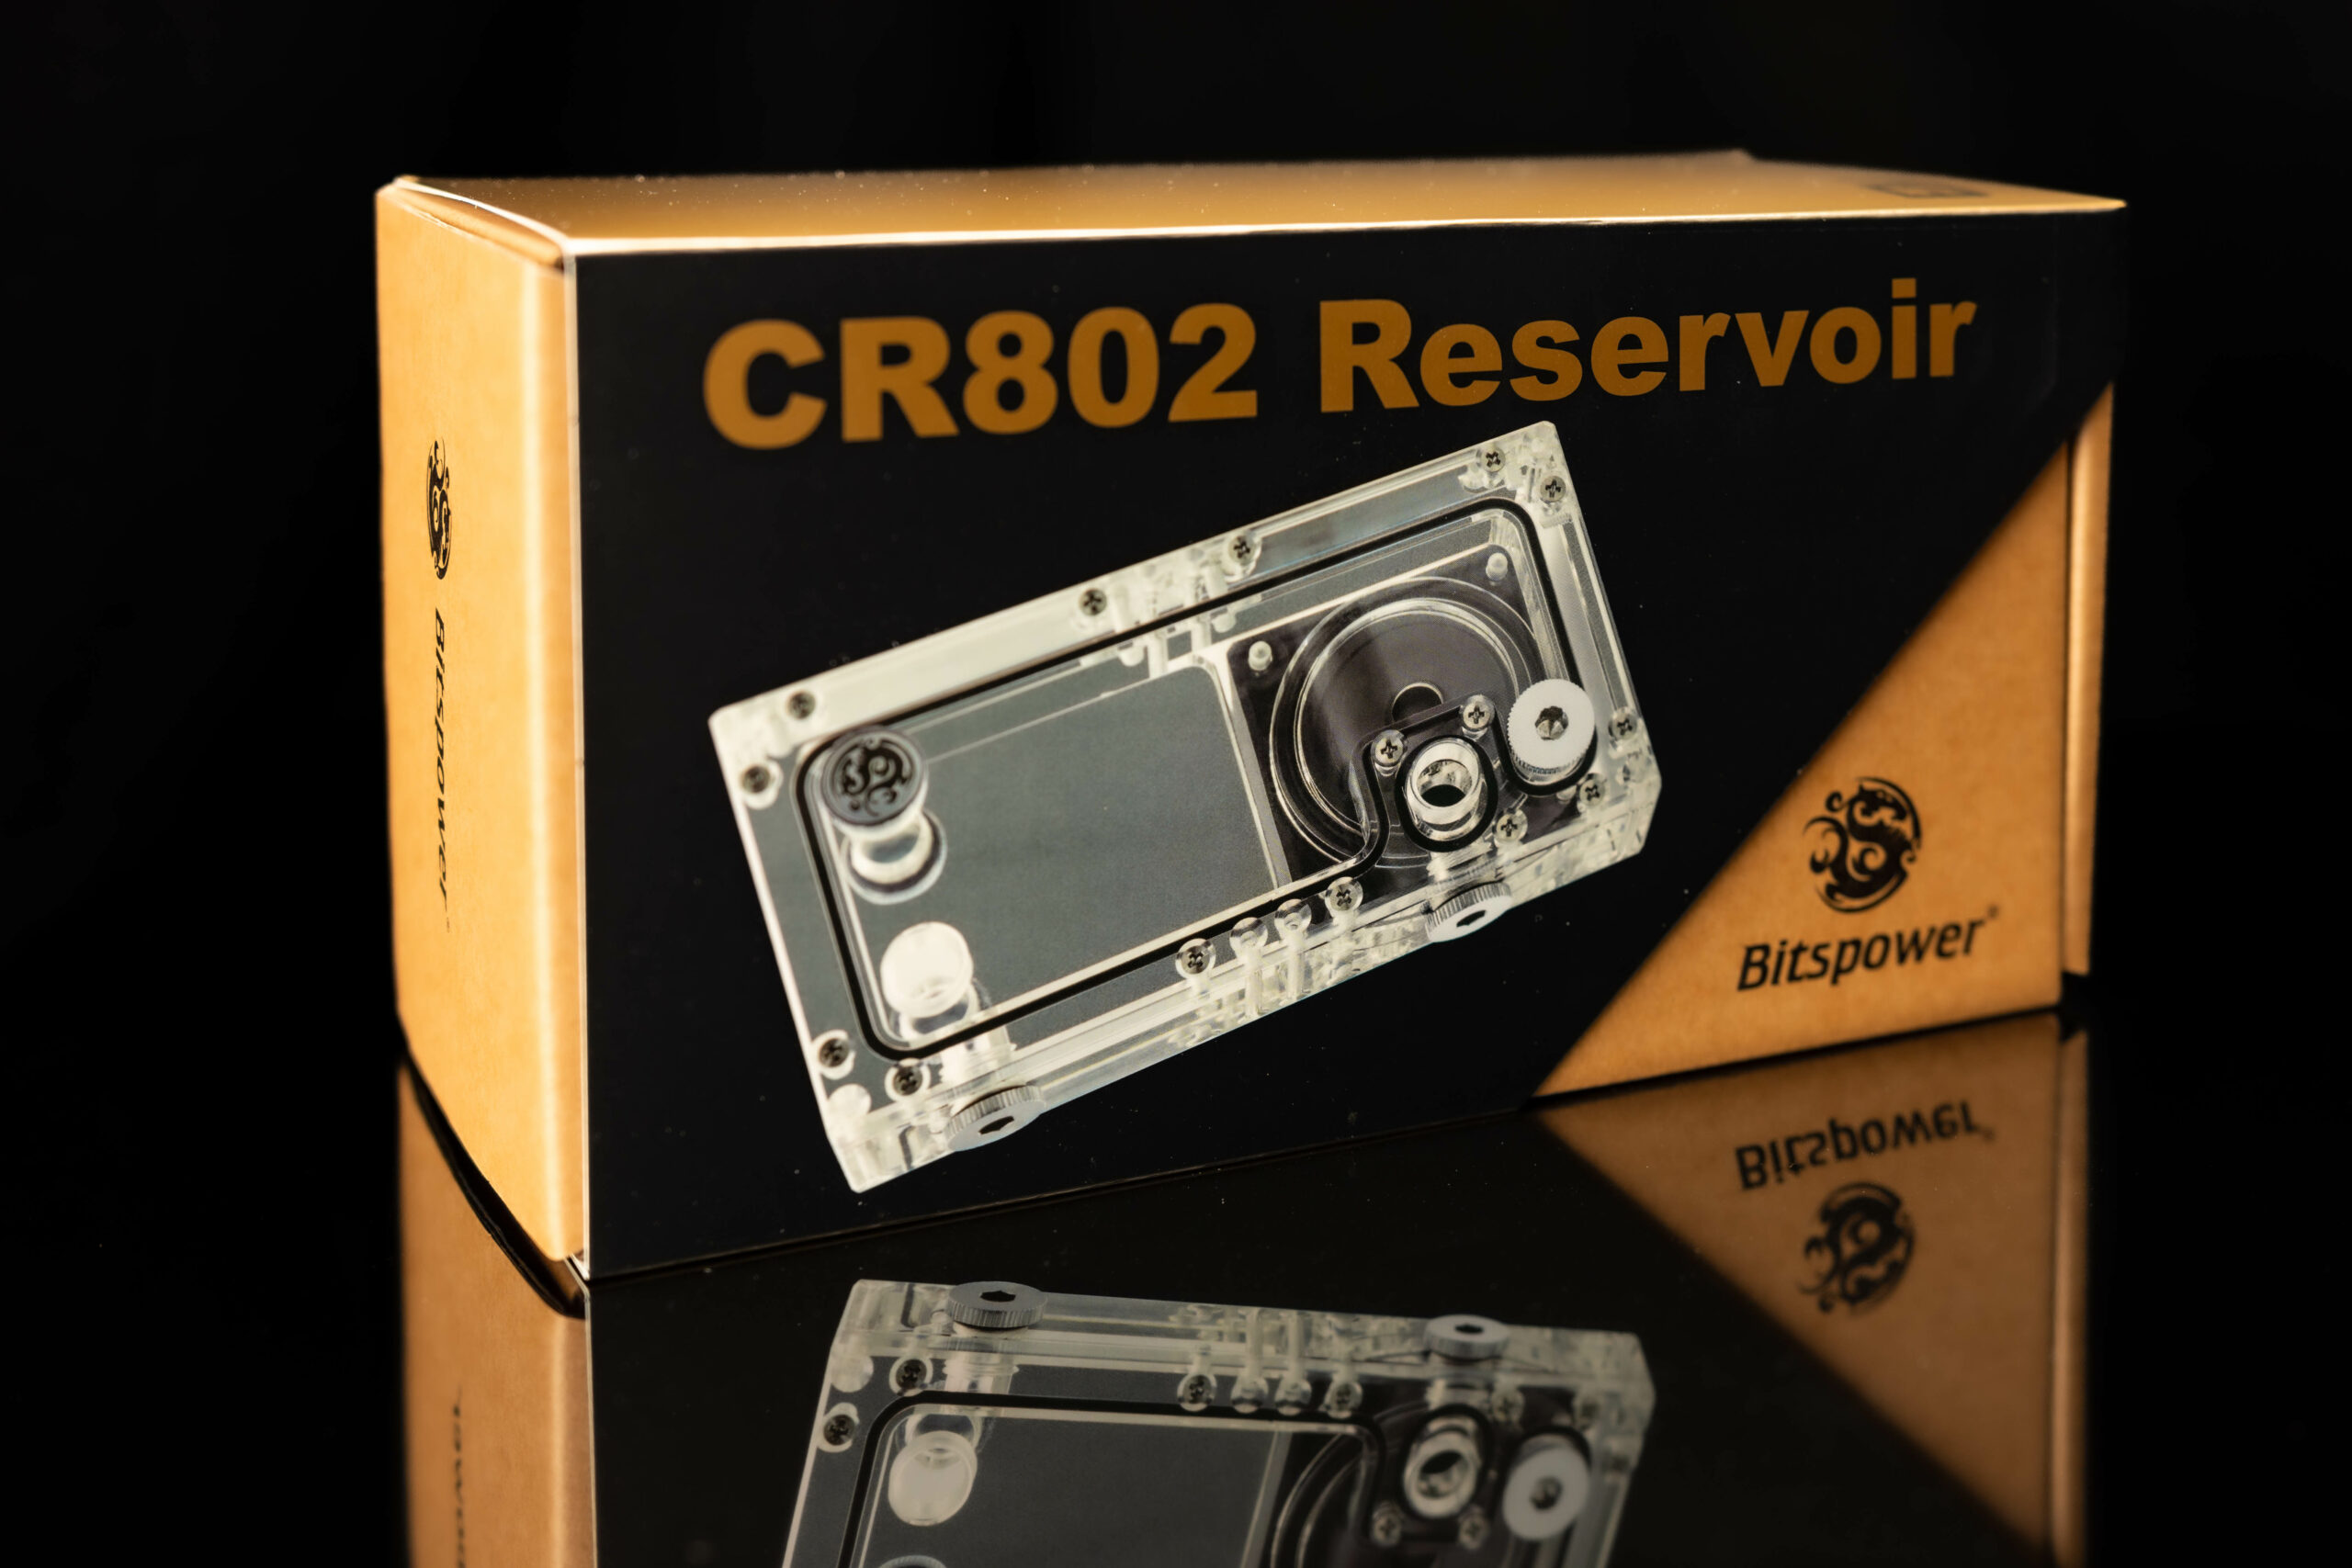
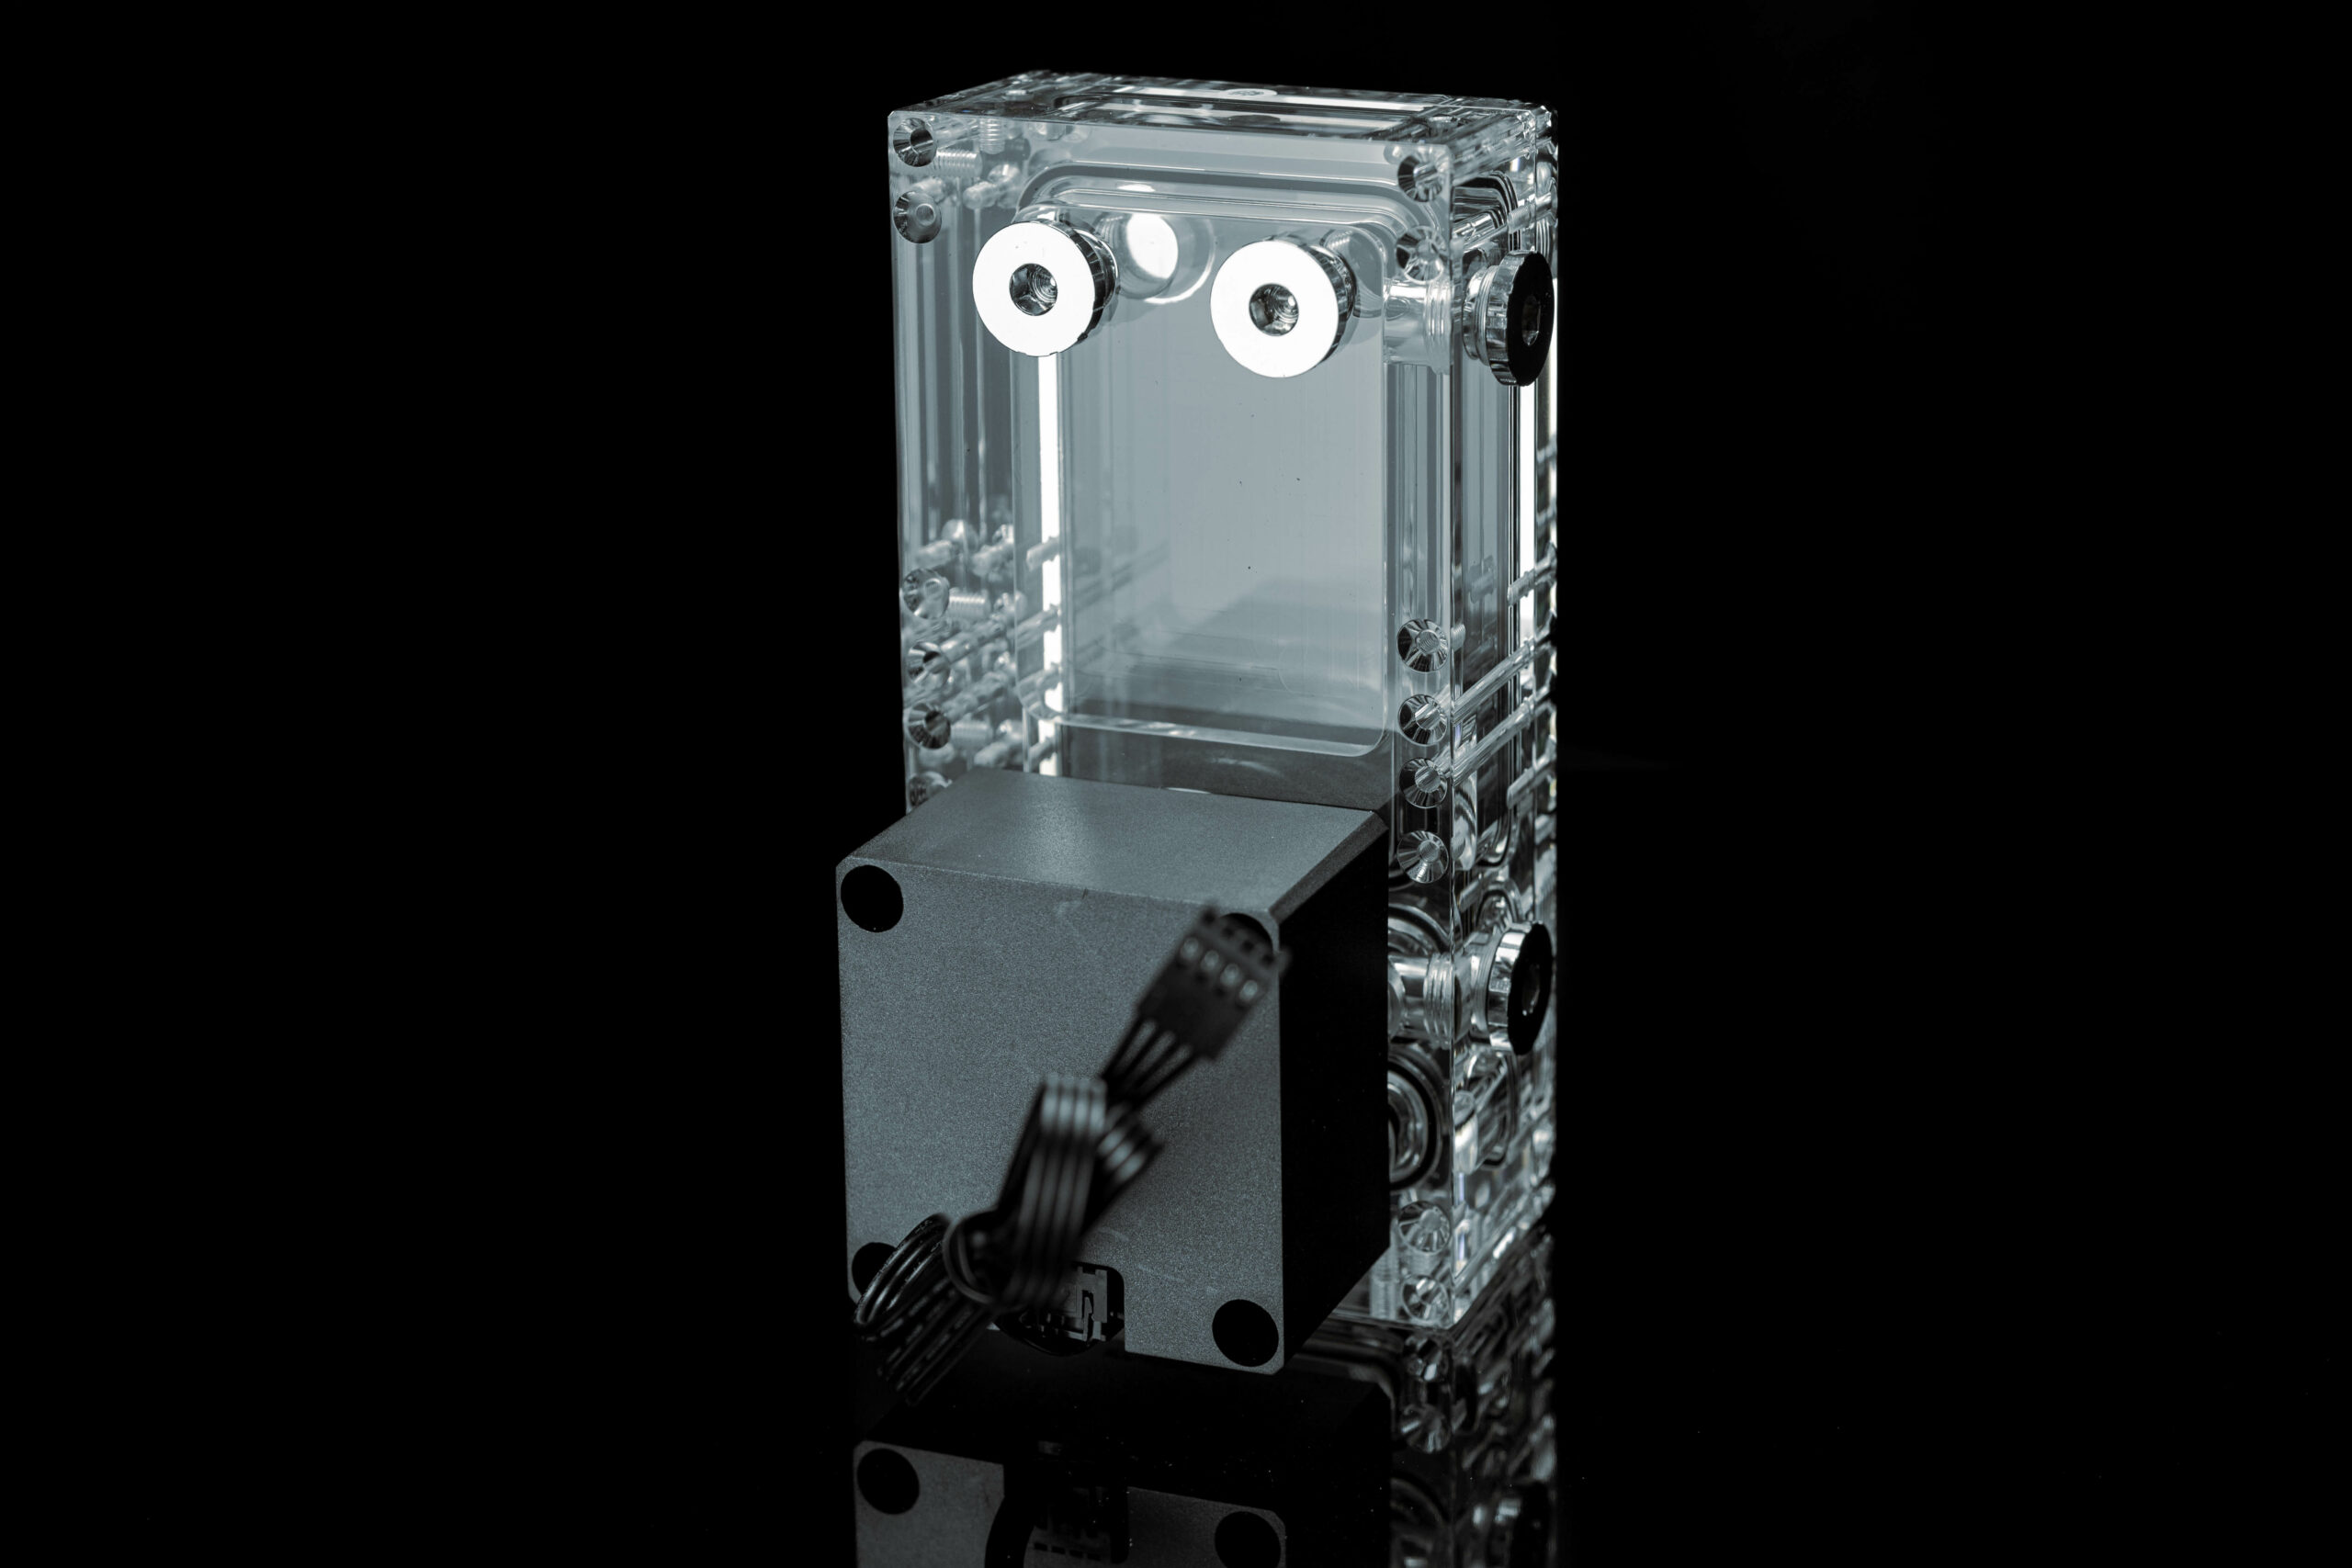
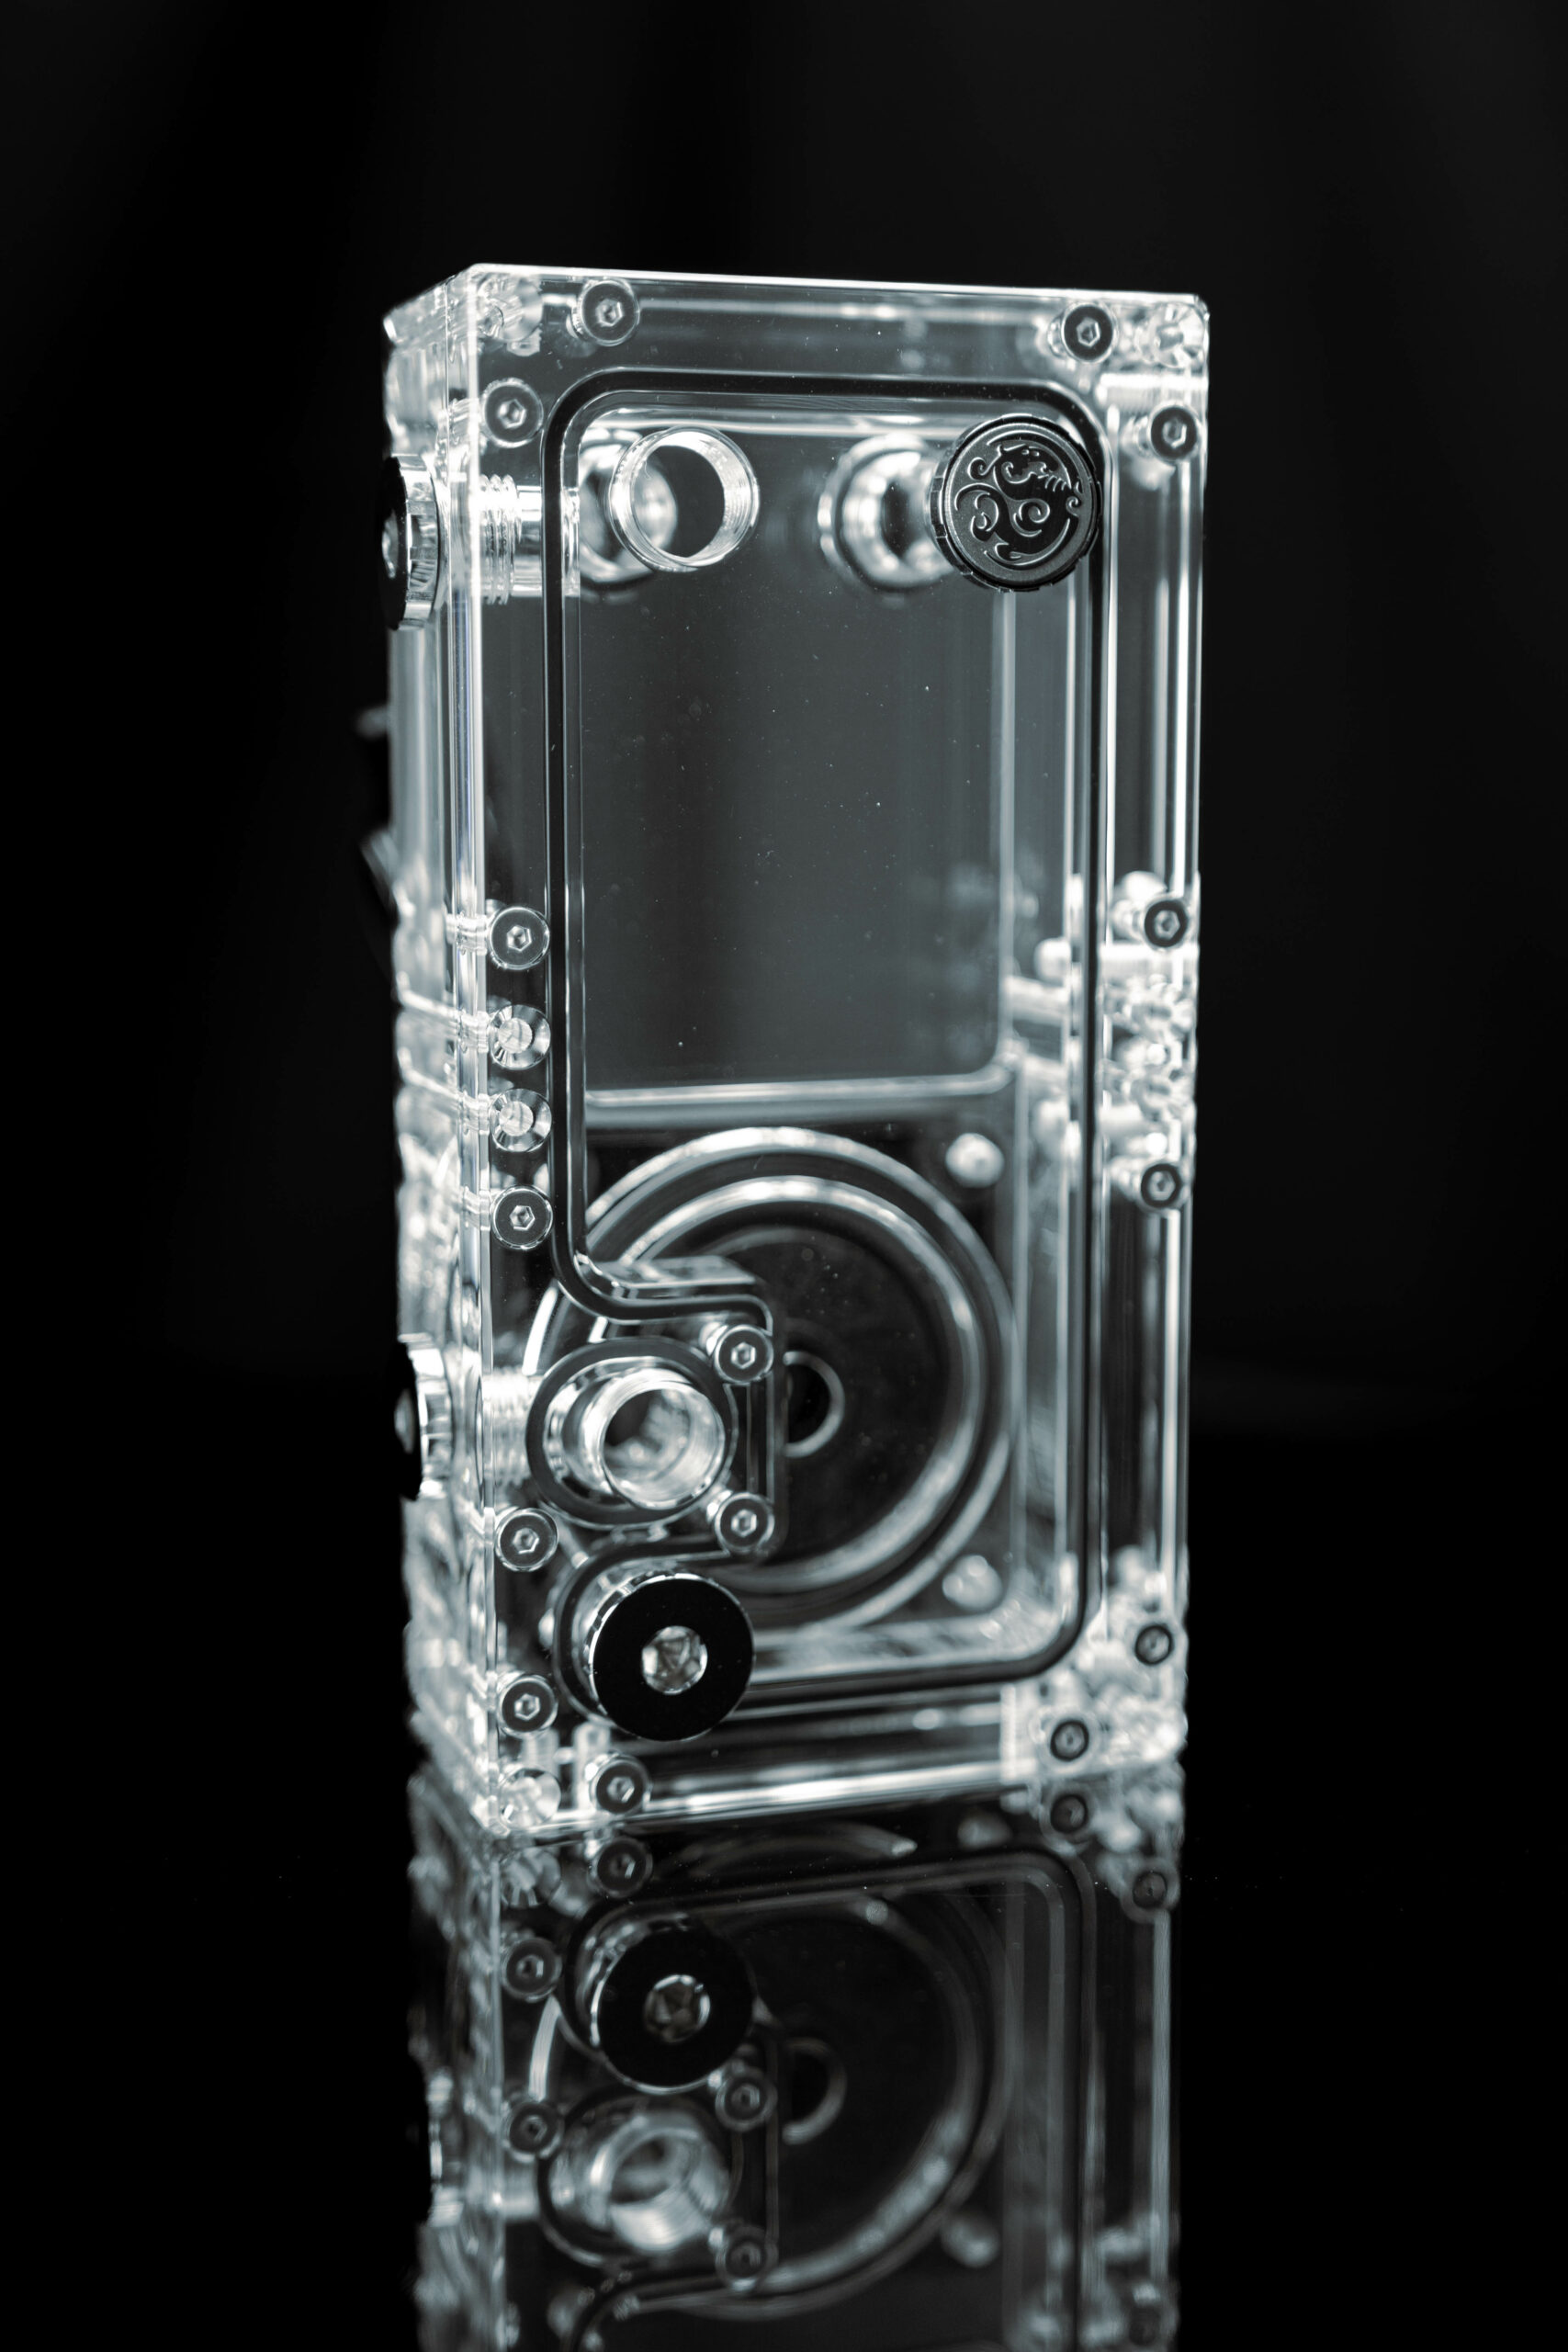
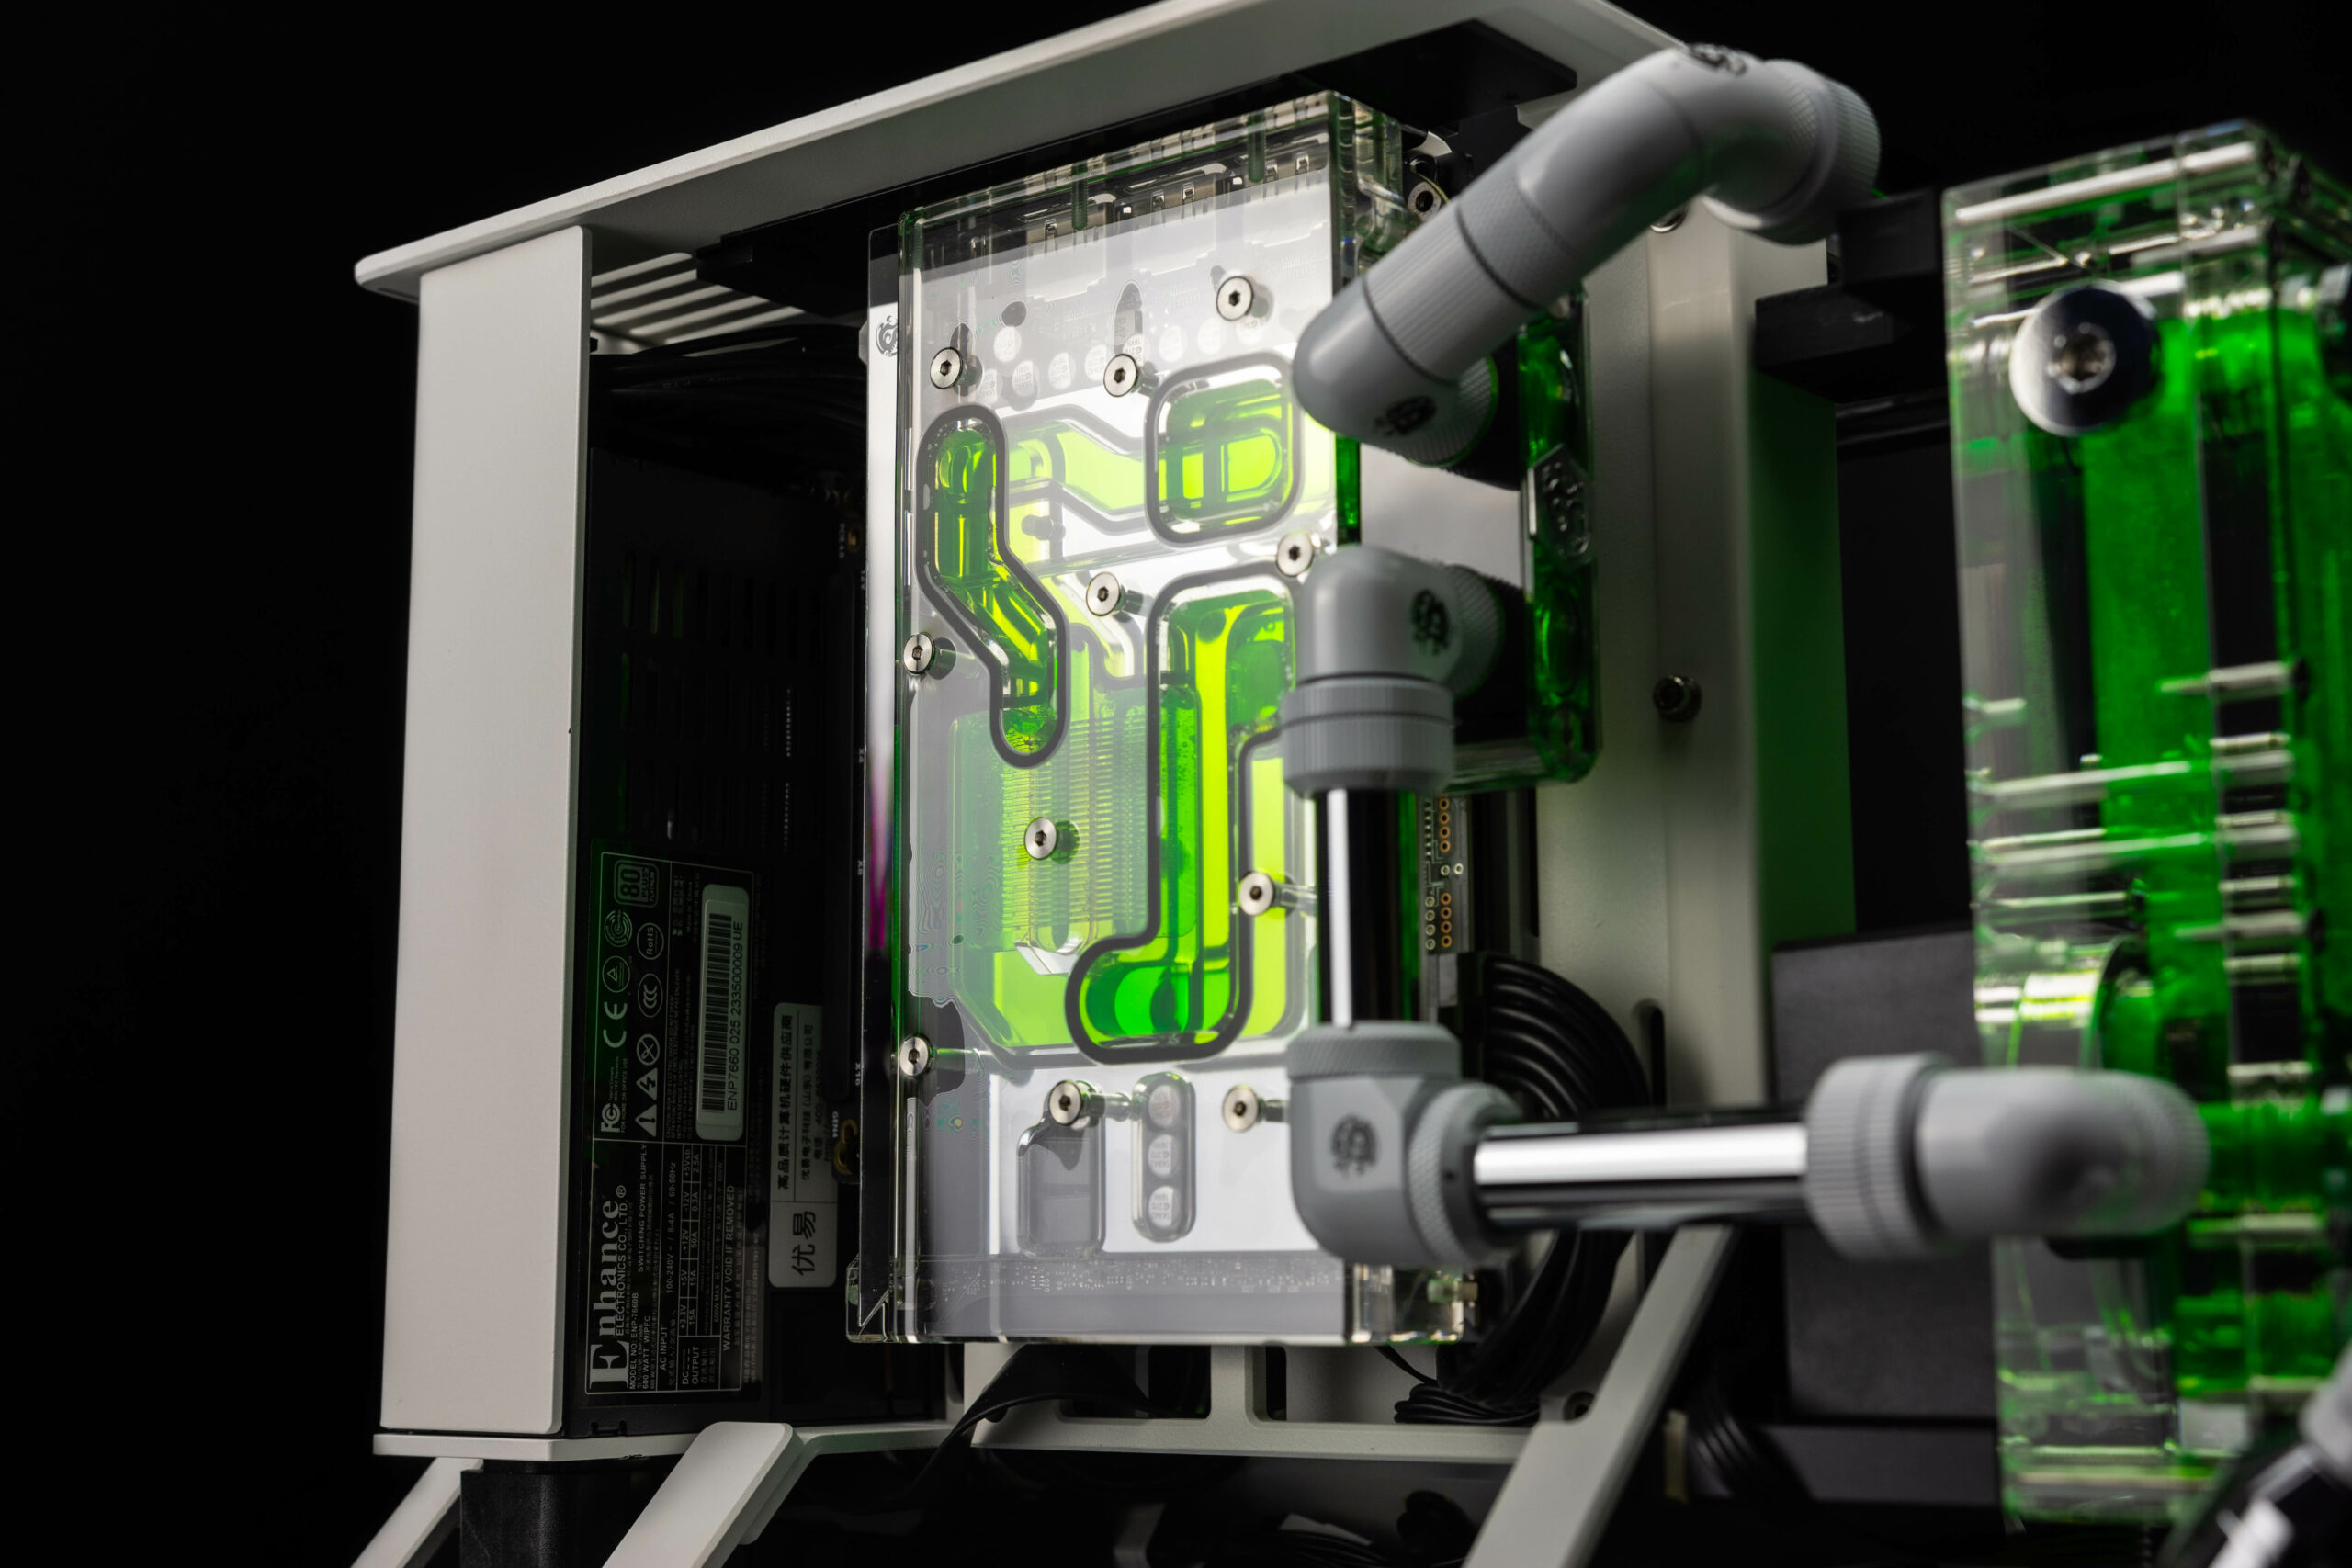
As we progress, CES 2024 brought with it some really nice surprises from Bitspower, following with Minibotpc Projects is always looking to innovate and adapt. They featured a tubeless cpu waterblock which i believe was a collab between them and the Vietnamese modder Ban as Ban used Bitspower cold plates to make his design. But more surprisingly was the release of 80mm distro blocks alongside the usual 120 and 240 variants. This came at a perfect time as I wanted to change and make the rear end of the build more aesthetically pleasing and with limited space and a height limitation (Aesthetics wise) the CR802 Distro block is a perfect fit for this purpose.
I have modelled this into my current design to show how it would fit with custom made brackets. This also comes with an additional bonus of including a pump built into the distro block, making it a seamless all in one system and saving much needed room to adhere to the aesthetics of the build.
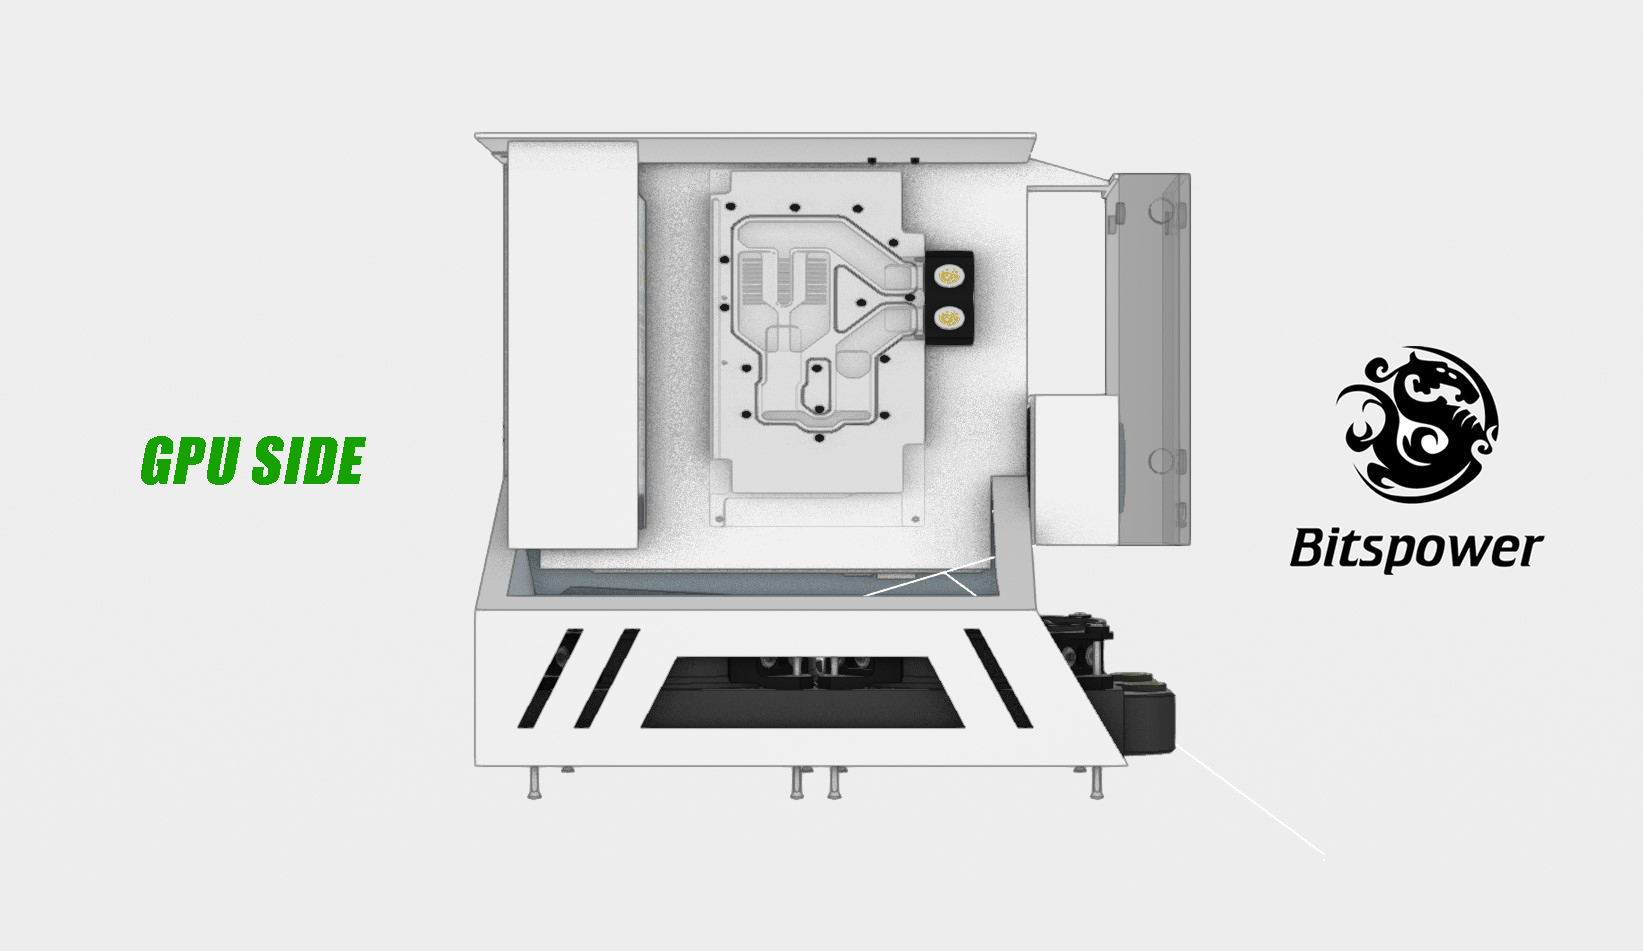
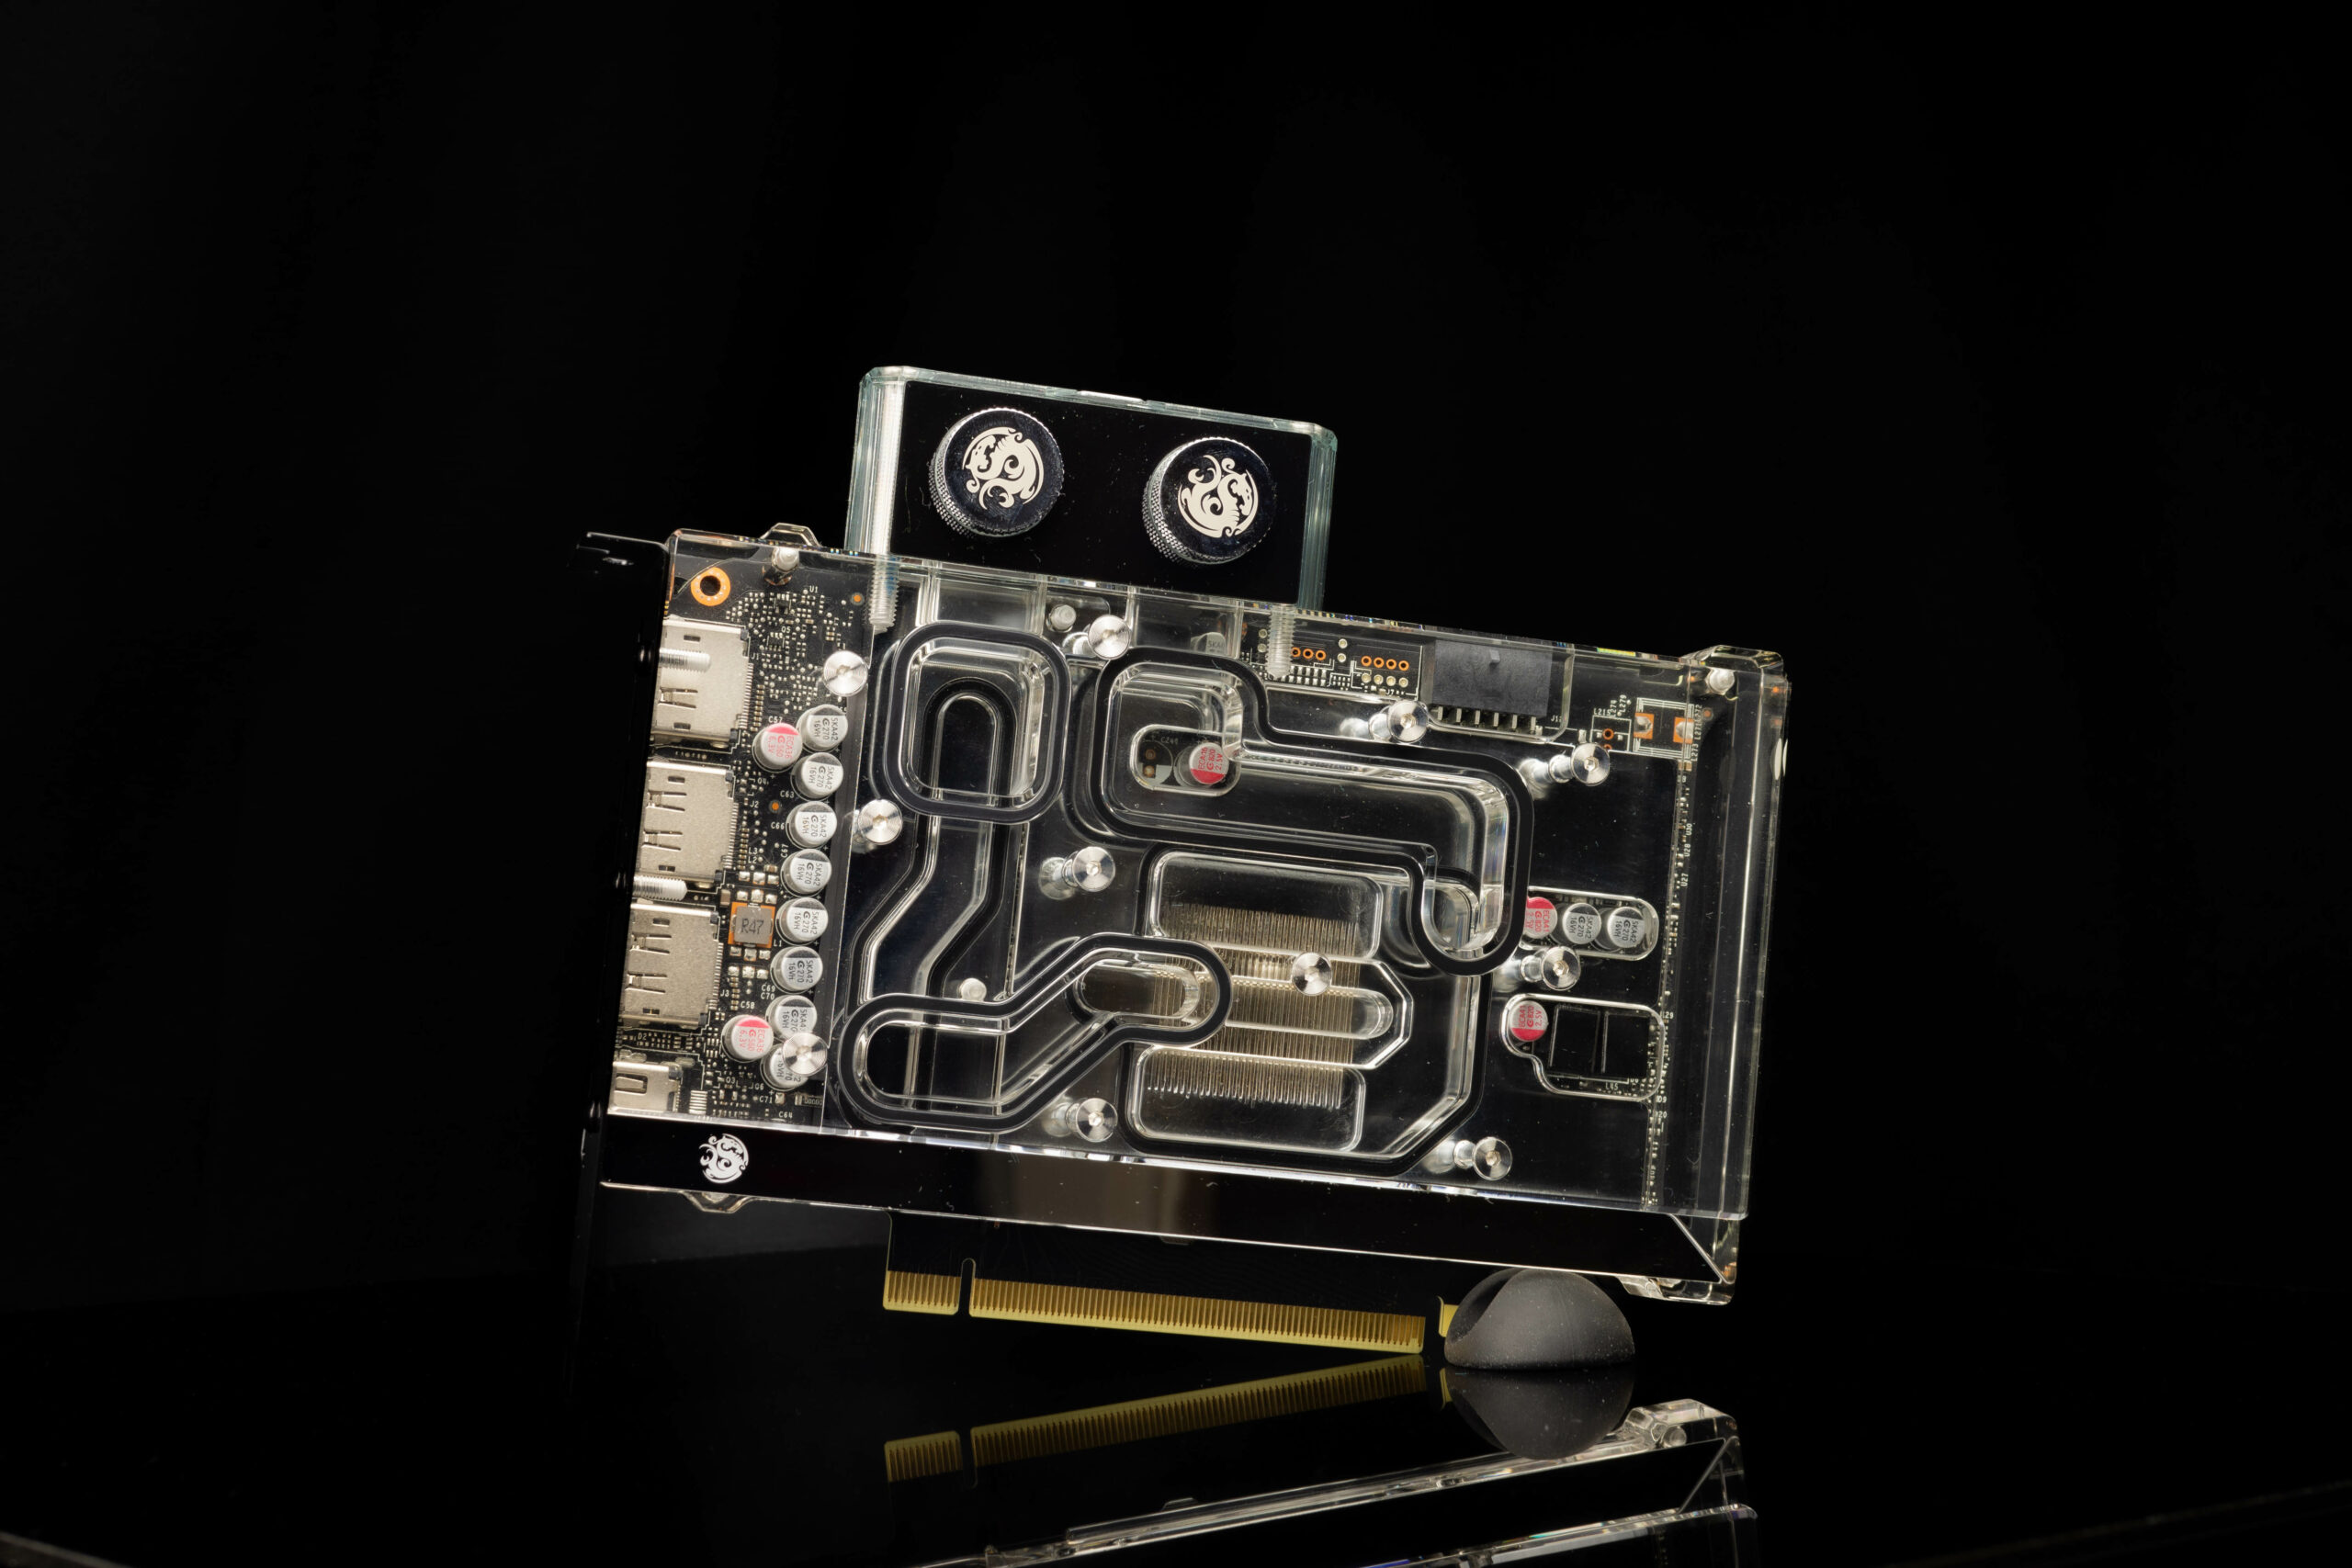
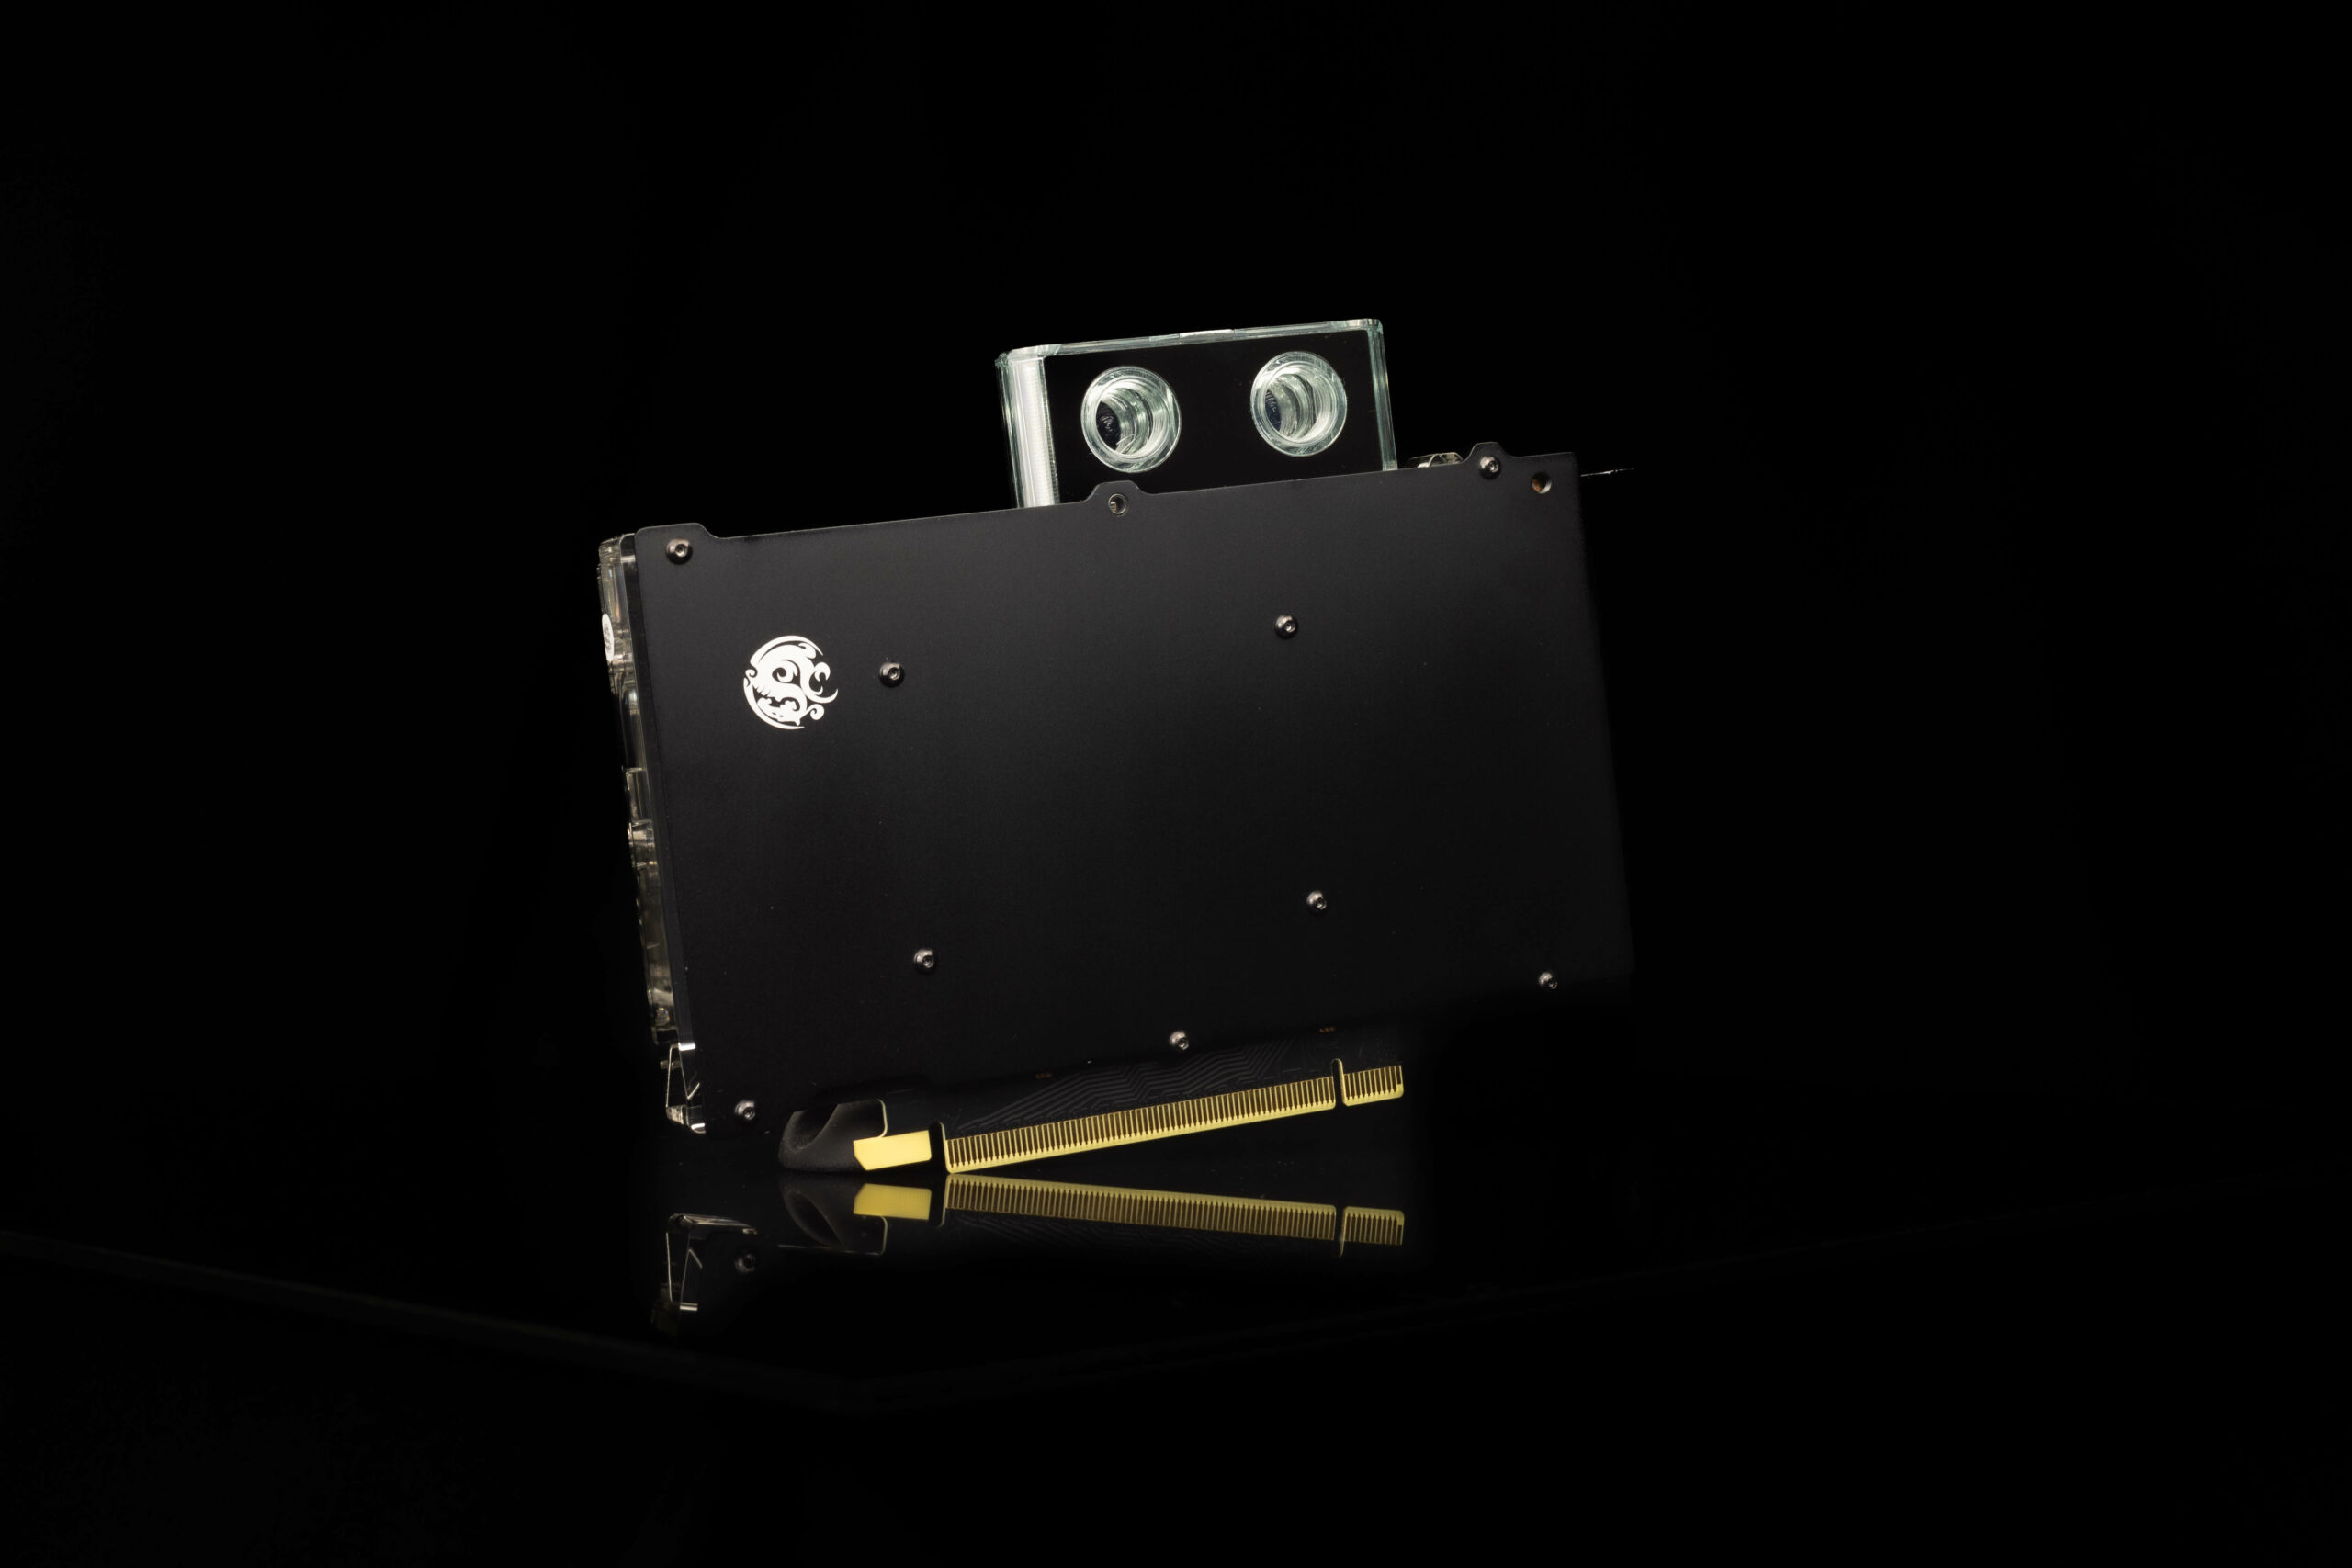
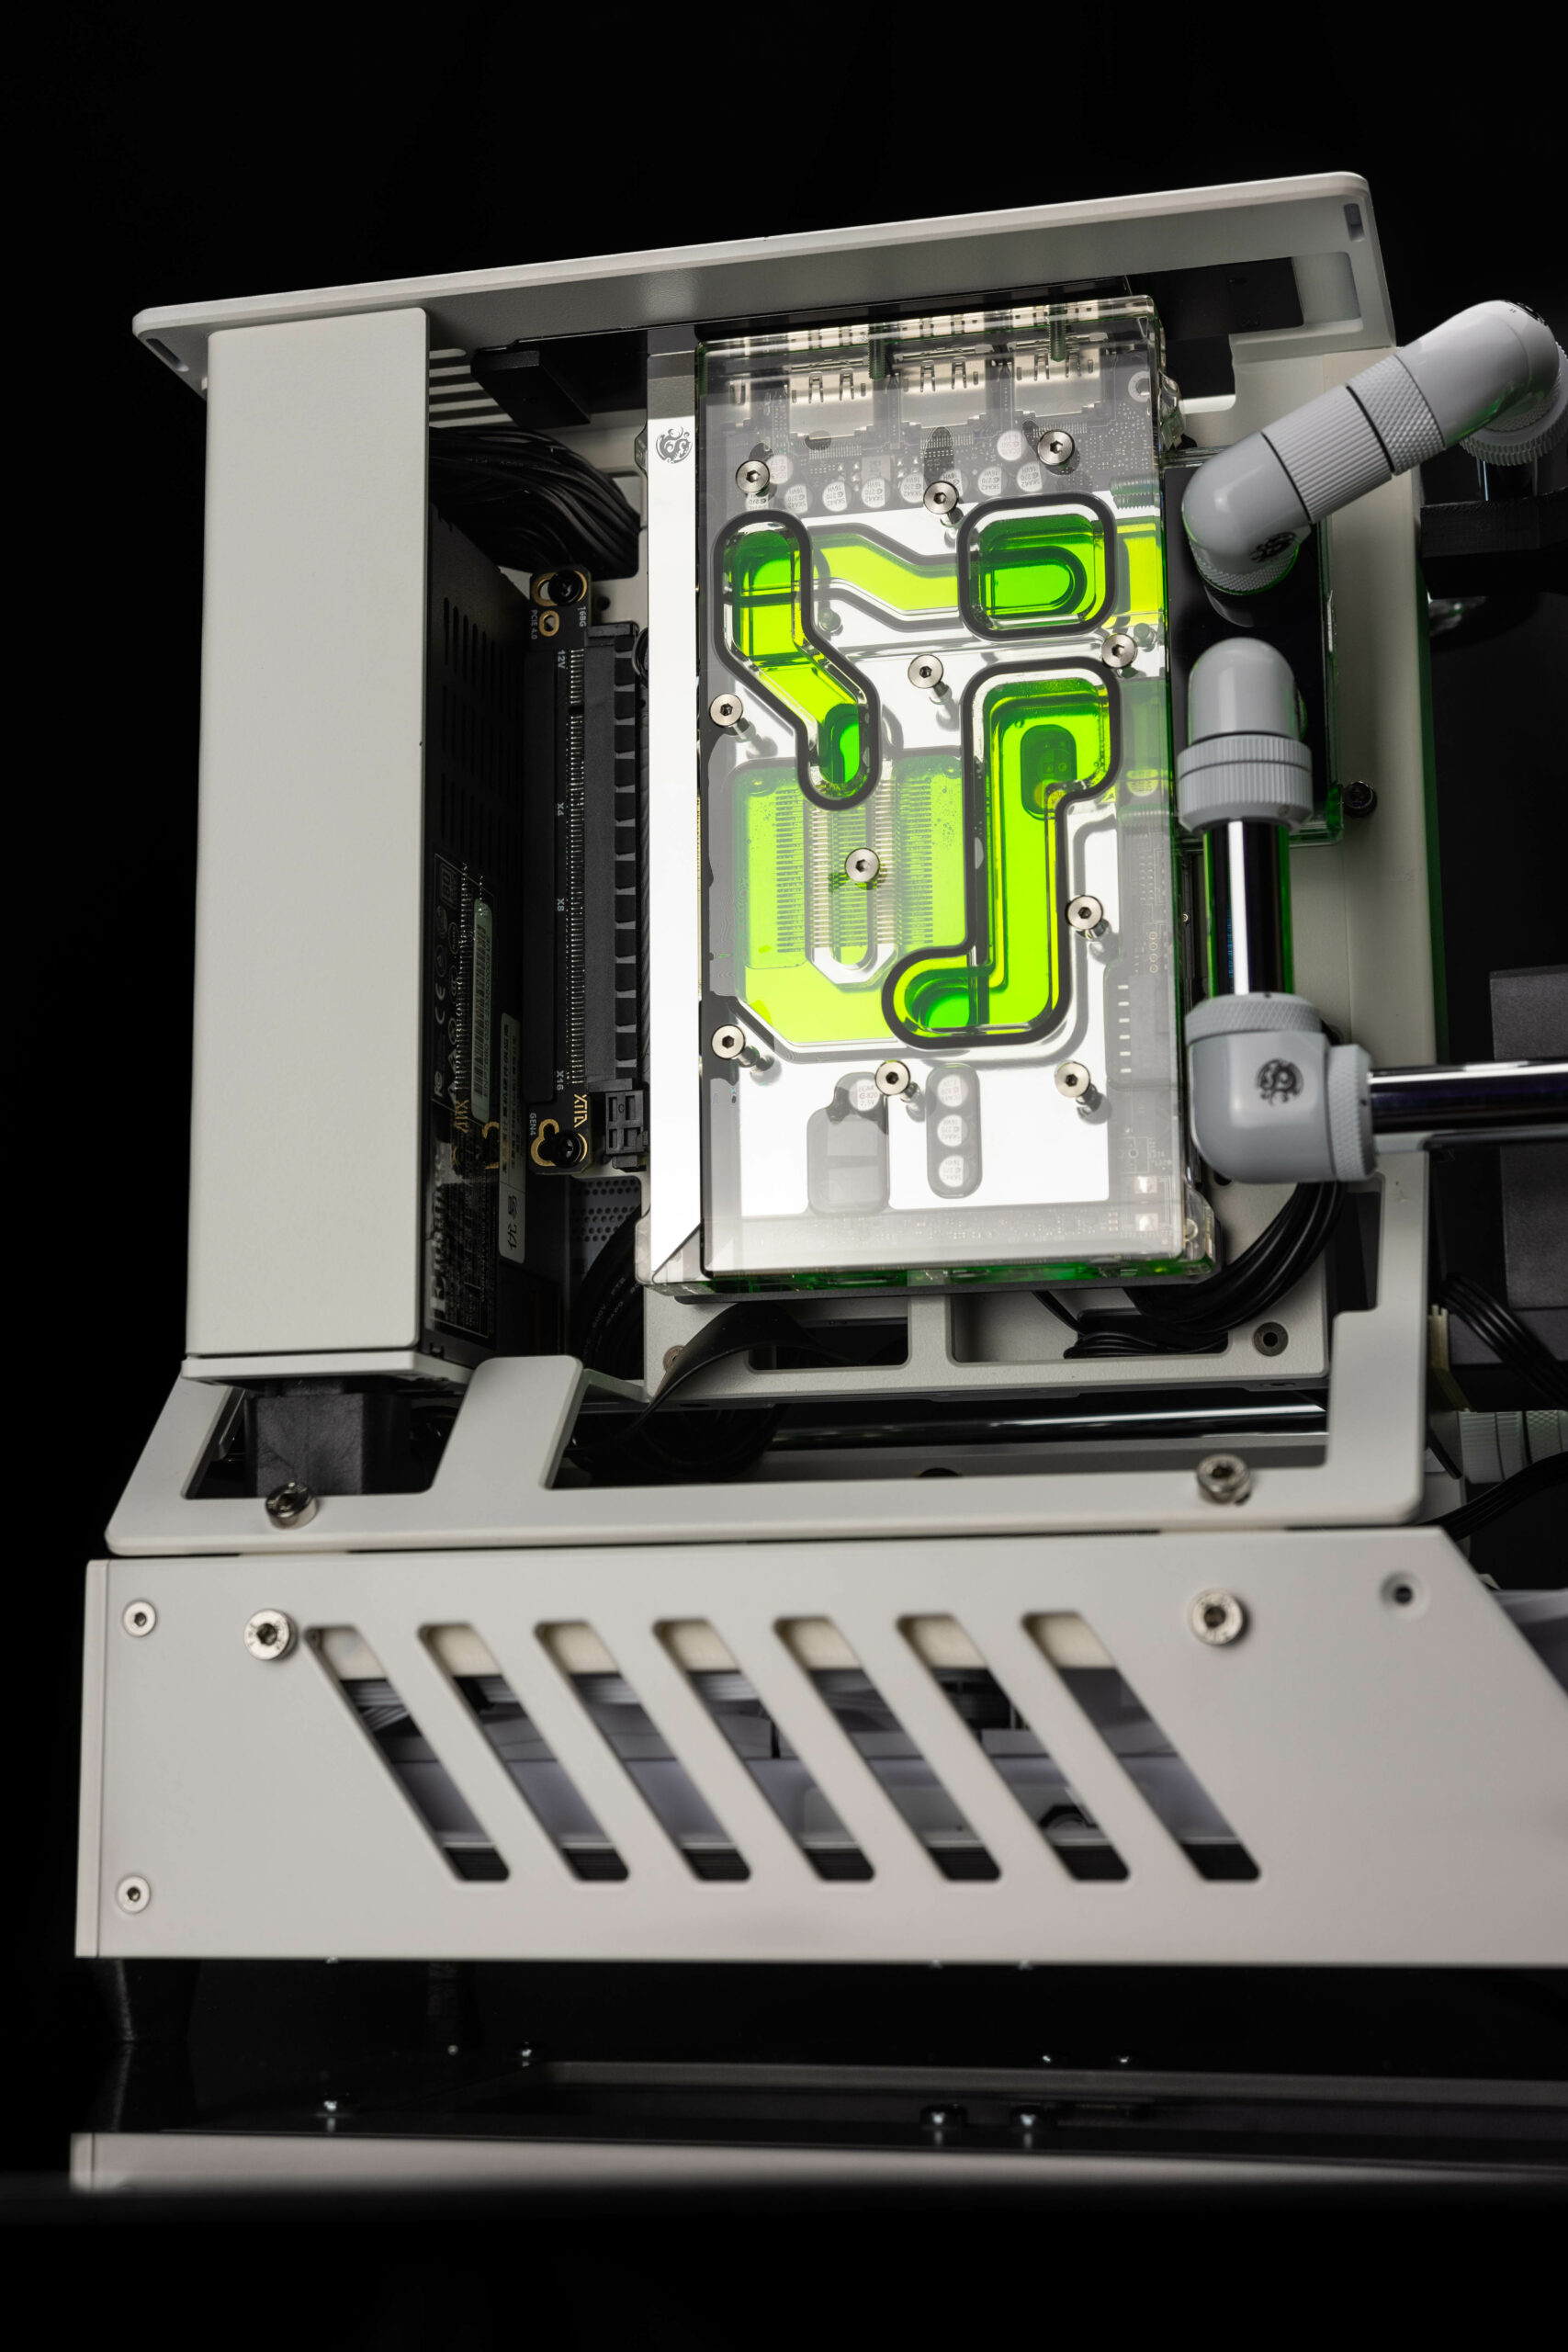
Bitspower RTX 3070FE Classic Waterblock
The Classic Bitspower RTX 3070 Founders Edition Waterblock is one of the smallest GPU waterblocks i own to date. I honestly wish more blocks were this size or more pcb’s were this small which makes it really suitable for really compact SFF builds. This particular block is part of Bitspowers Classic series which is now EOL however it can still be found in stock at some retailers. Their newer blocks follow the latest trends with a few designs which allow the inlet and outlets at the end of the waterblock though in this particular case, the side exit suits well for this build. Instructions were a little basic and lacking in some ways but with abit of common sense, it was relatively easy to assemble.
Bitspower components arrive
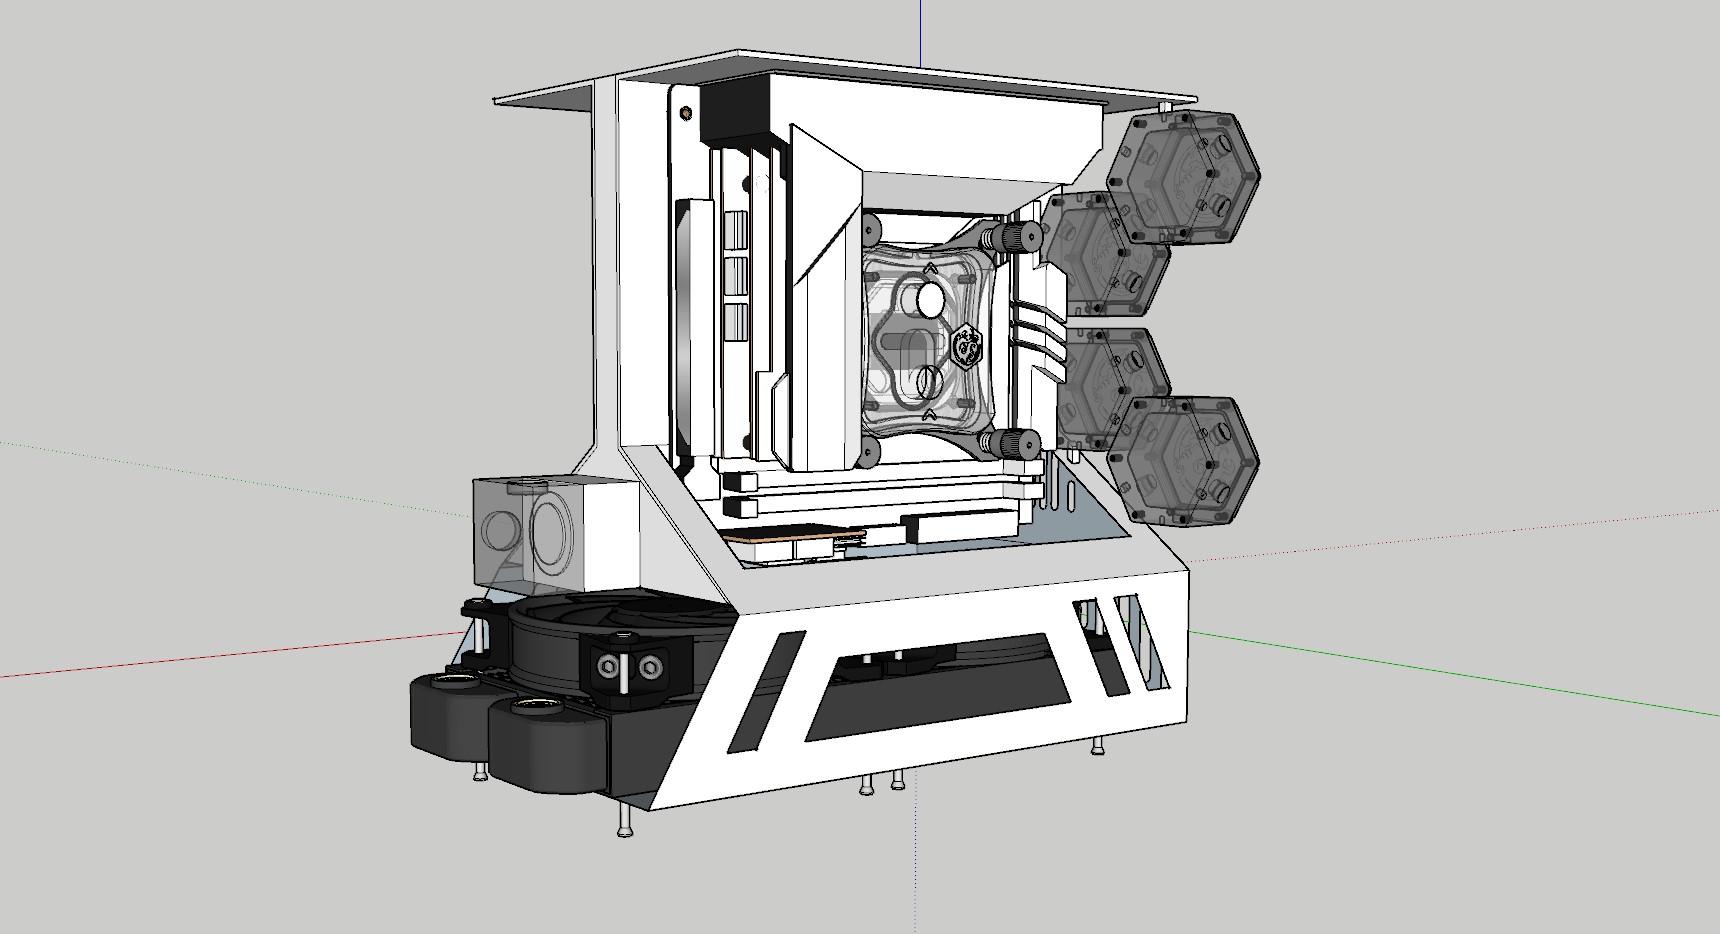
With the arrival of the care package, we’re swiftly moving into the next phase of the build. This involves meticulous coordination of all the parts, ensuring correct fitment, and carefully measuring tolerances. Additionally, this stage allows me to start designing the mounting system for both the reservoir and the front mini distro, incorporating the Bitspower Hexa flow meters, which may require some modifications.
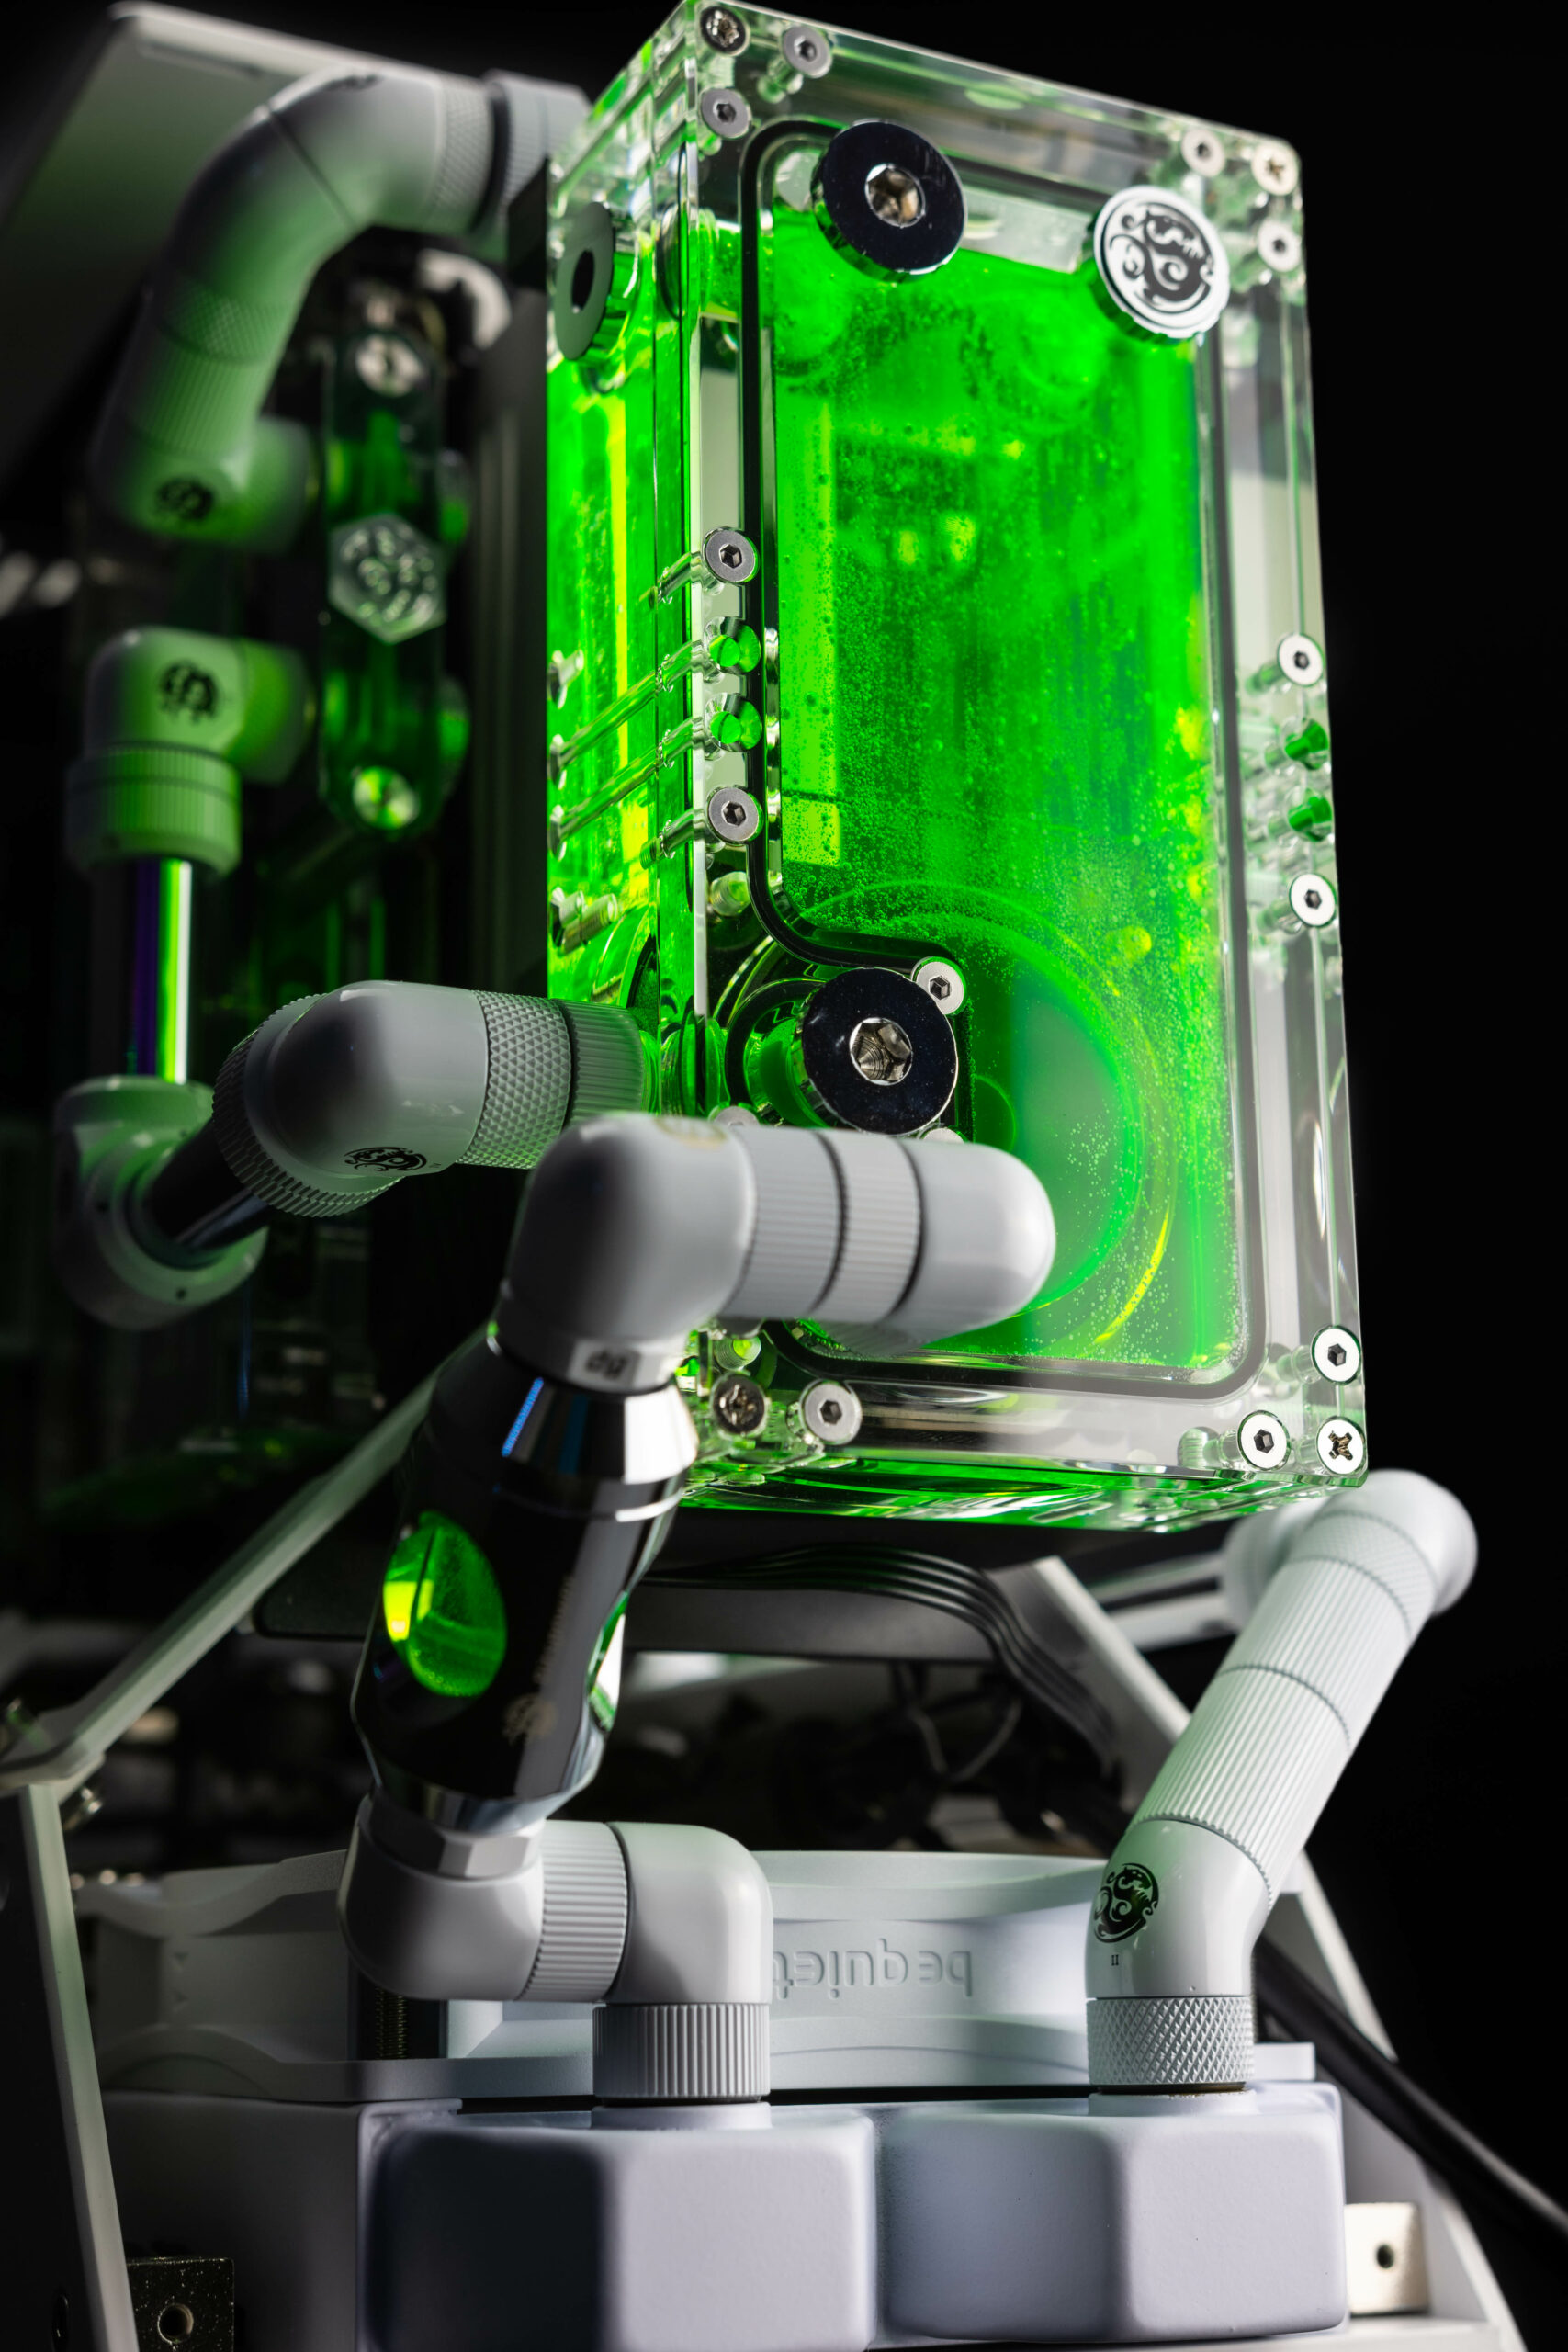
The CR802 Reservoir, previously showcased at CES2024 earlier this year, will also play a crucial role in this setup, paired with the Hercules pump to provide the necessary flow power.
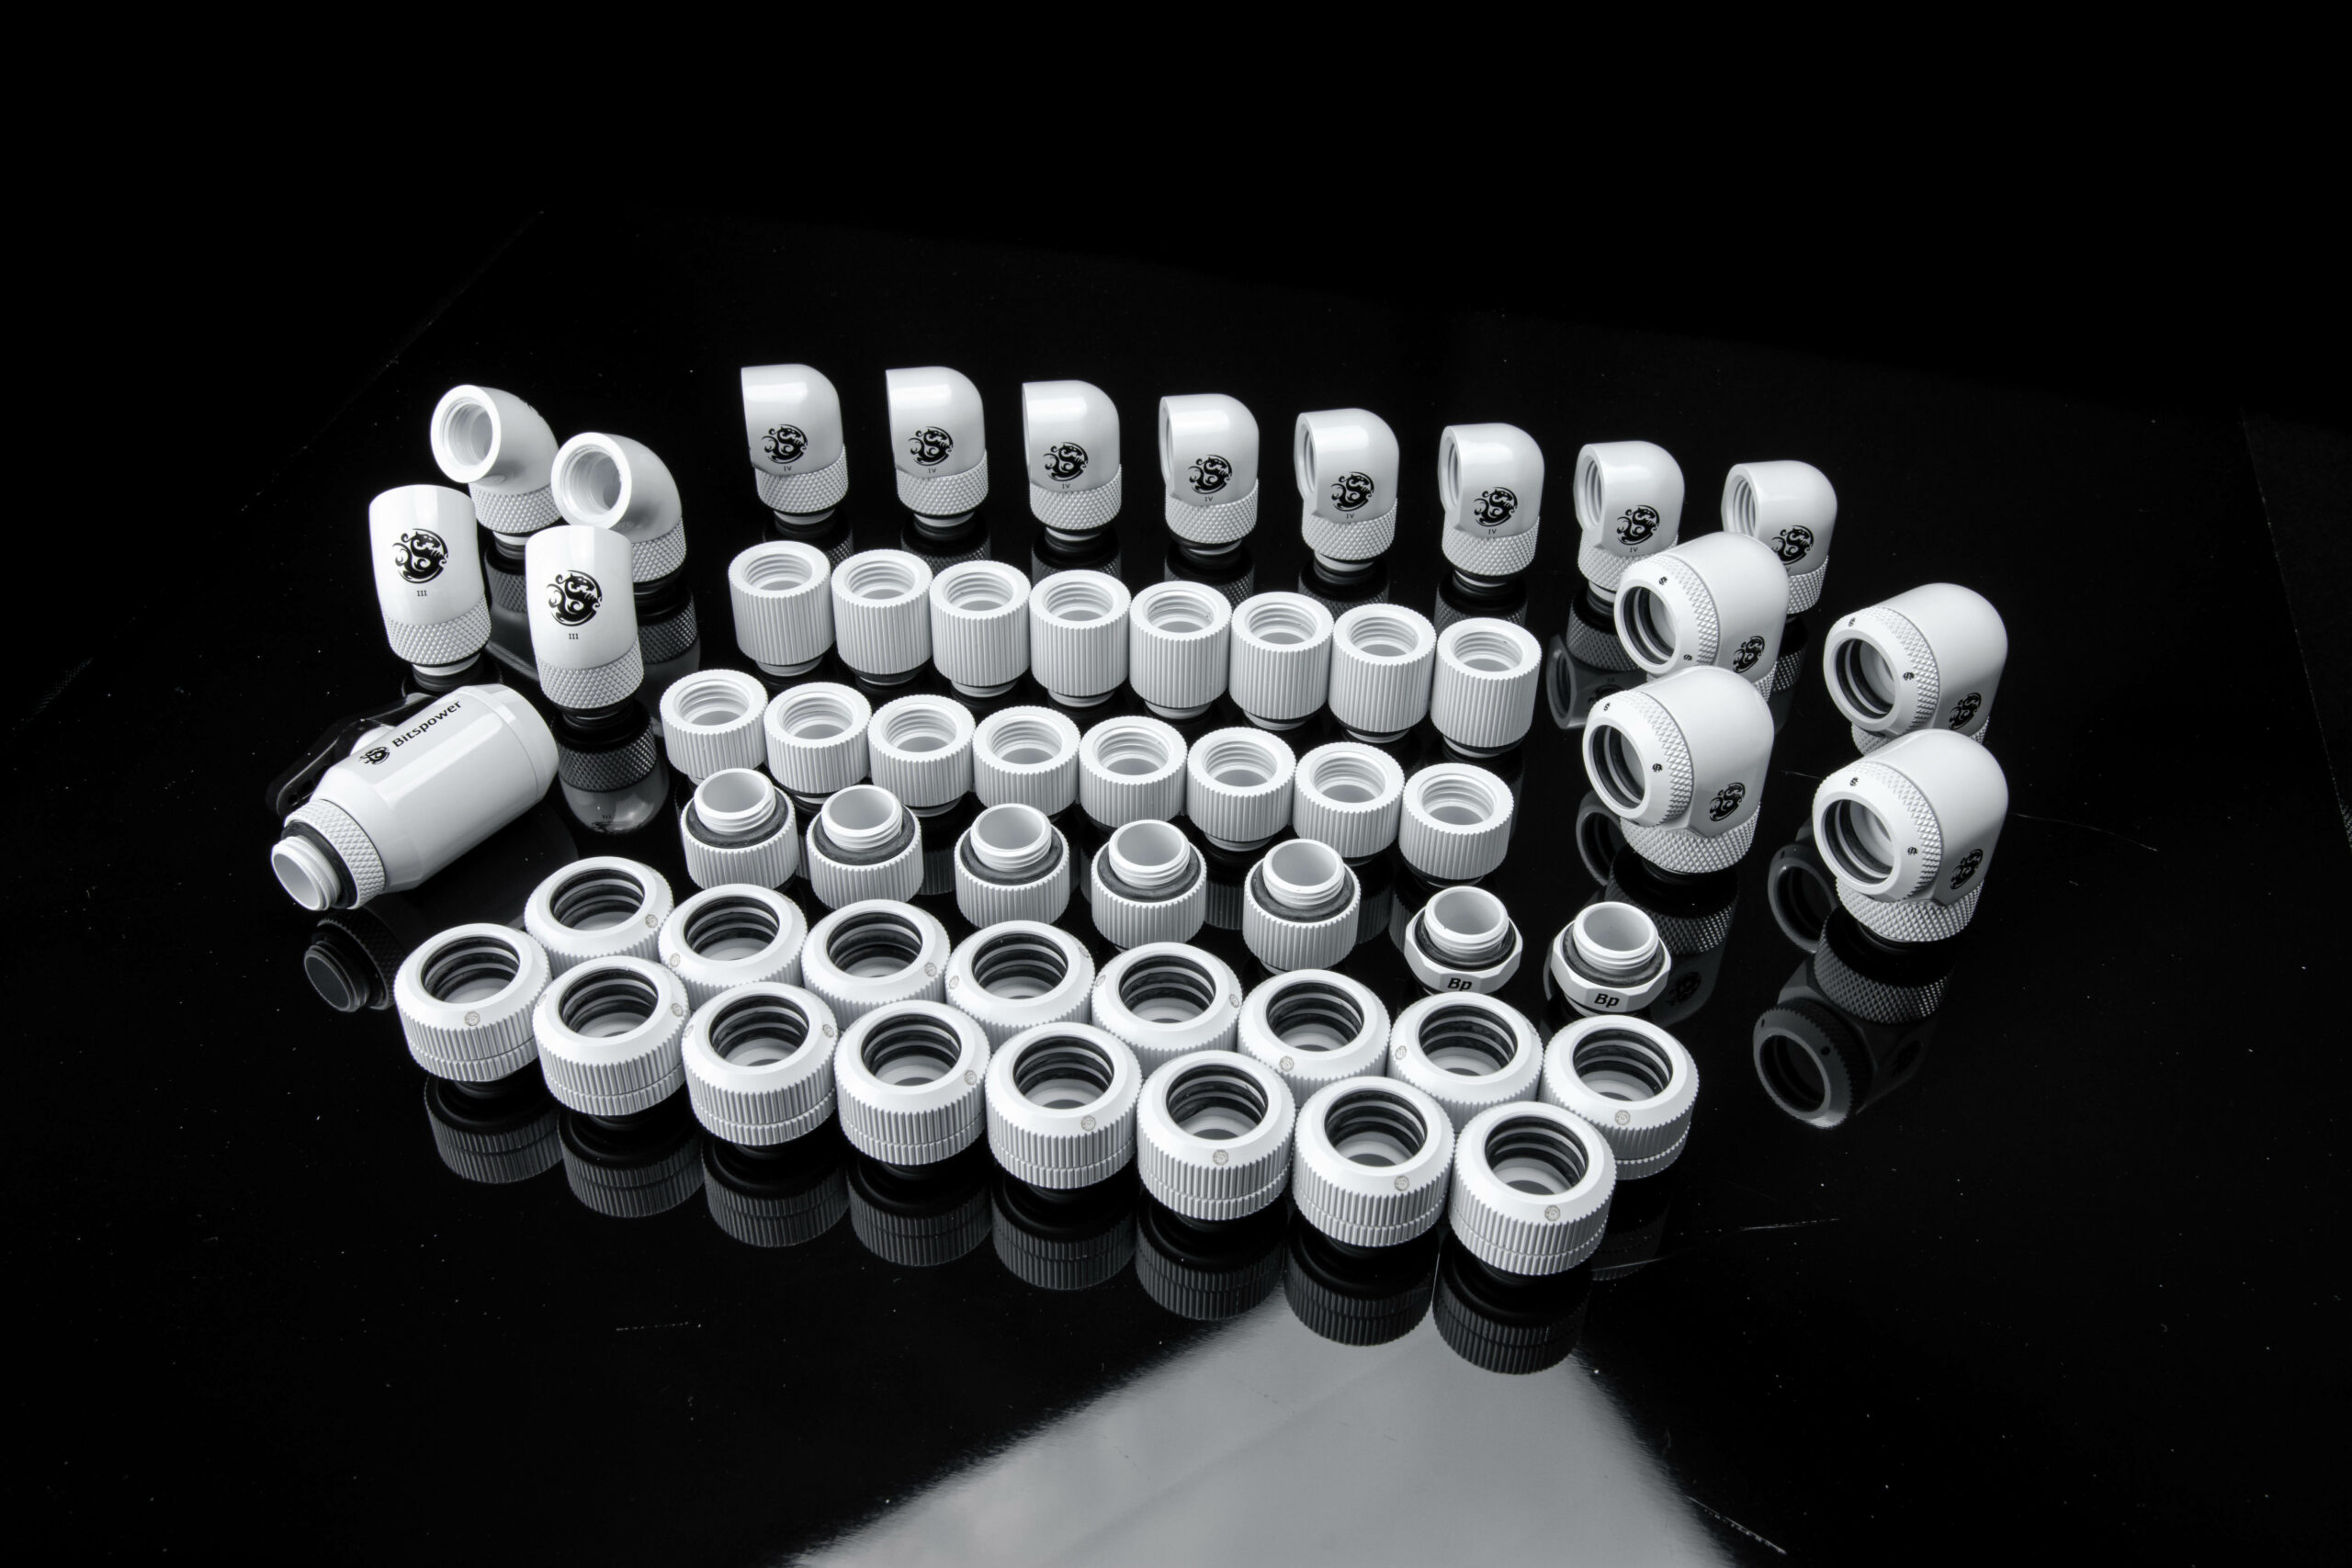
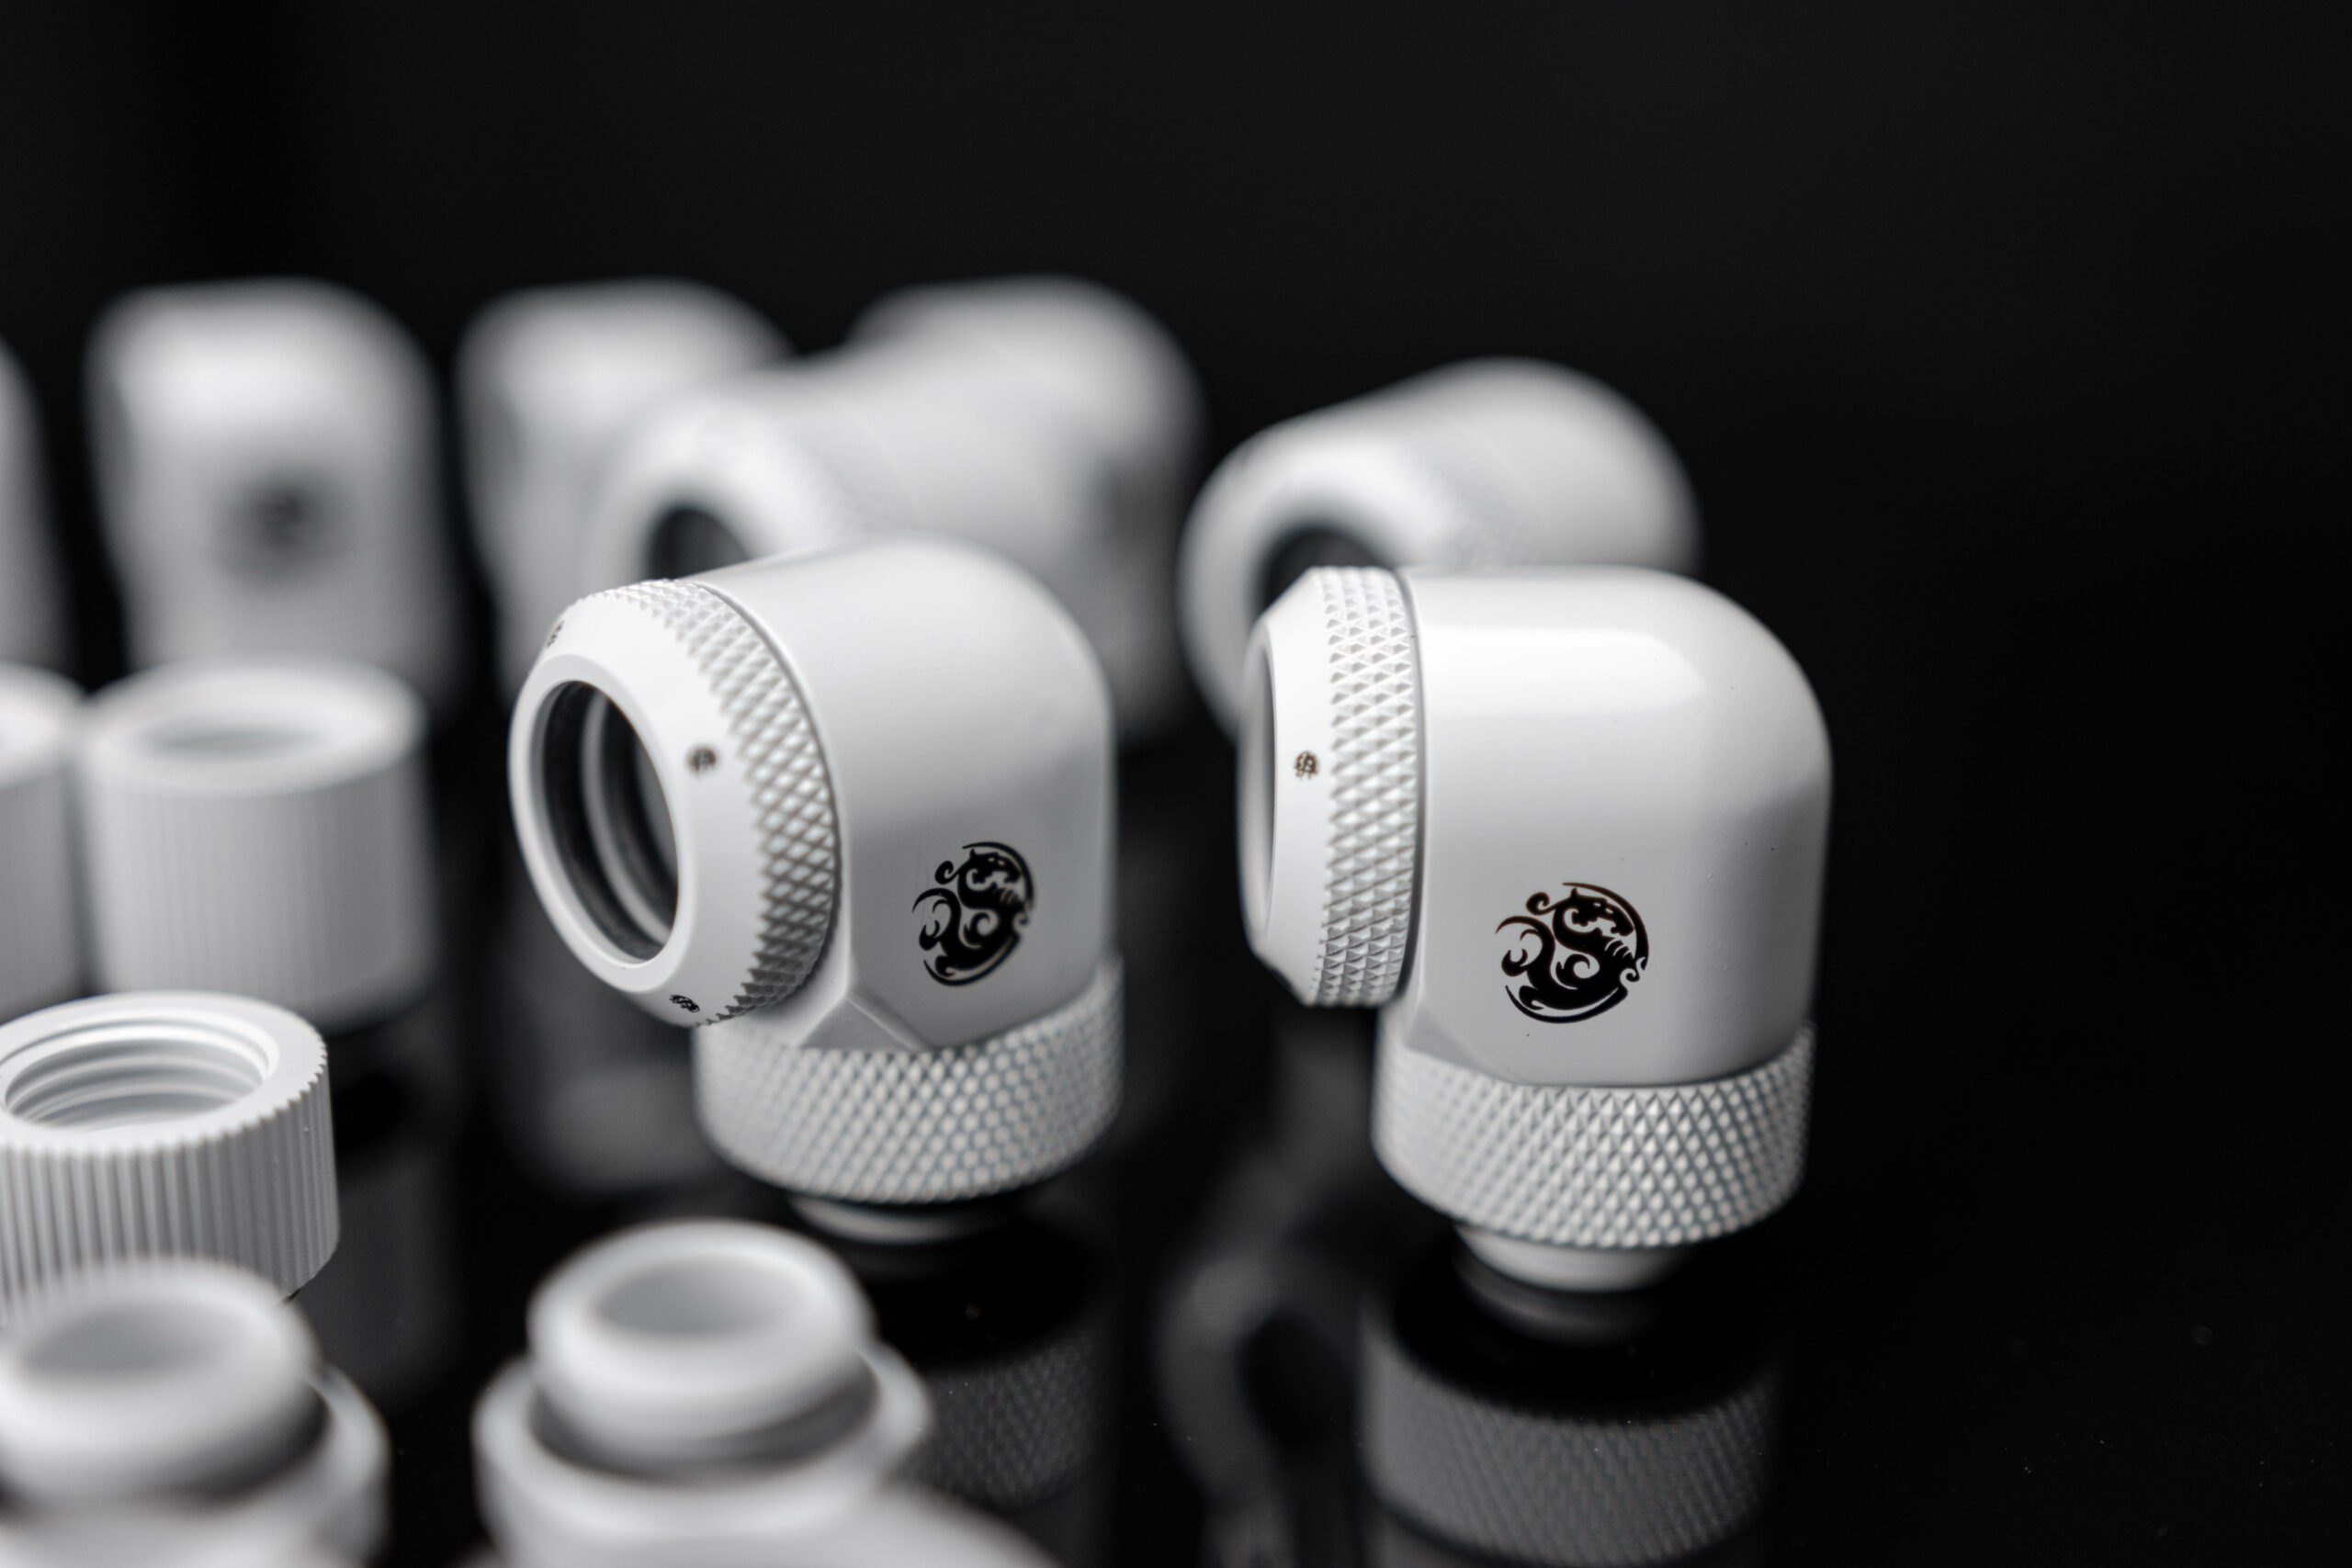
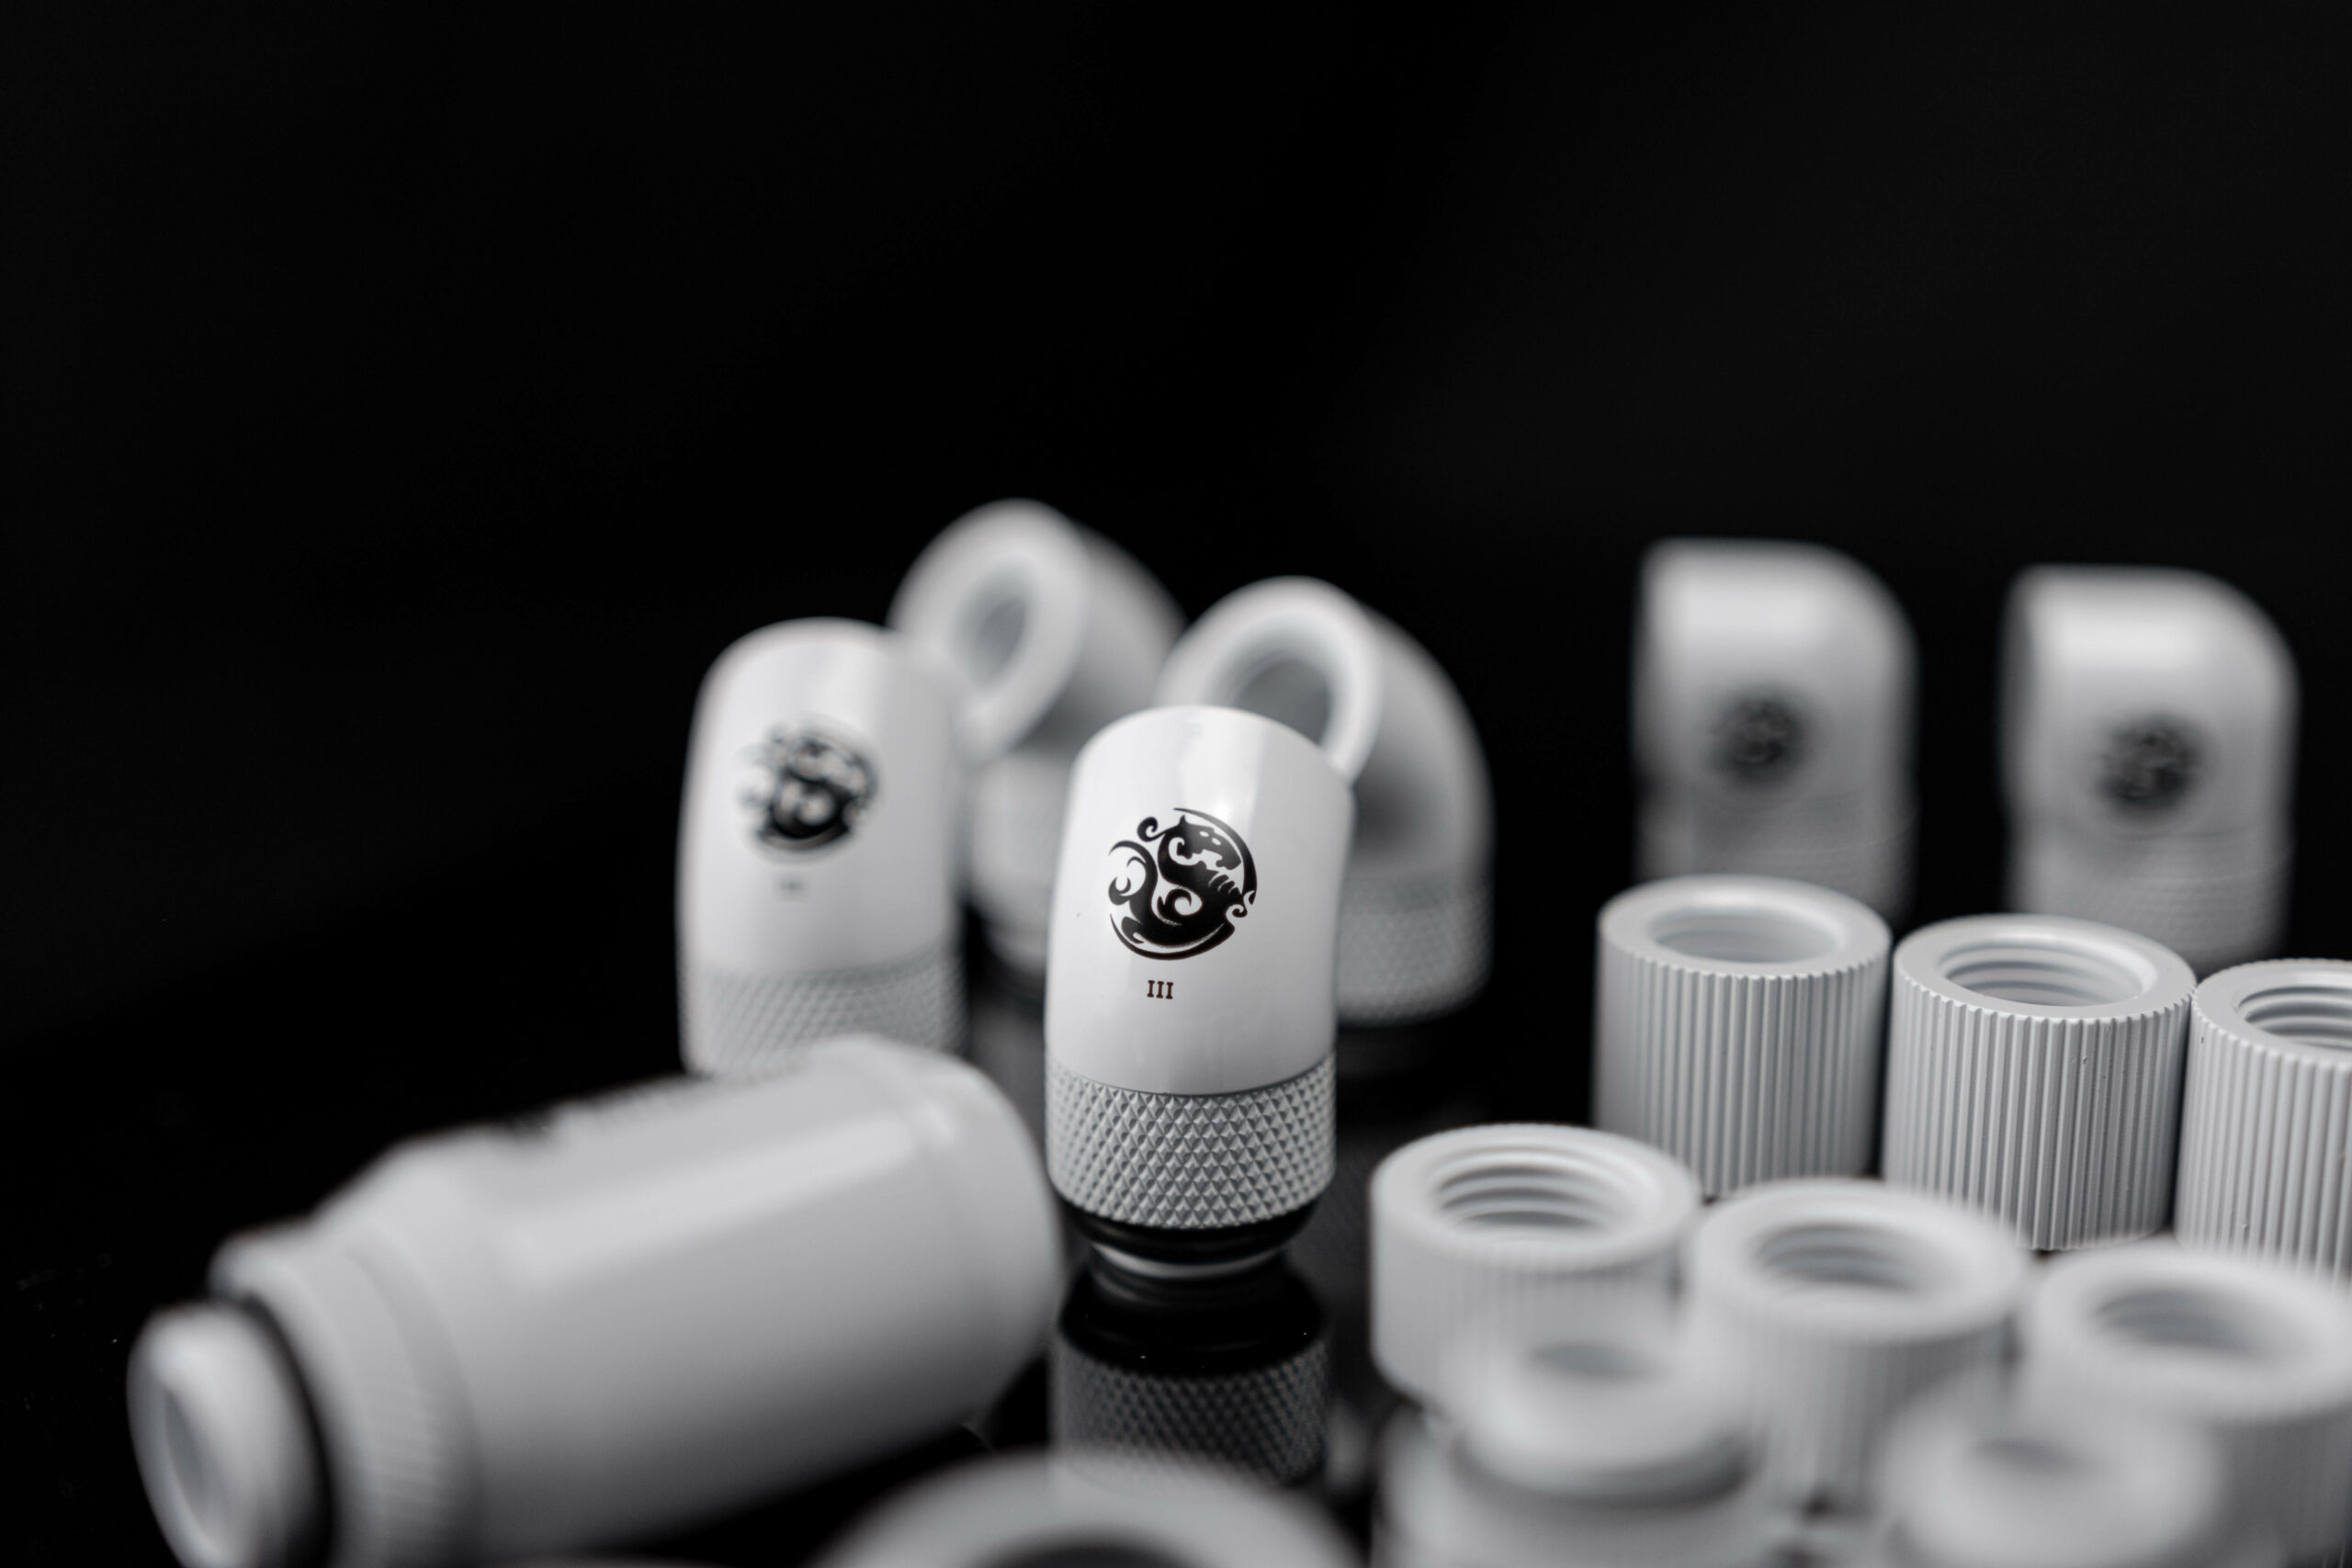
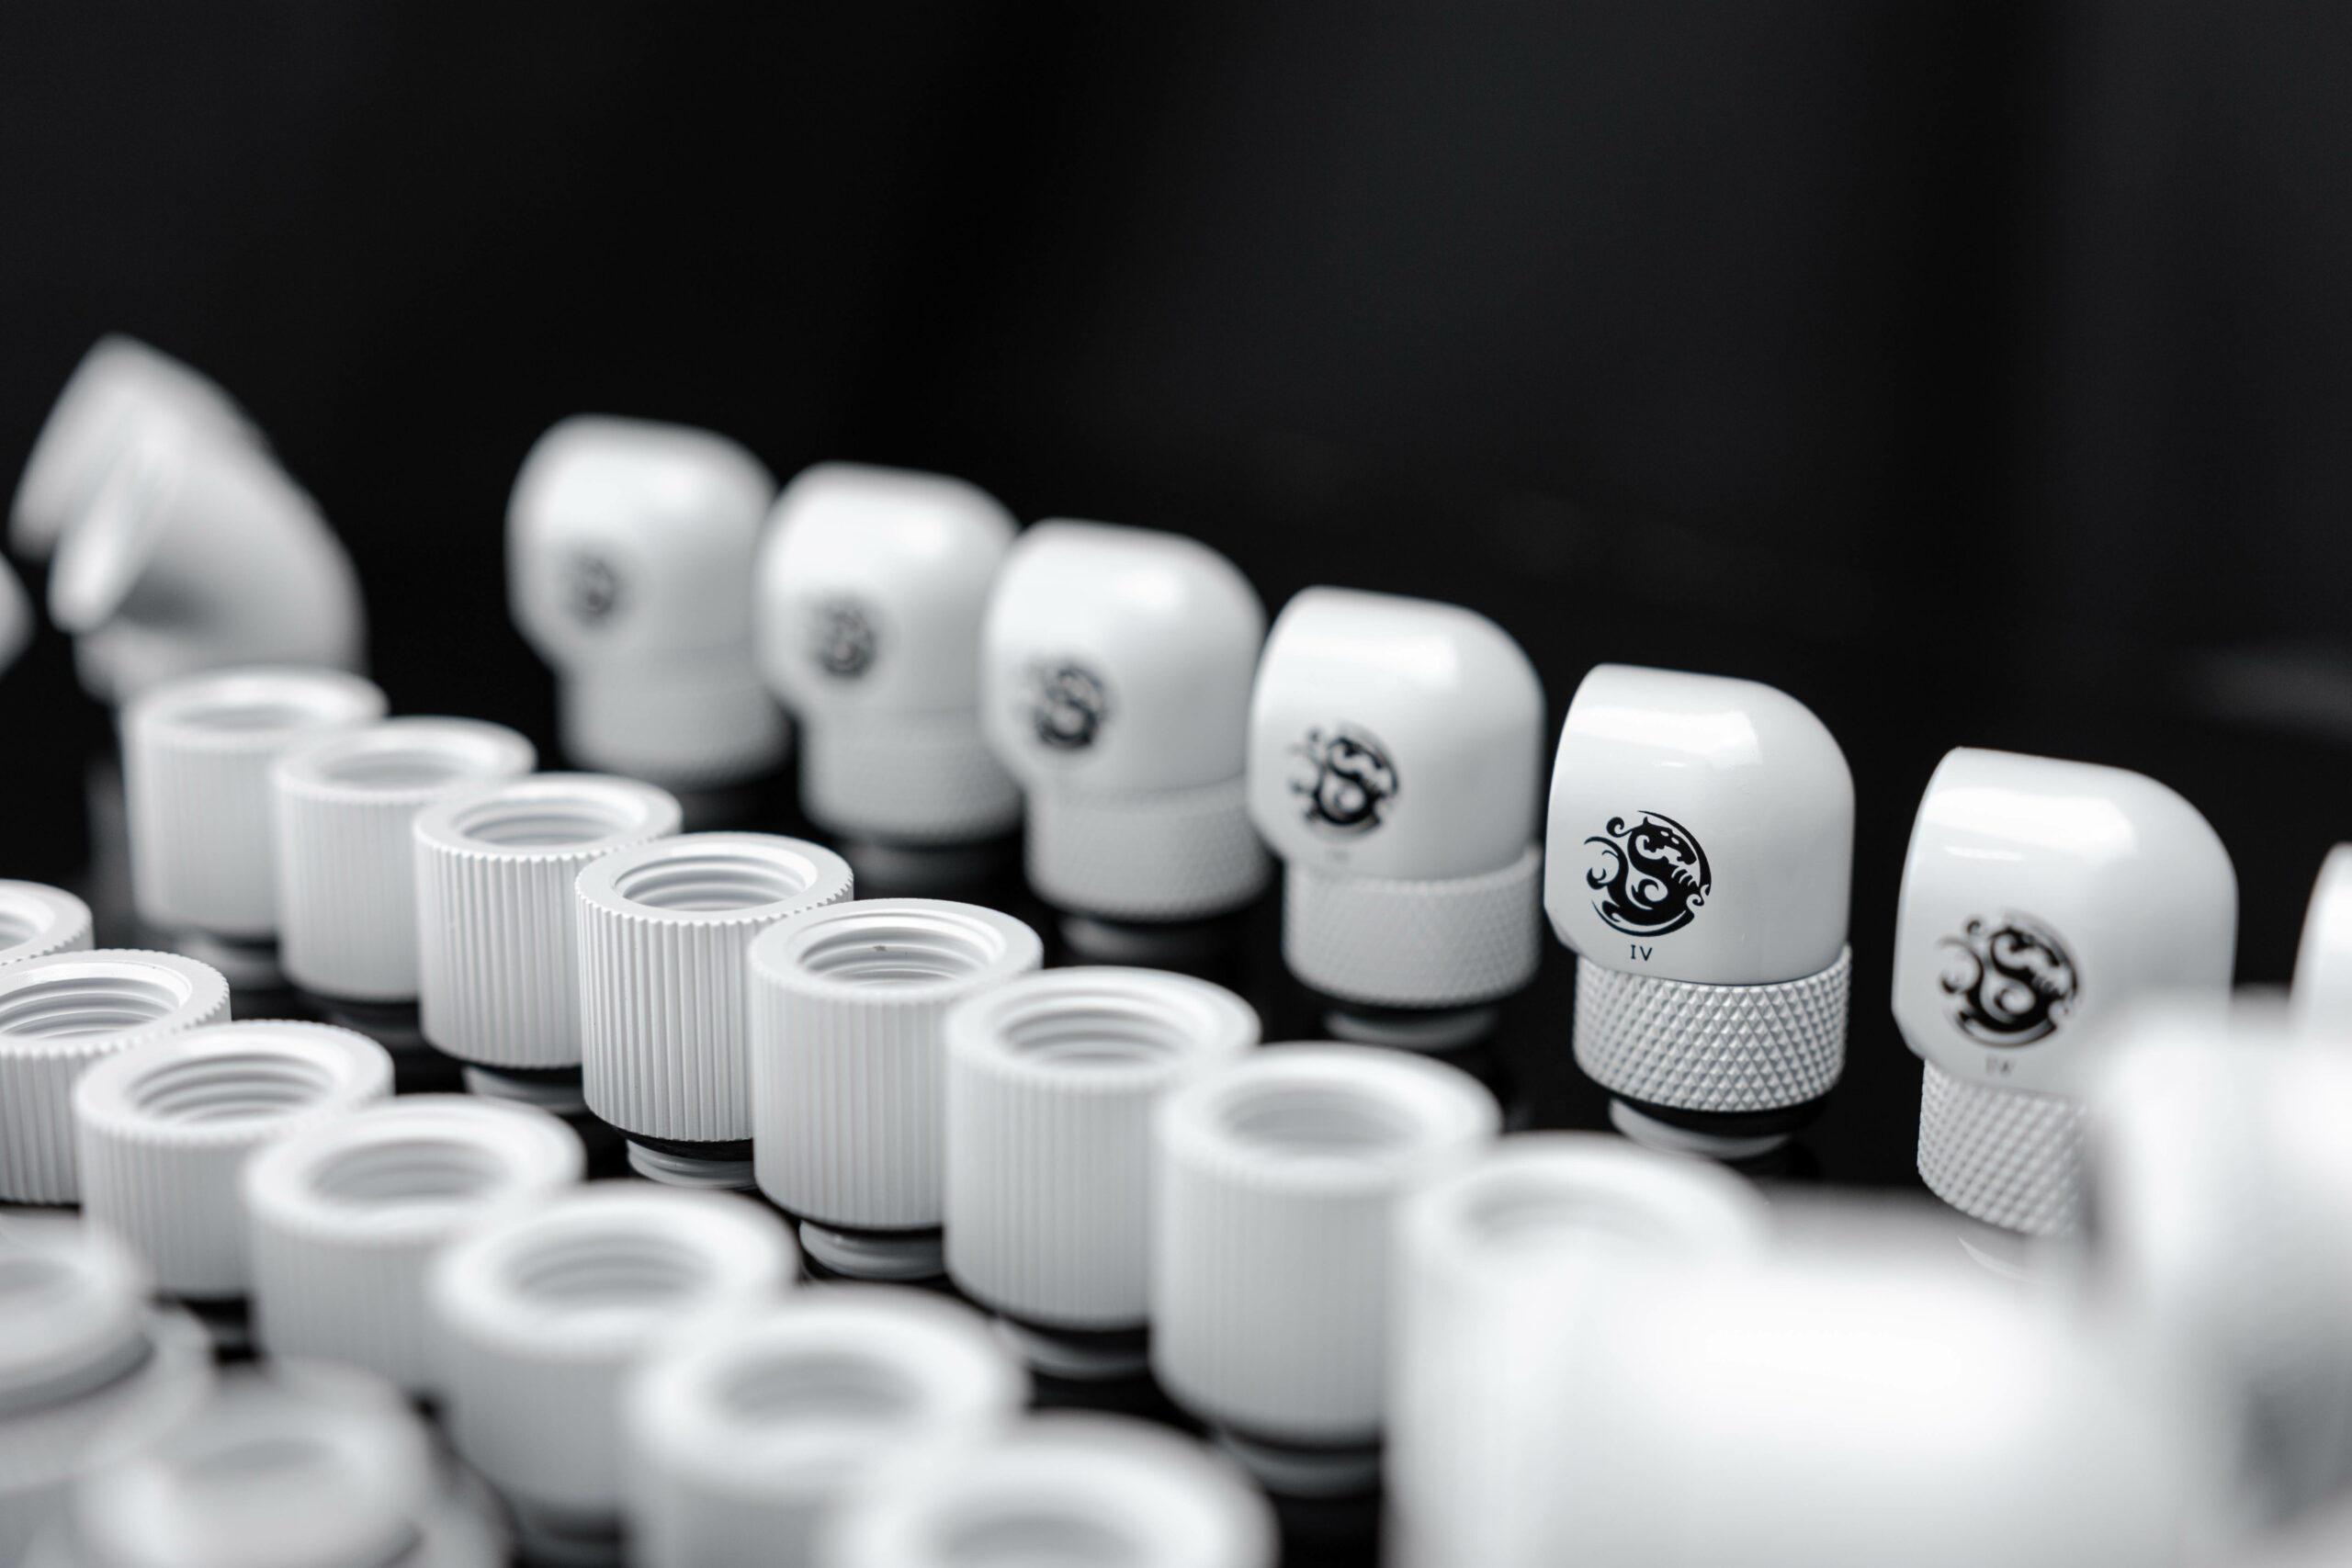
We’re grateful to our friends at Bitspower for generously supplying us with a plethora of fittings for this project. Once again, their unwavering support has been instrumental in bringing this whole endeavor to fruition.
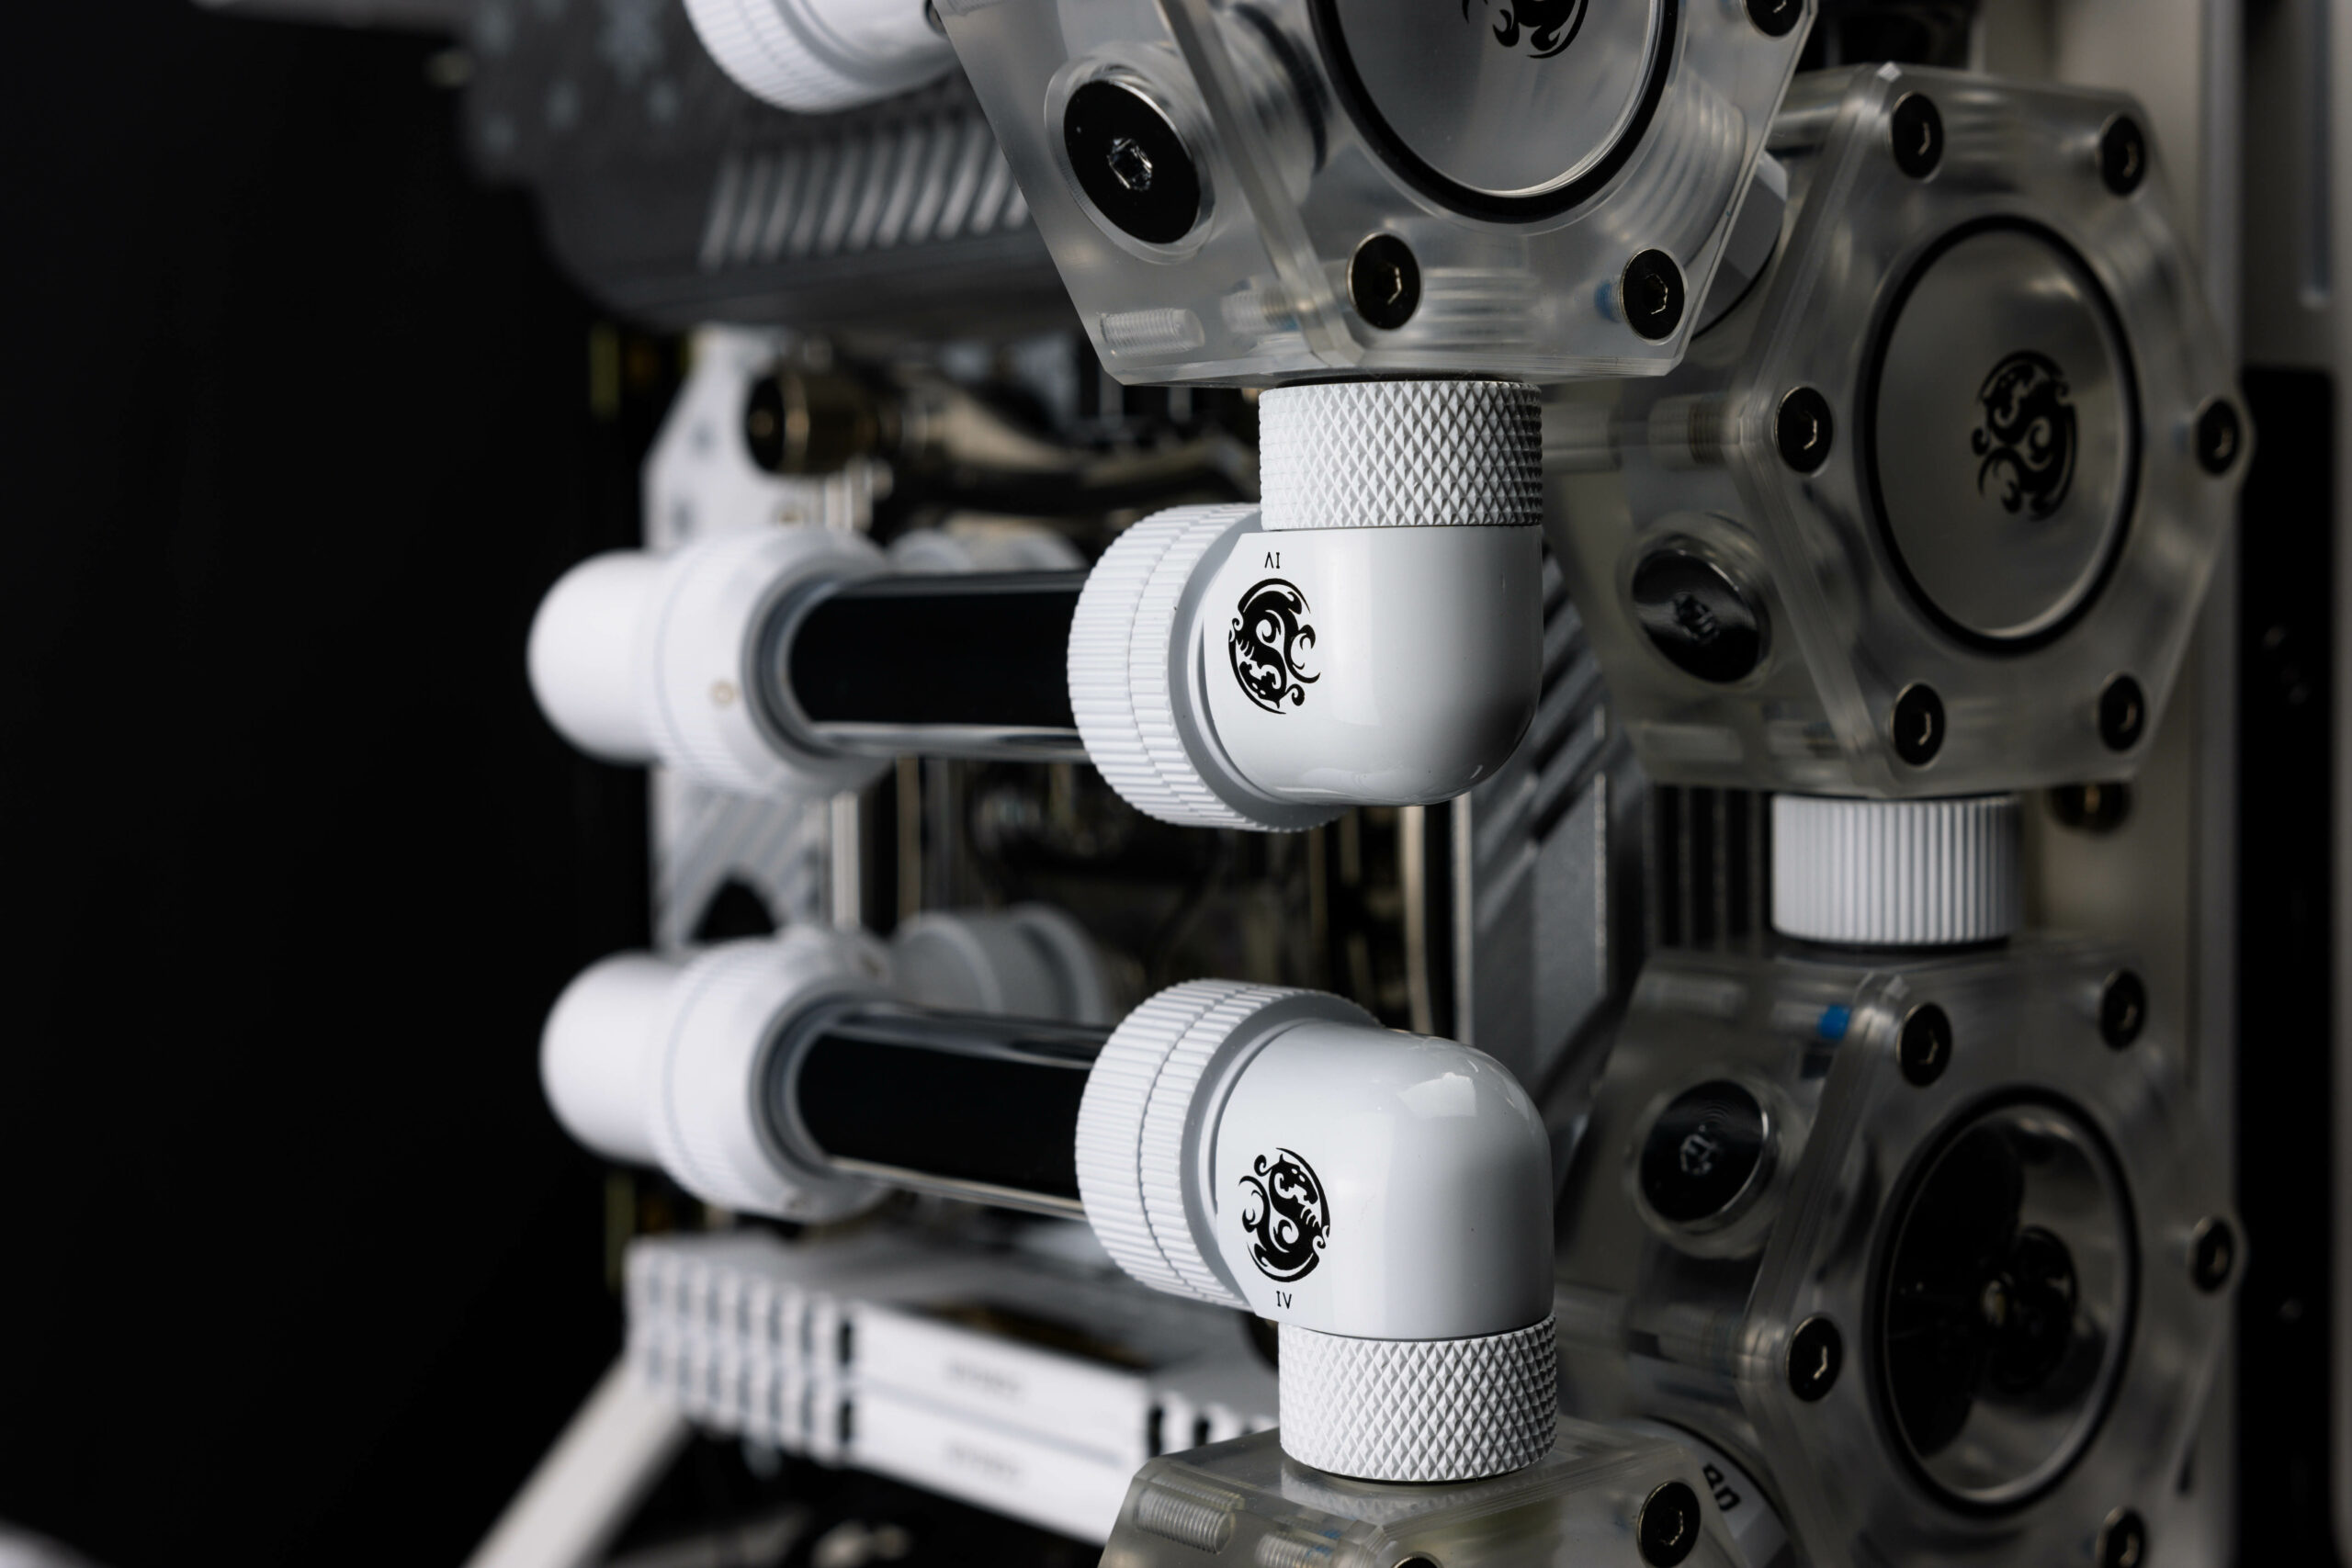
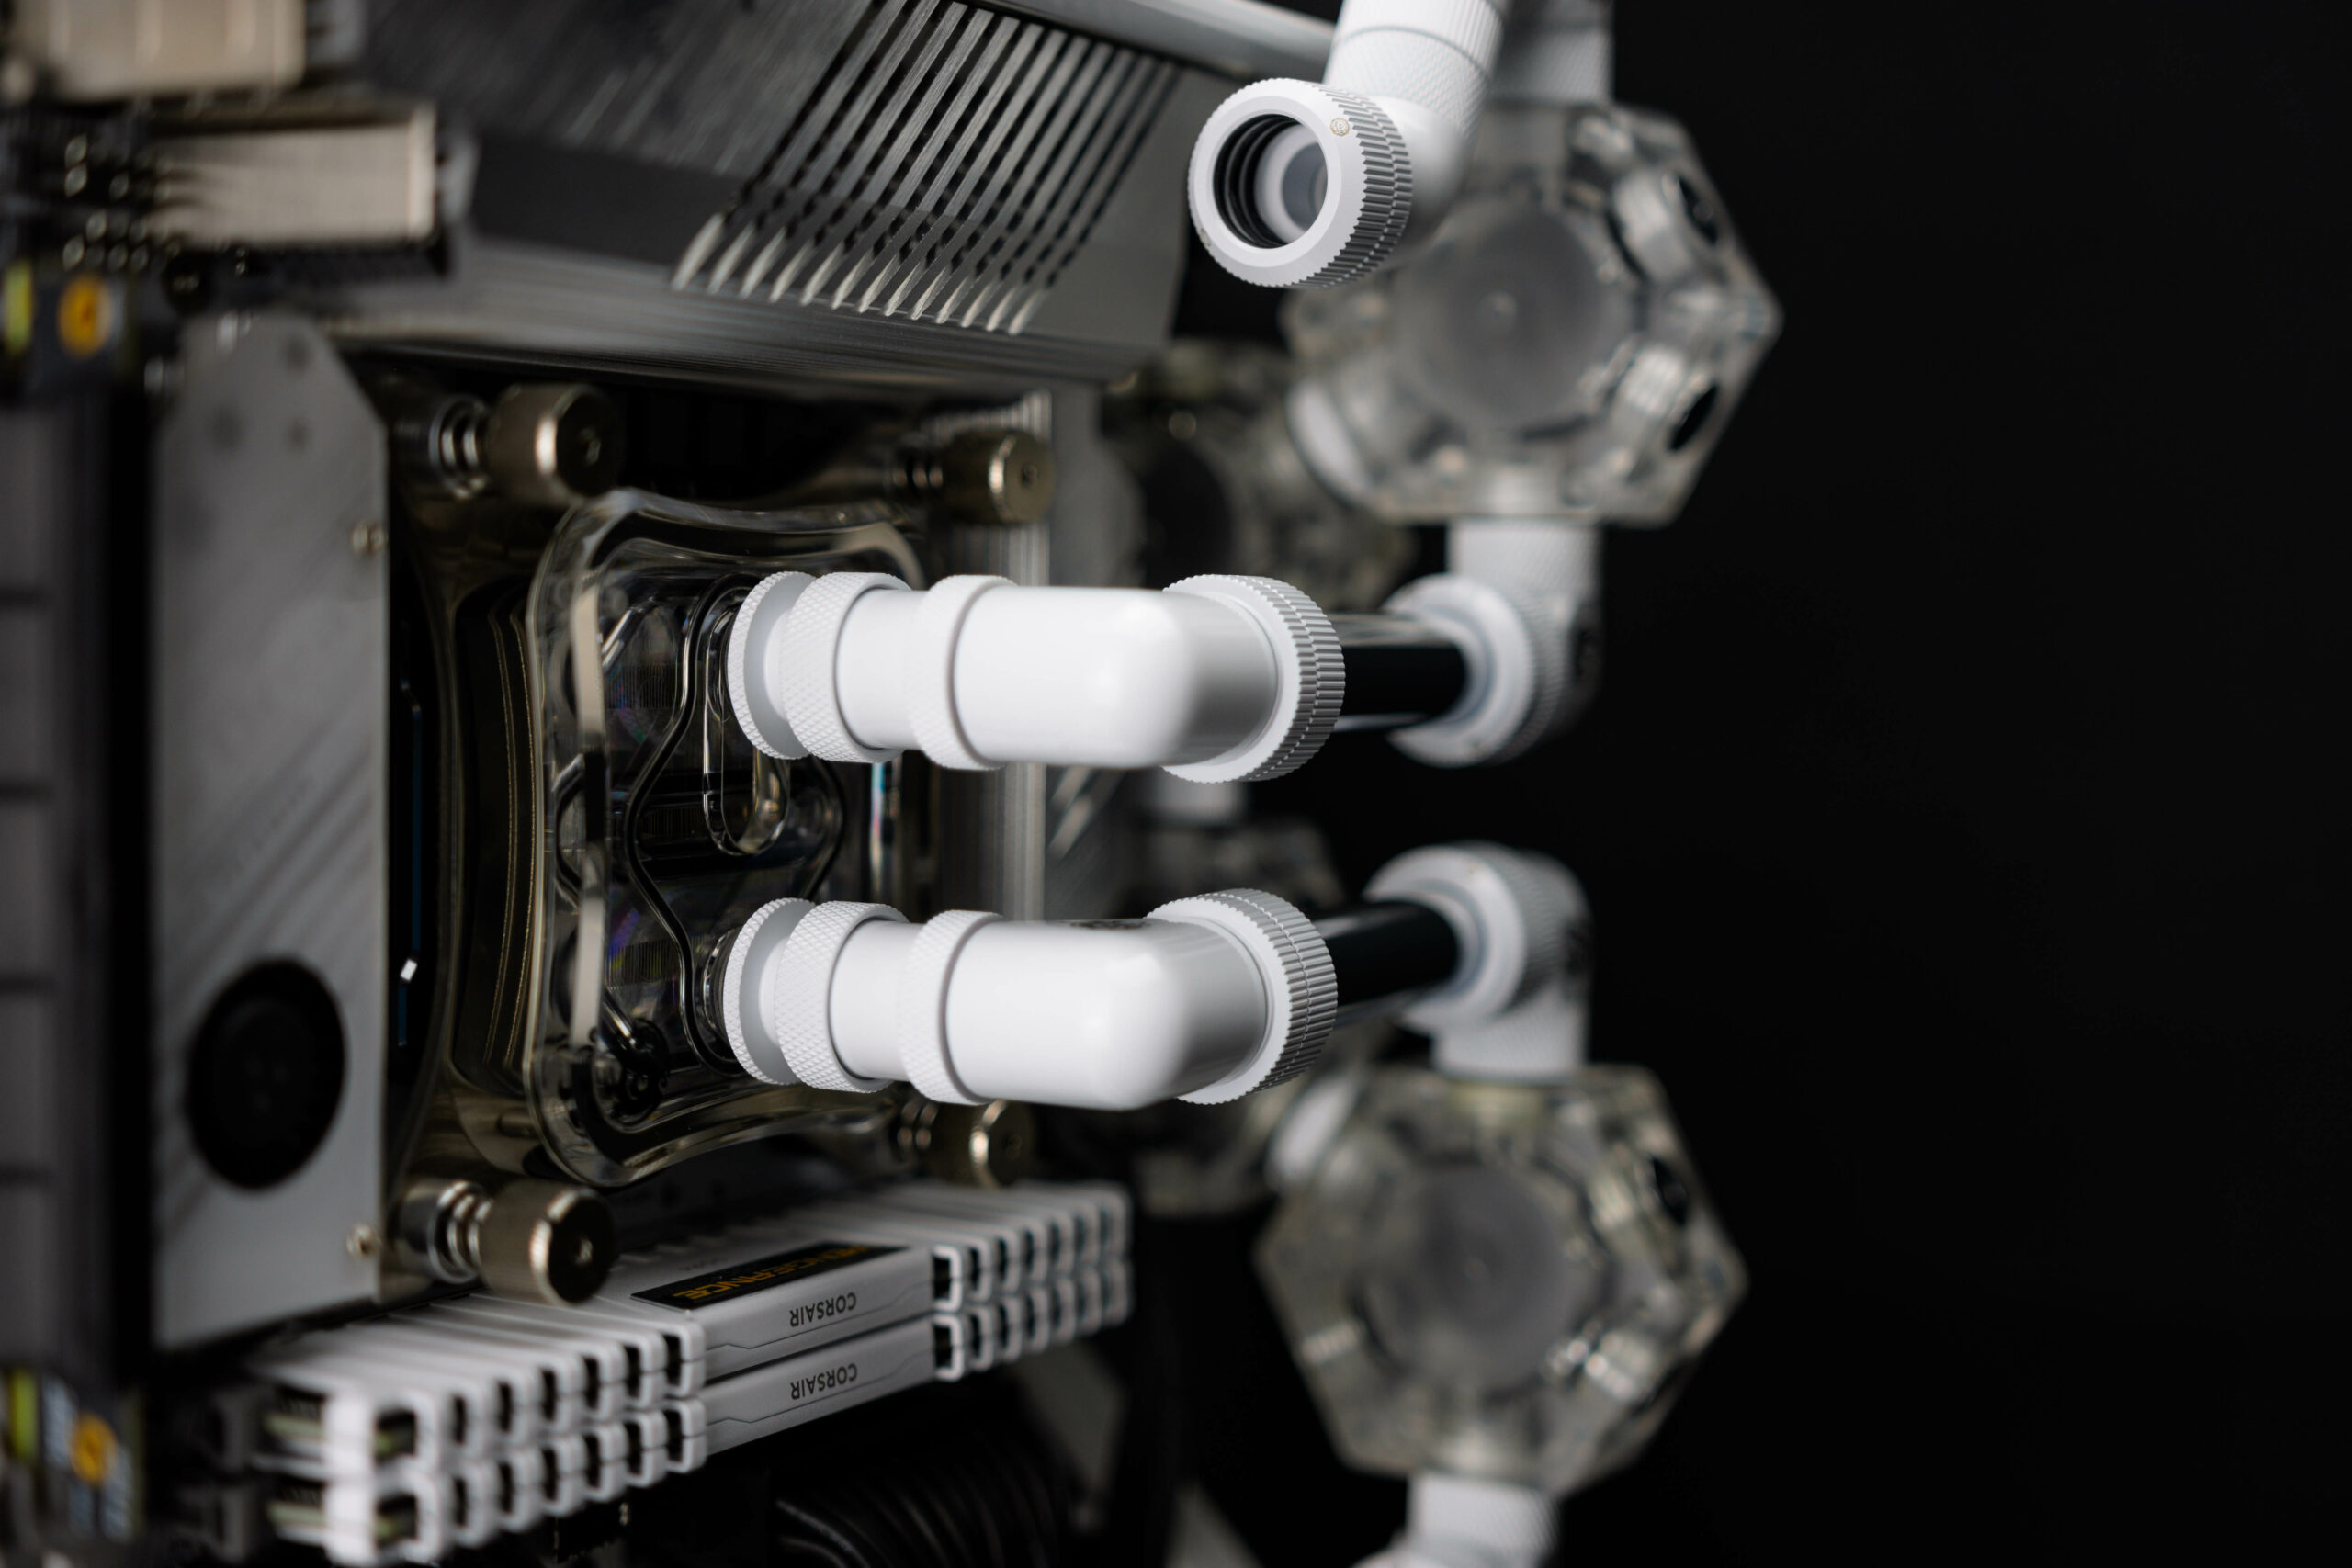
In our possession, we have an impressive array of their Deluxe white edition fittings. Bitspower stands out as one of the few original manufacturers still producing reliable double rotaries. The quality of these fittings is a testament to their tried and tested techniques, guaranteeing durability and reliability.
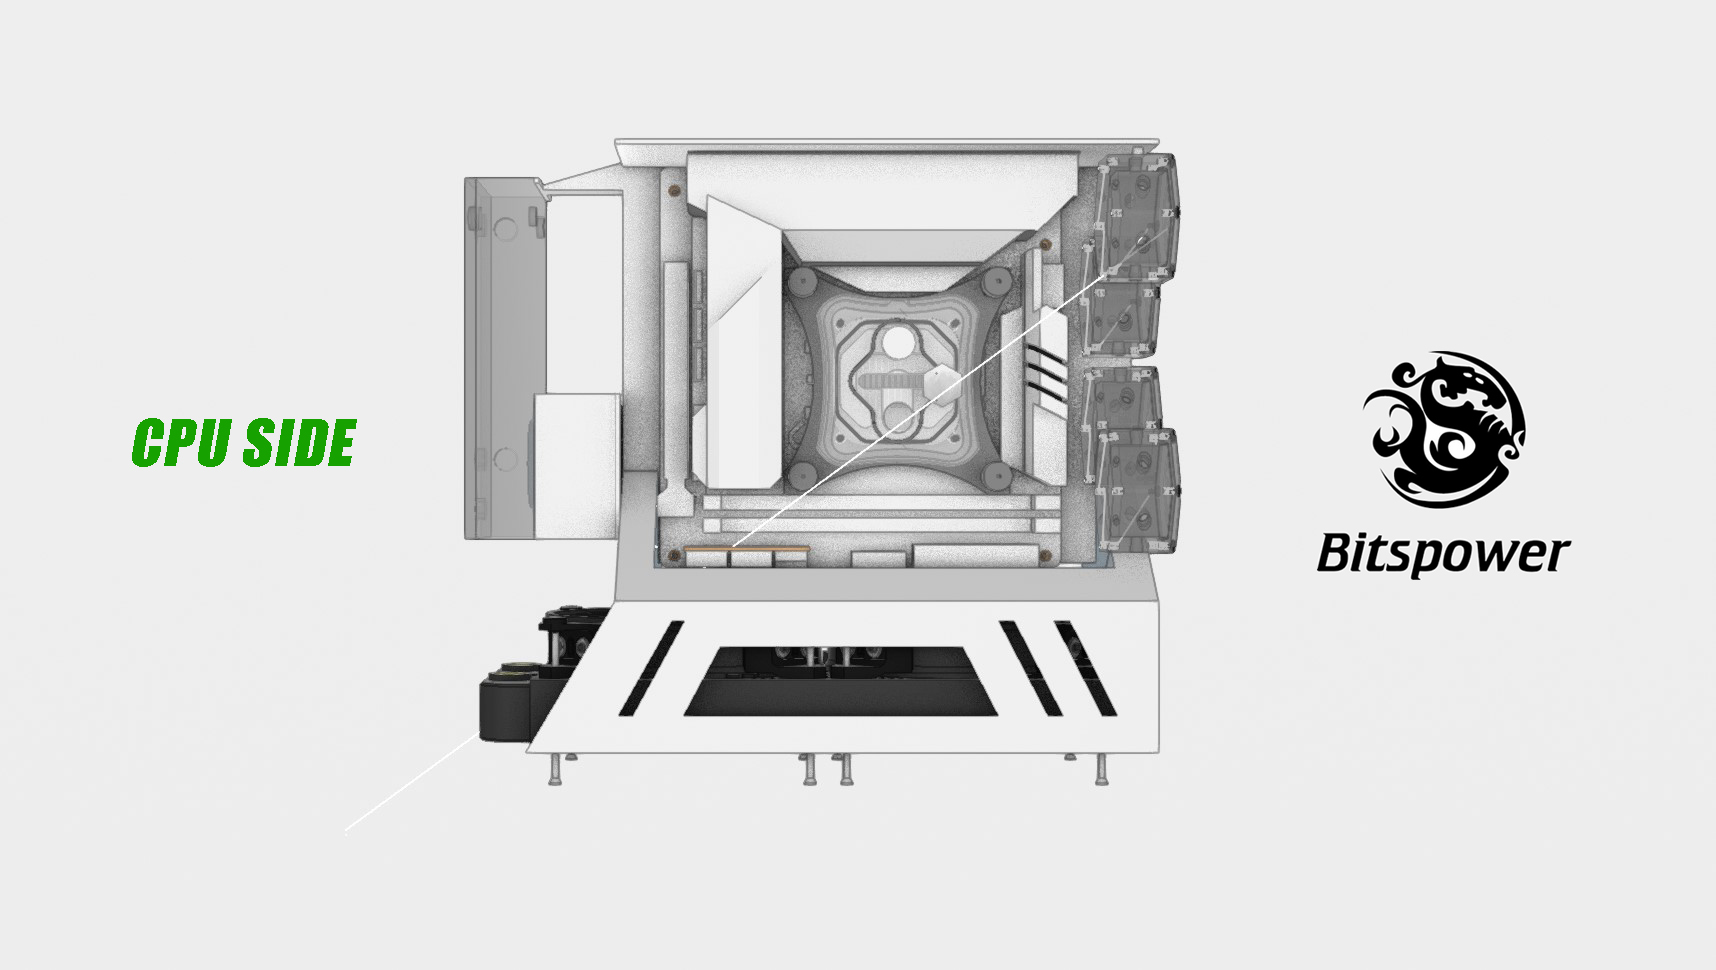
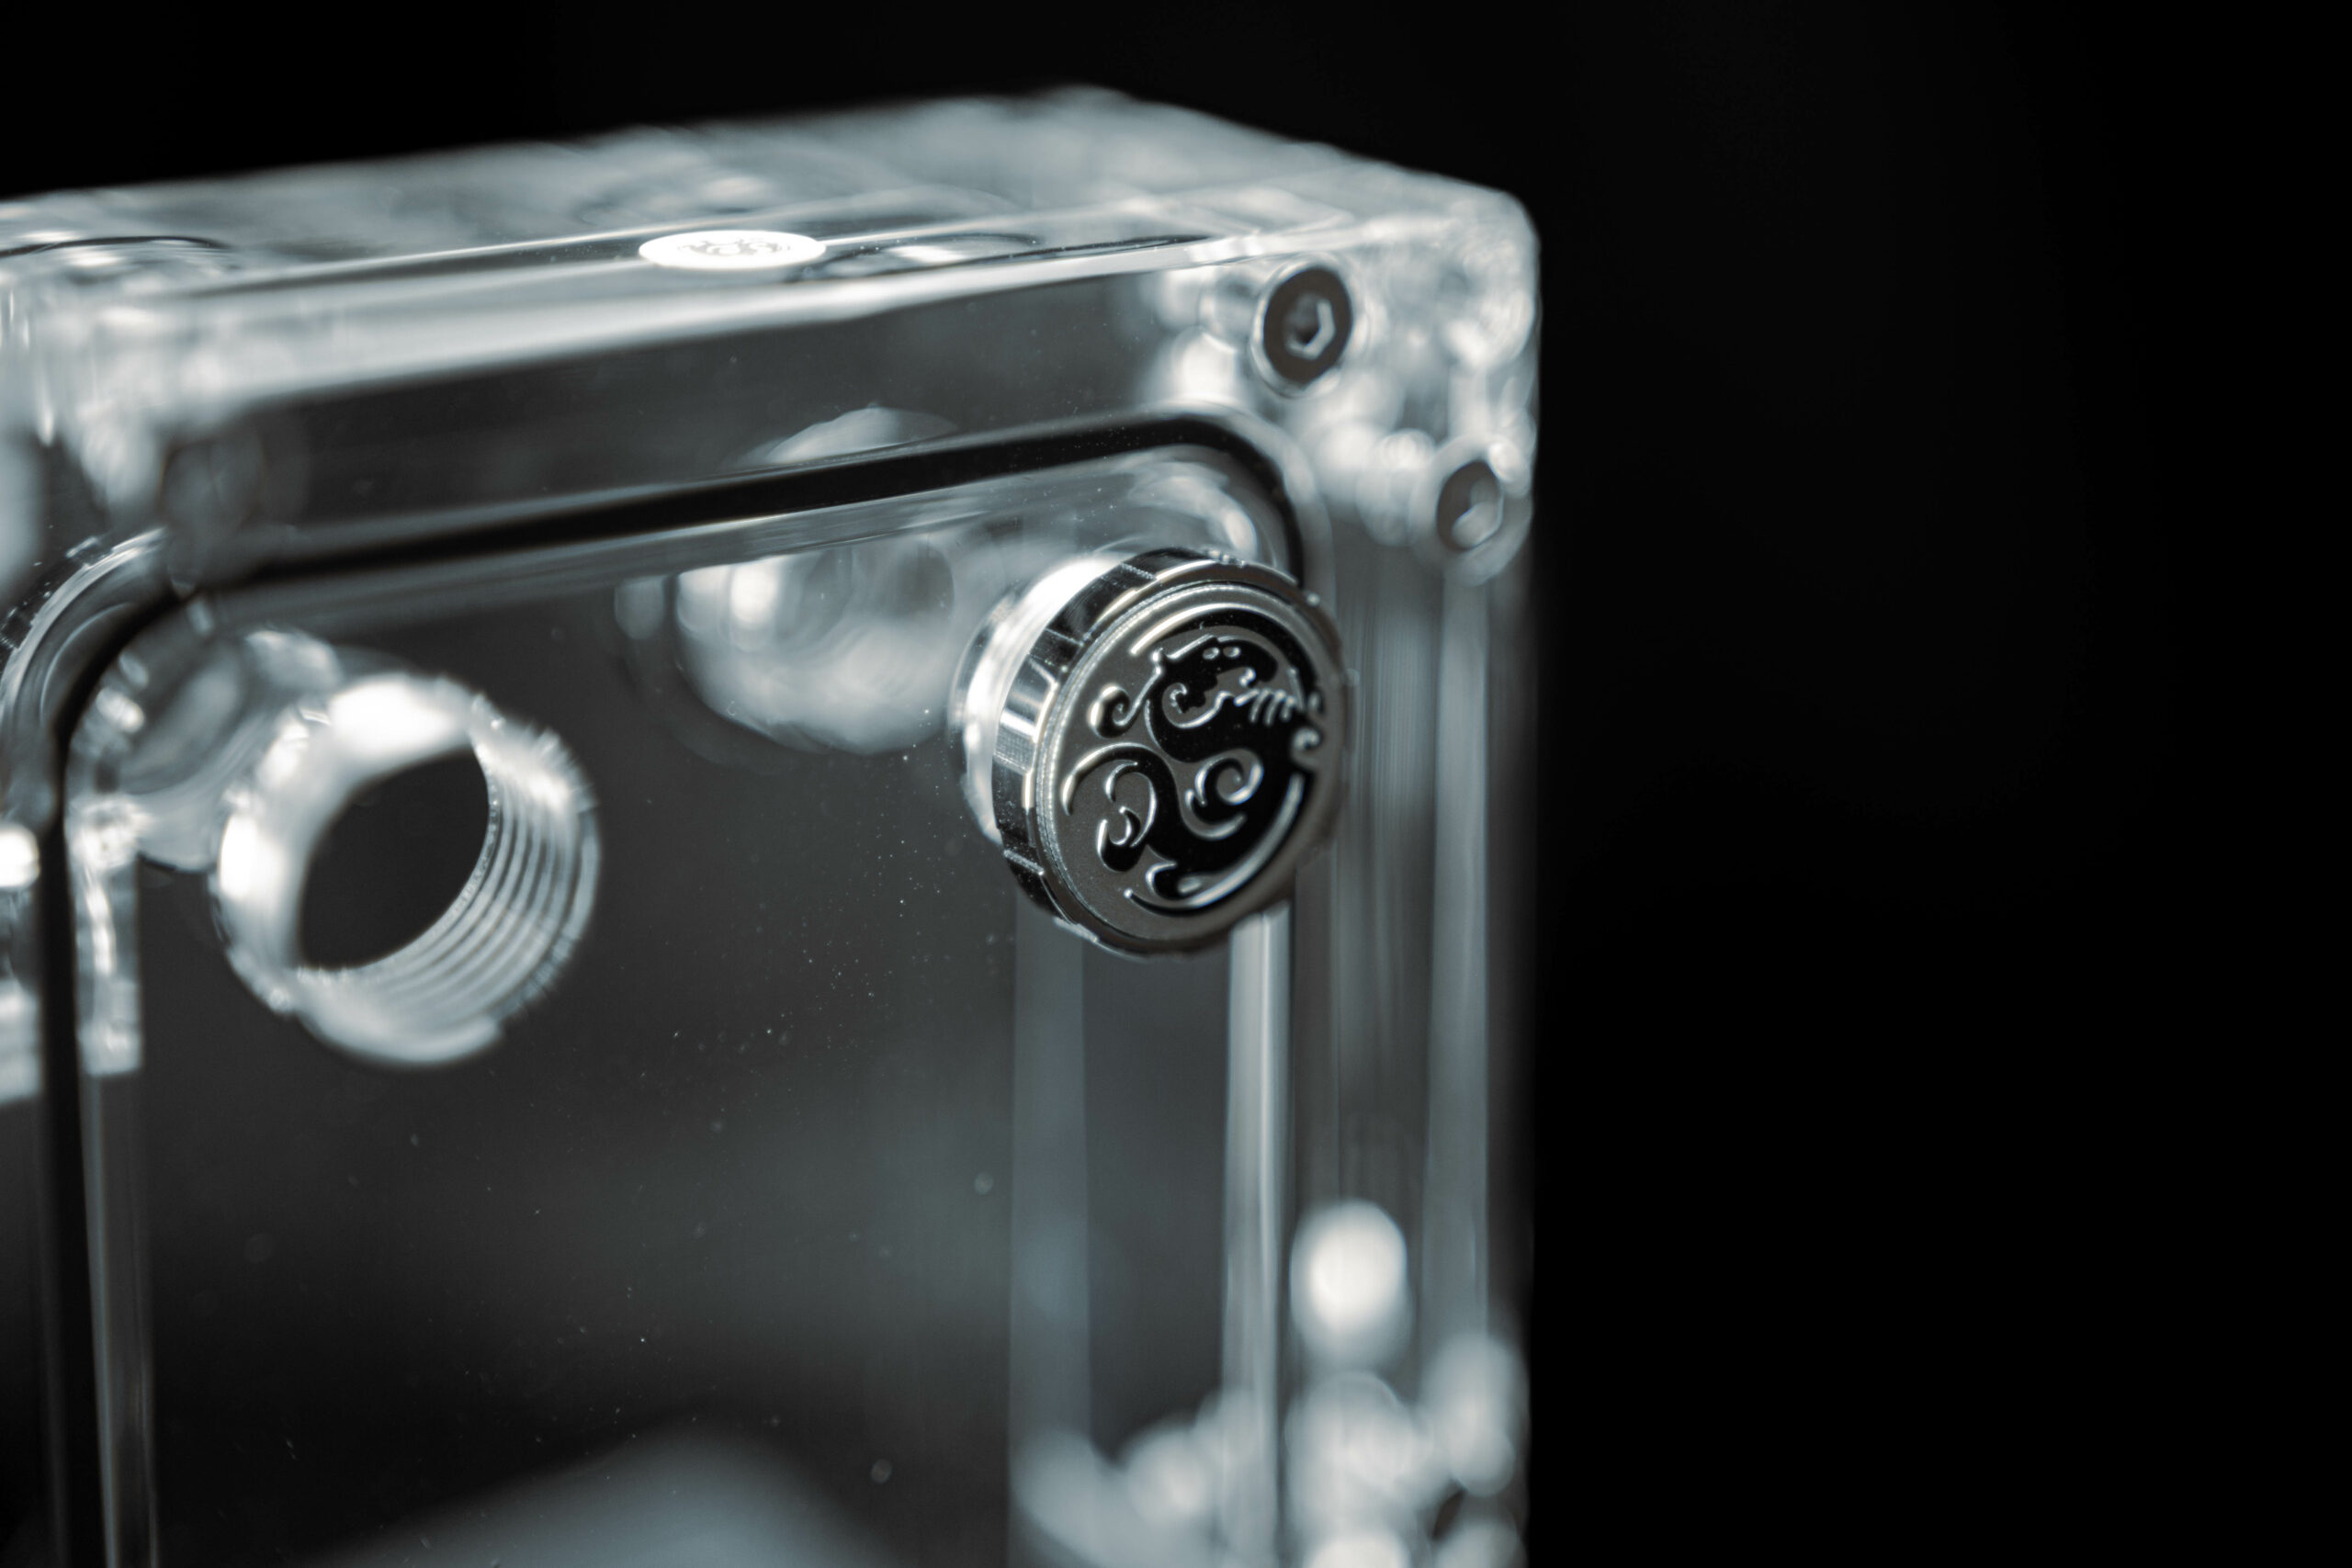
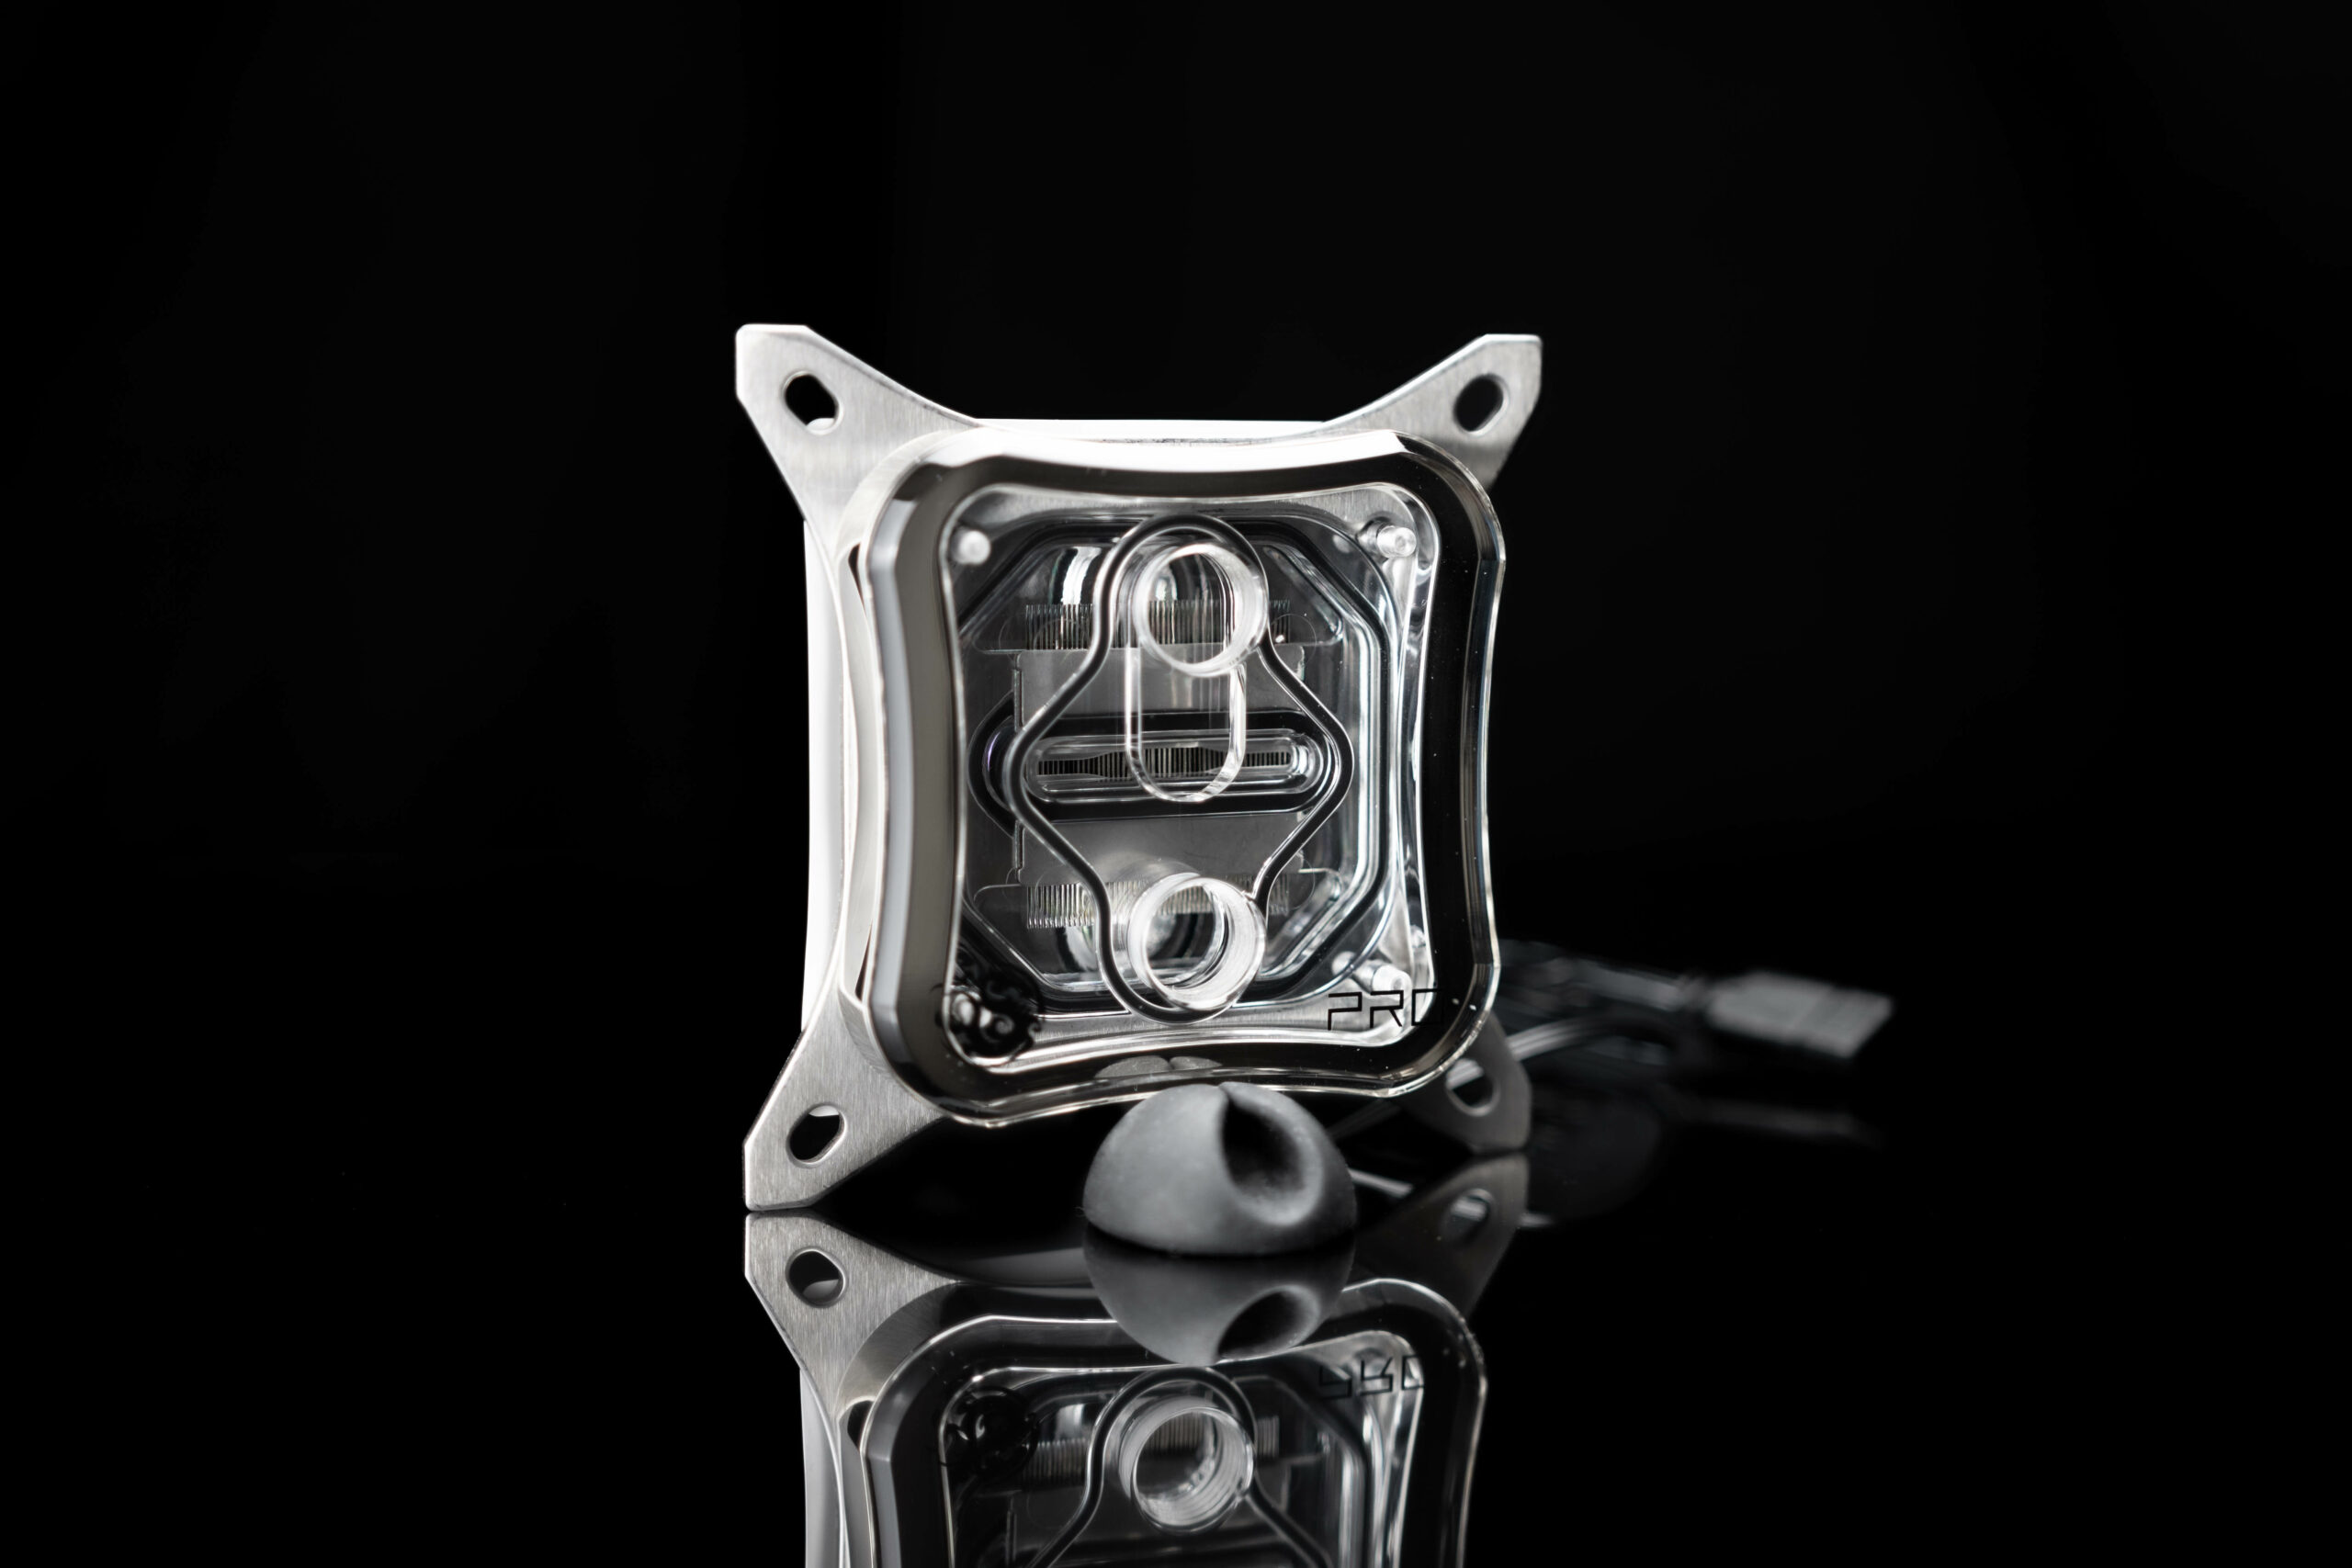
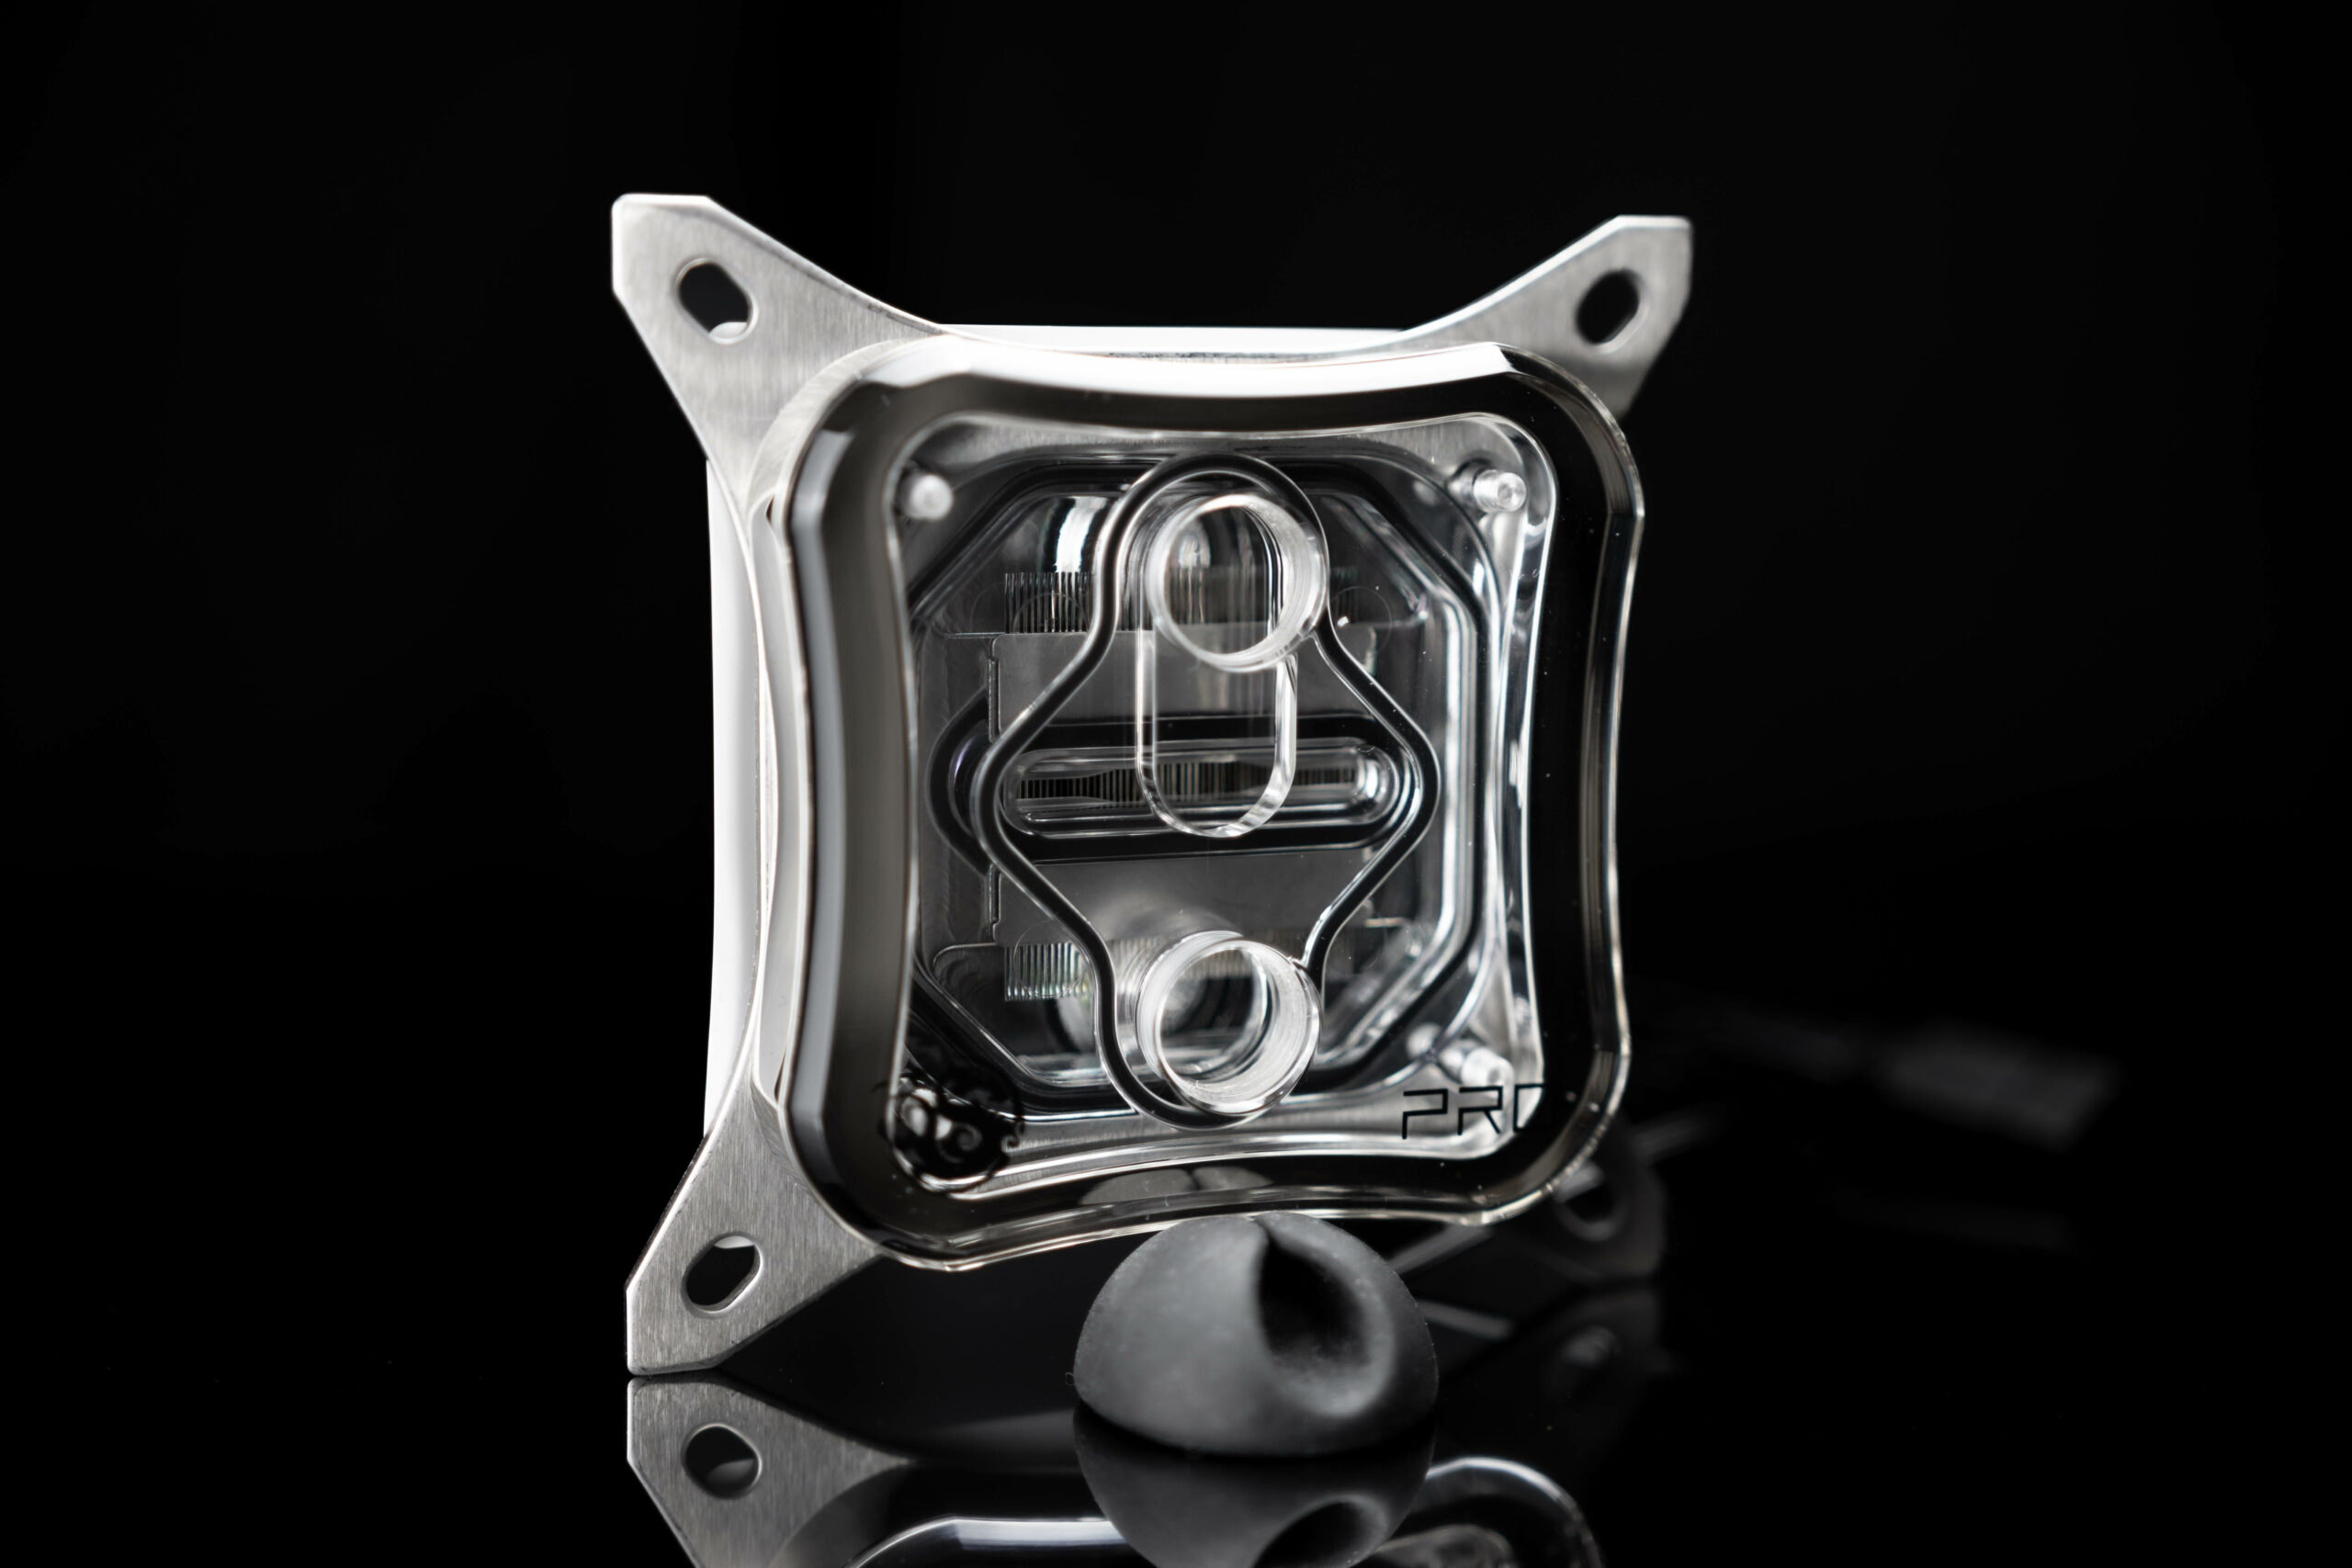
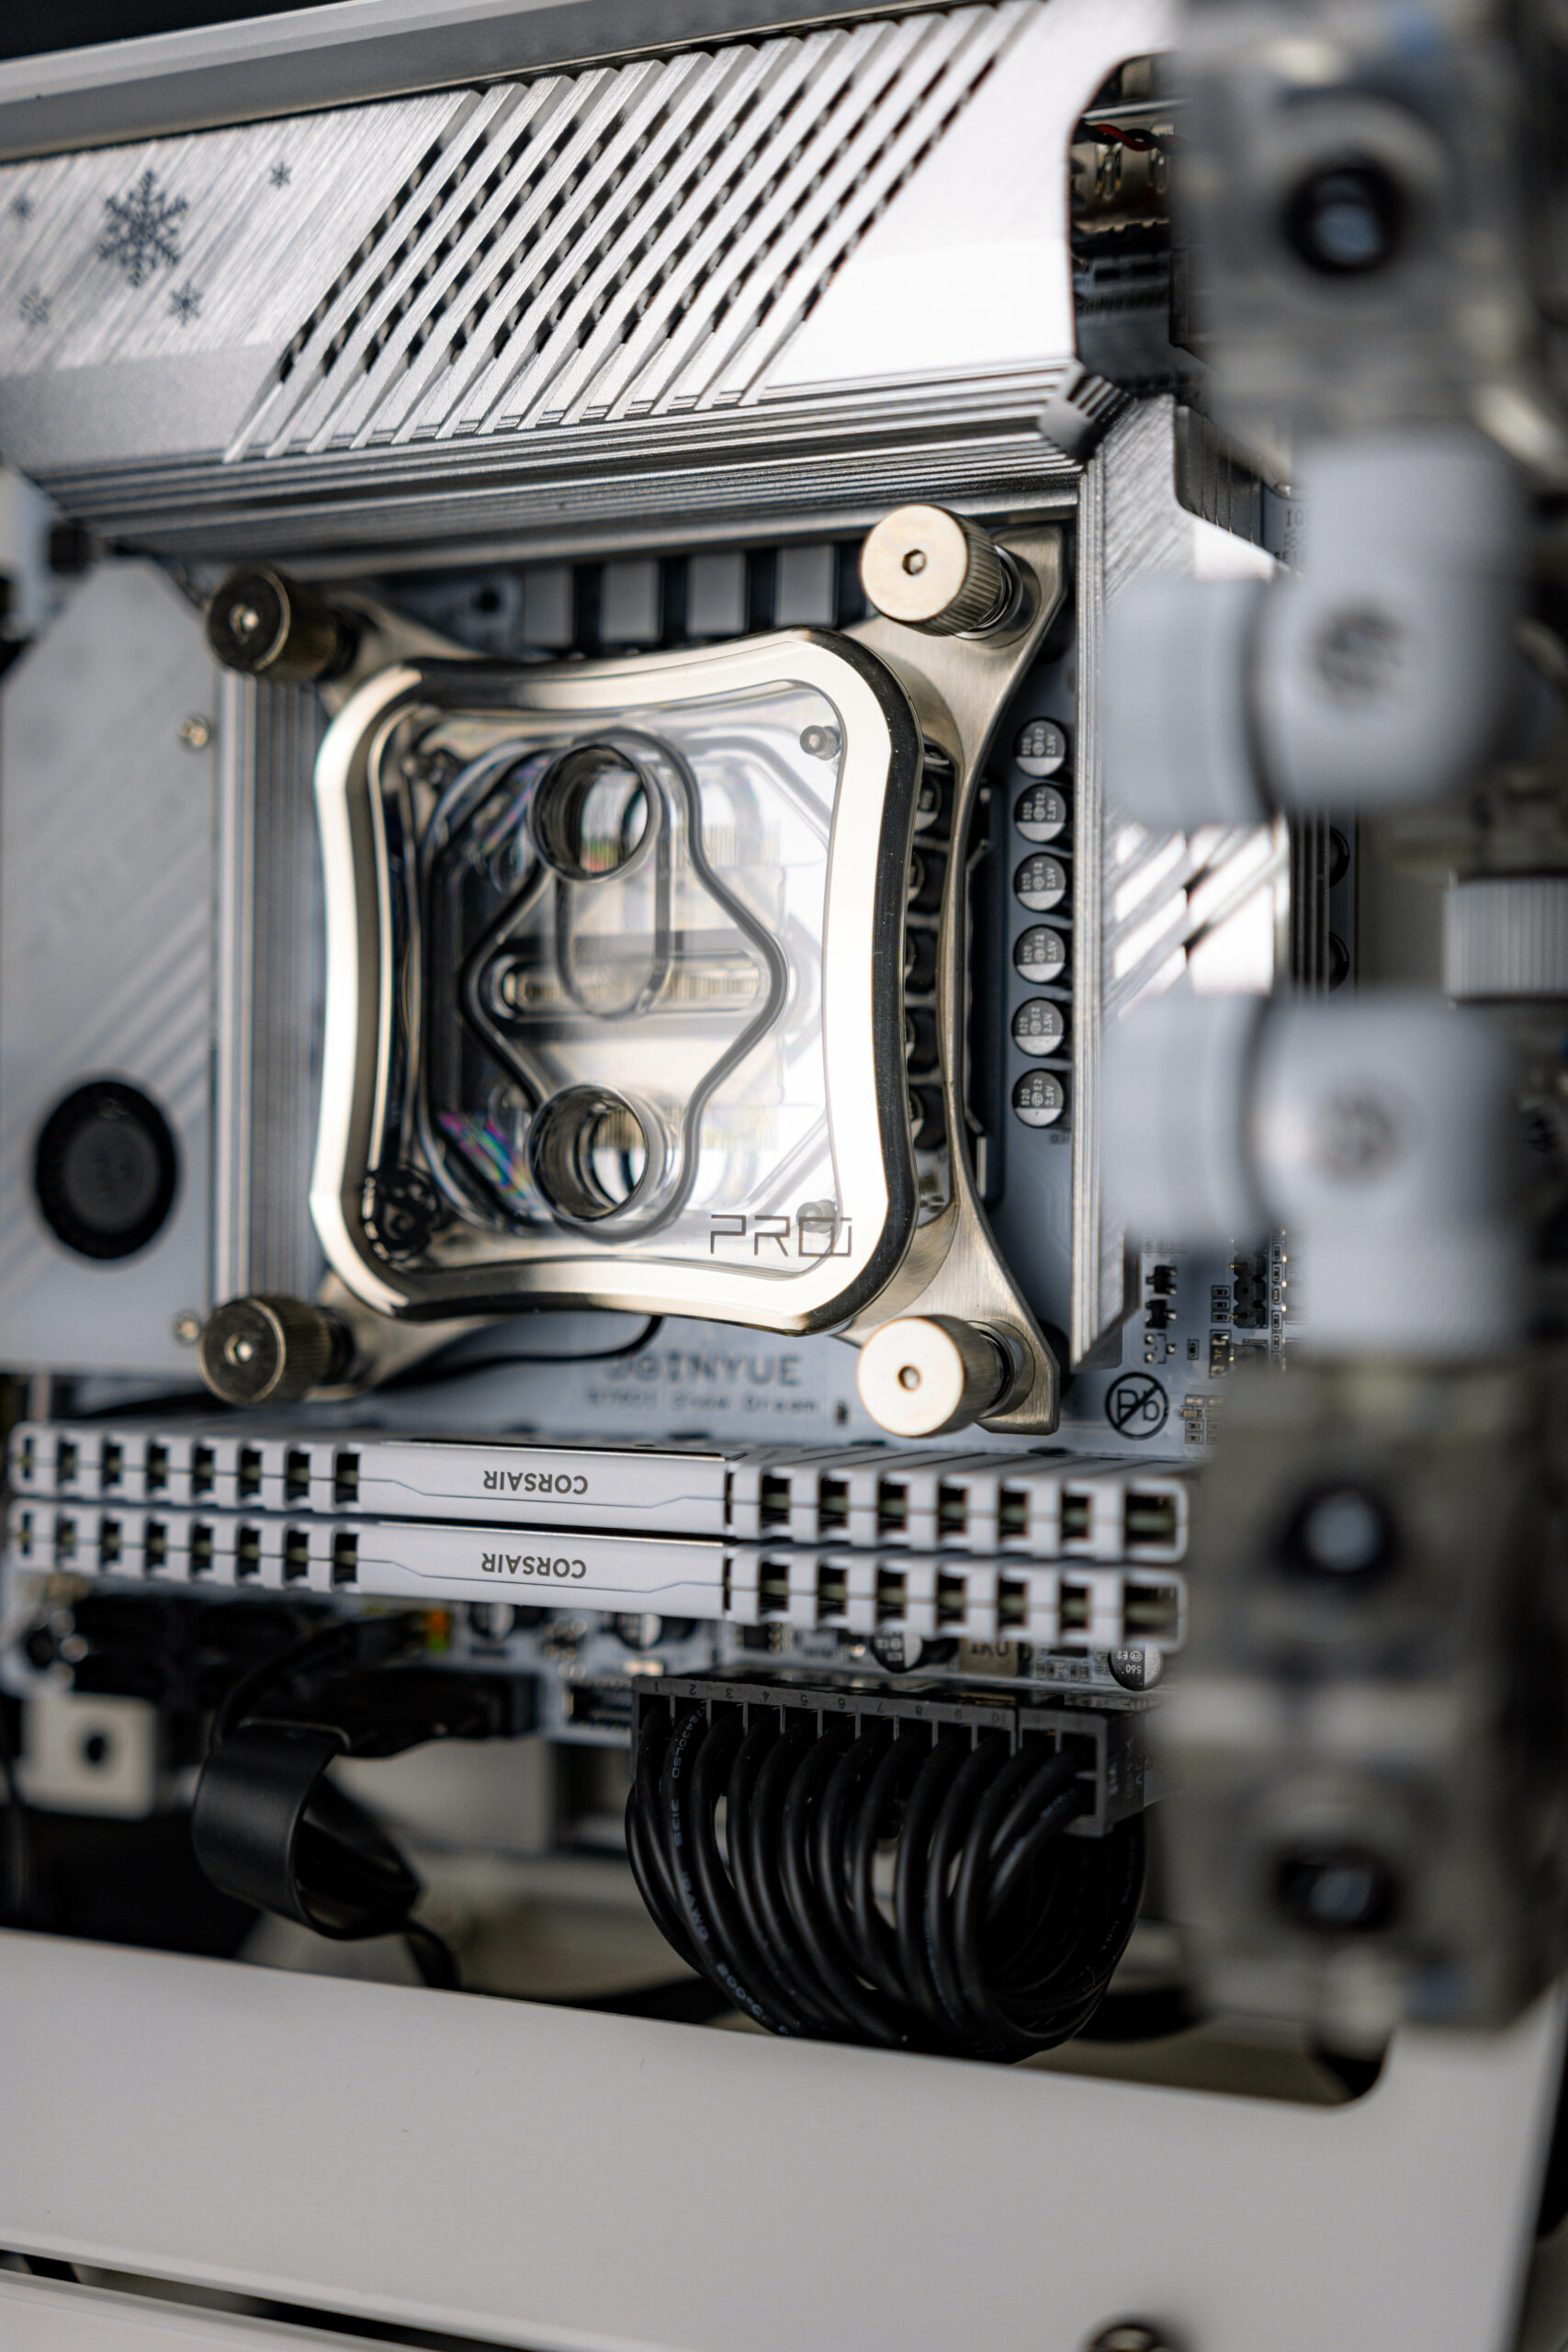
Bitspower Summit M Pro CPU Block - Crystal Edition
This build holds a special place in my heart, particularly because I own one of the original Summit blocks from the early 2000s. Acquiring it was a proud moment—it marked my first investment in a premium CPU block, a significant purchase at the time. Remarkably, my trusty old block still serves faithfully in a test bench, maintaining its performance without a hint of tarnish on its cold plate, inside or out. Its enduring mirror-like finish, even after numerous thermal compound applications, speaks volumes about the quality craftsmanship it embodies.
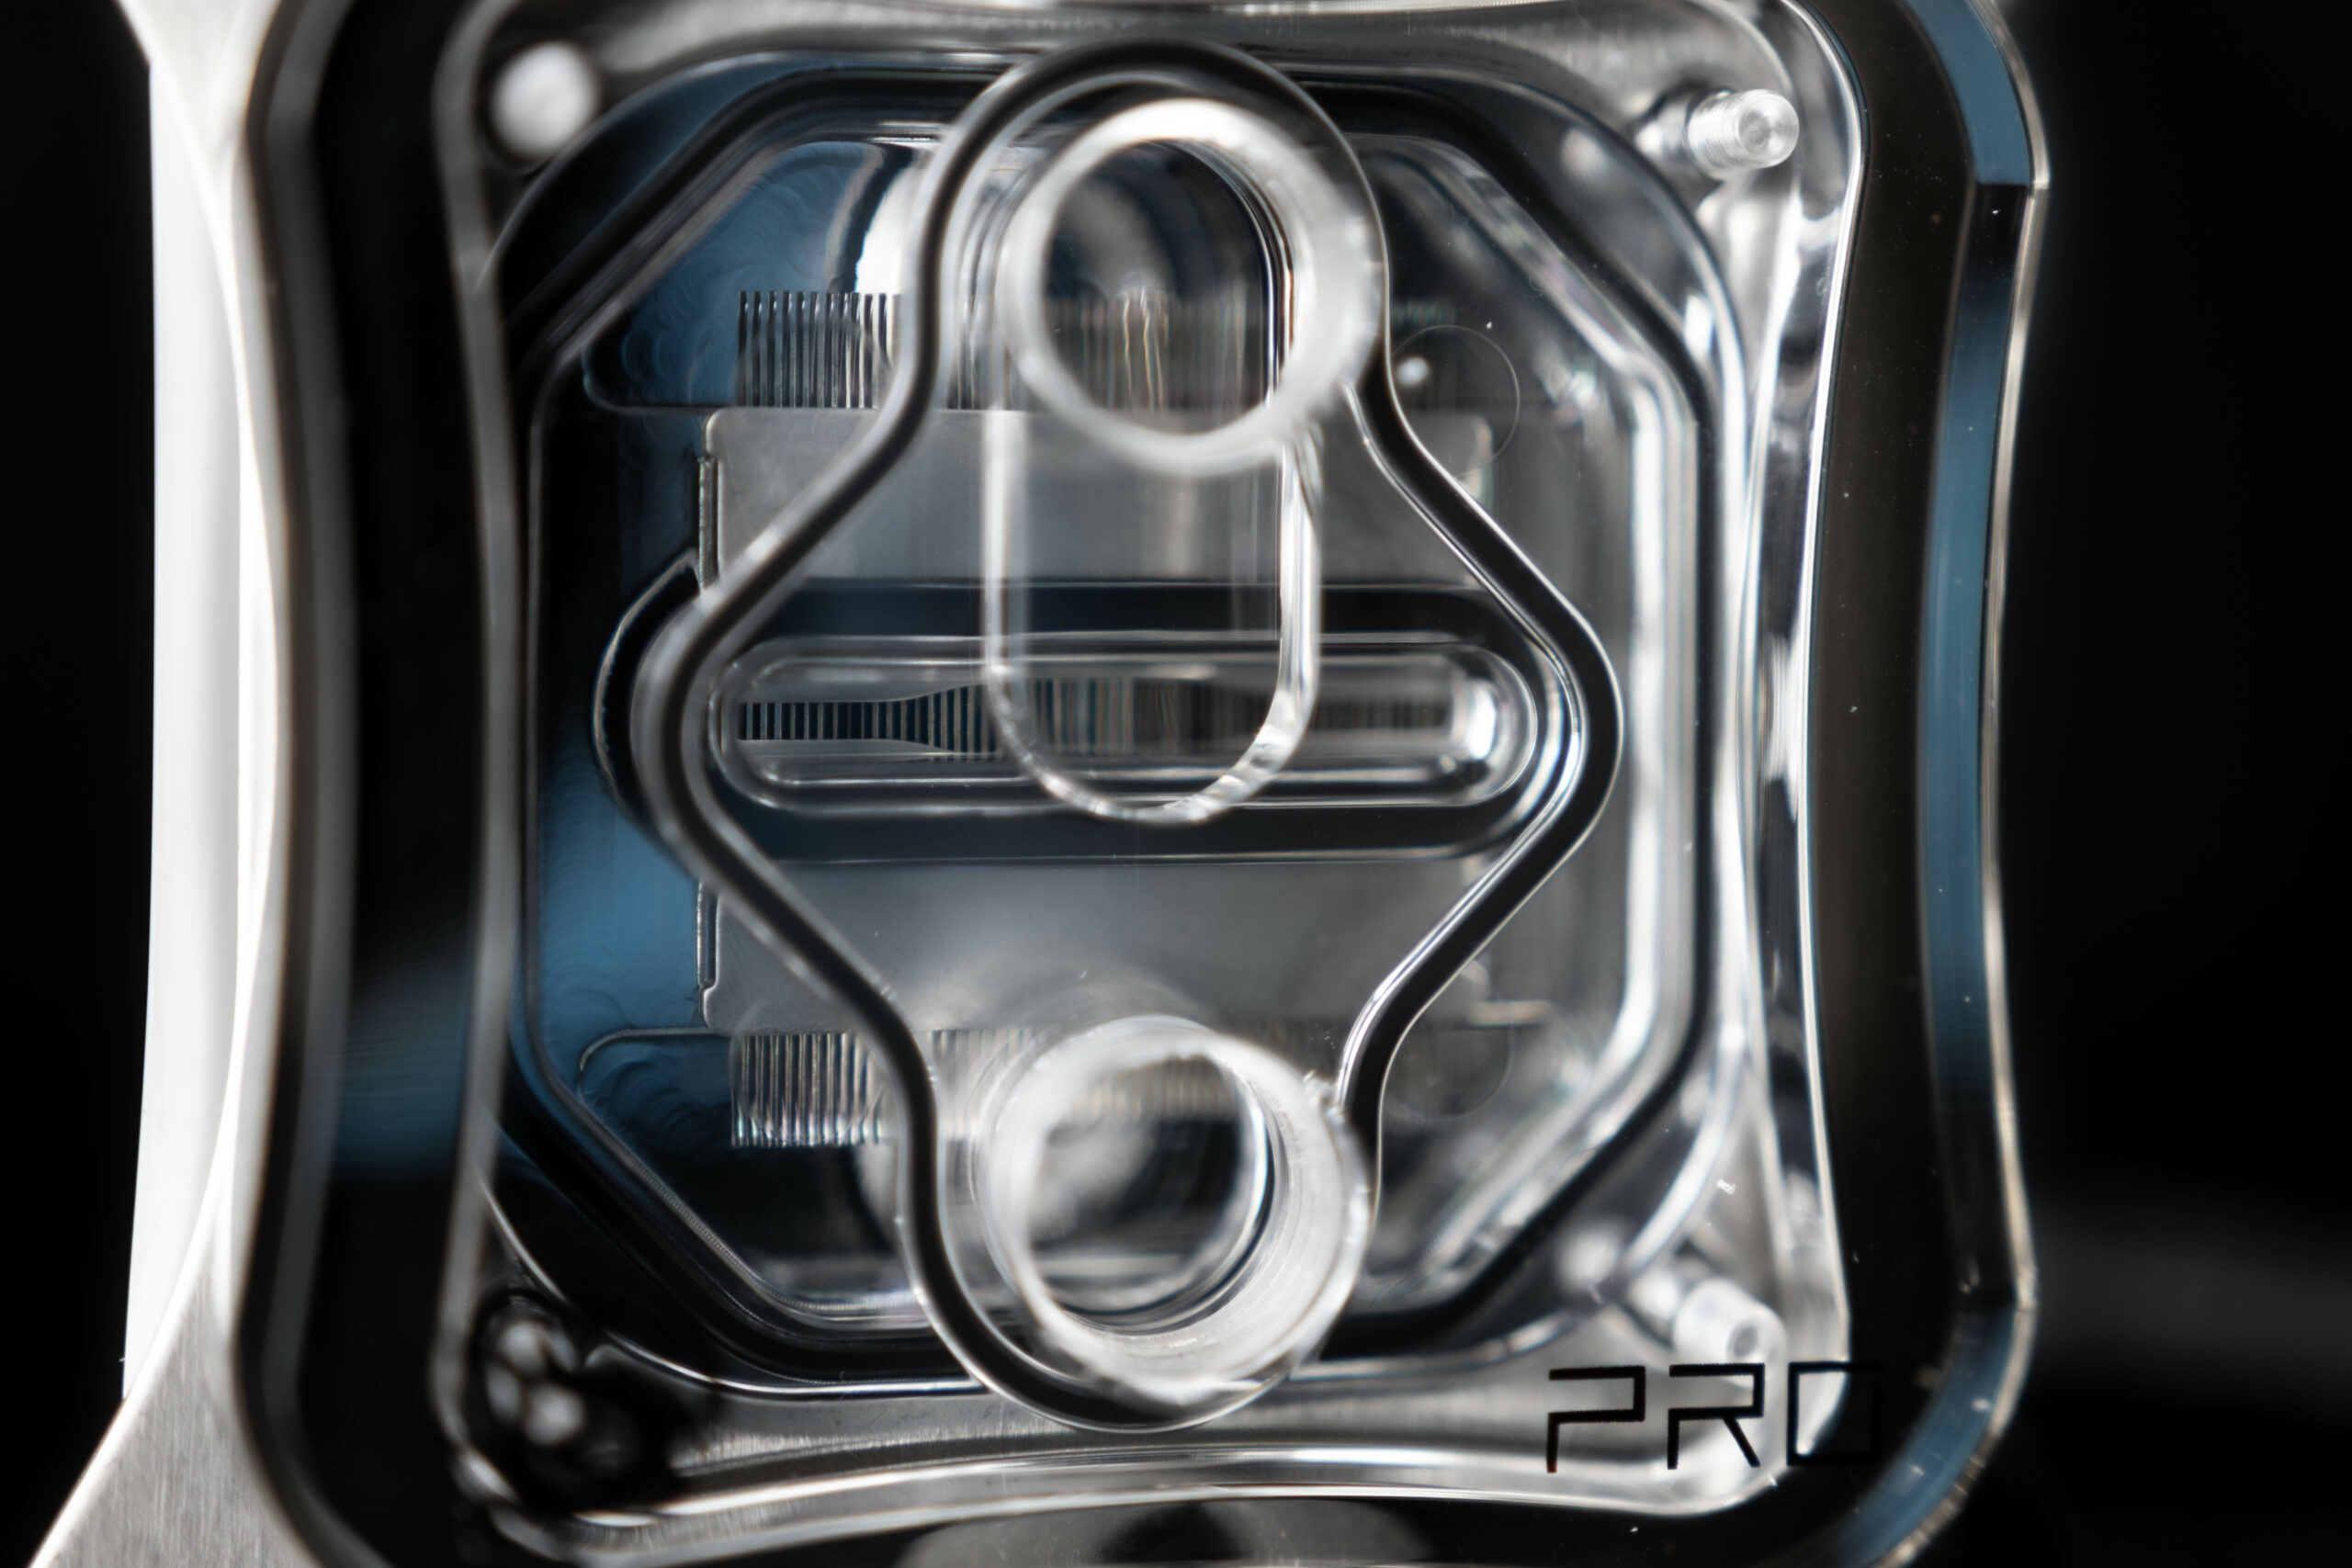
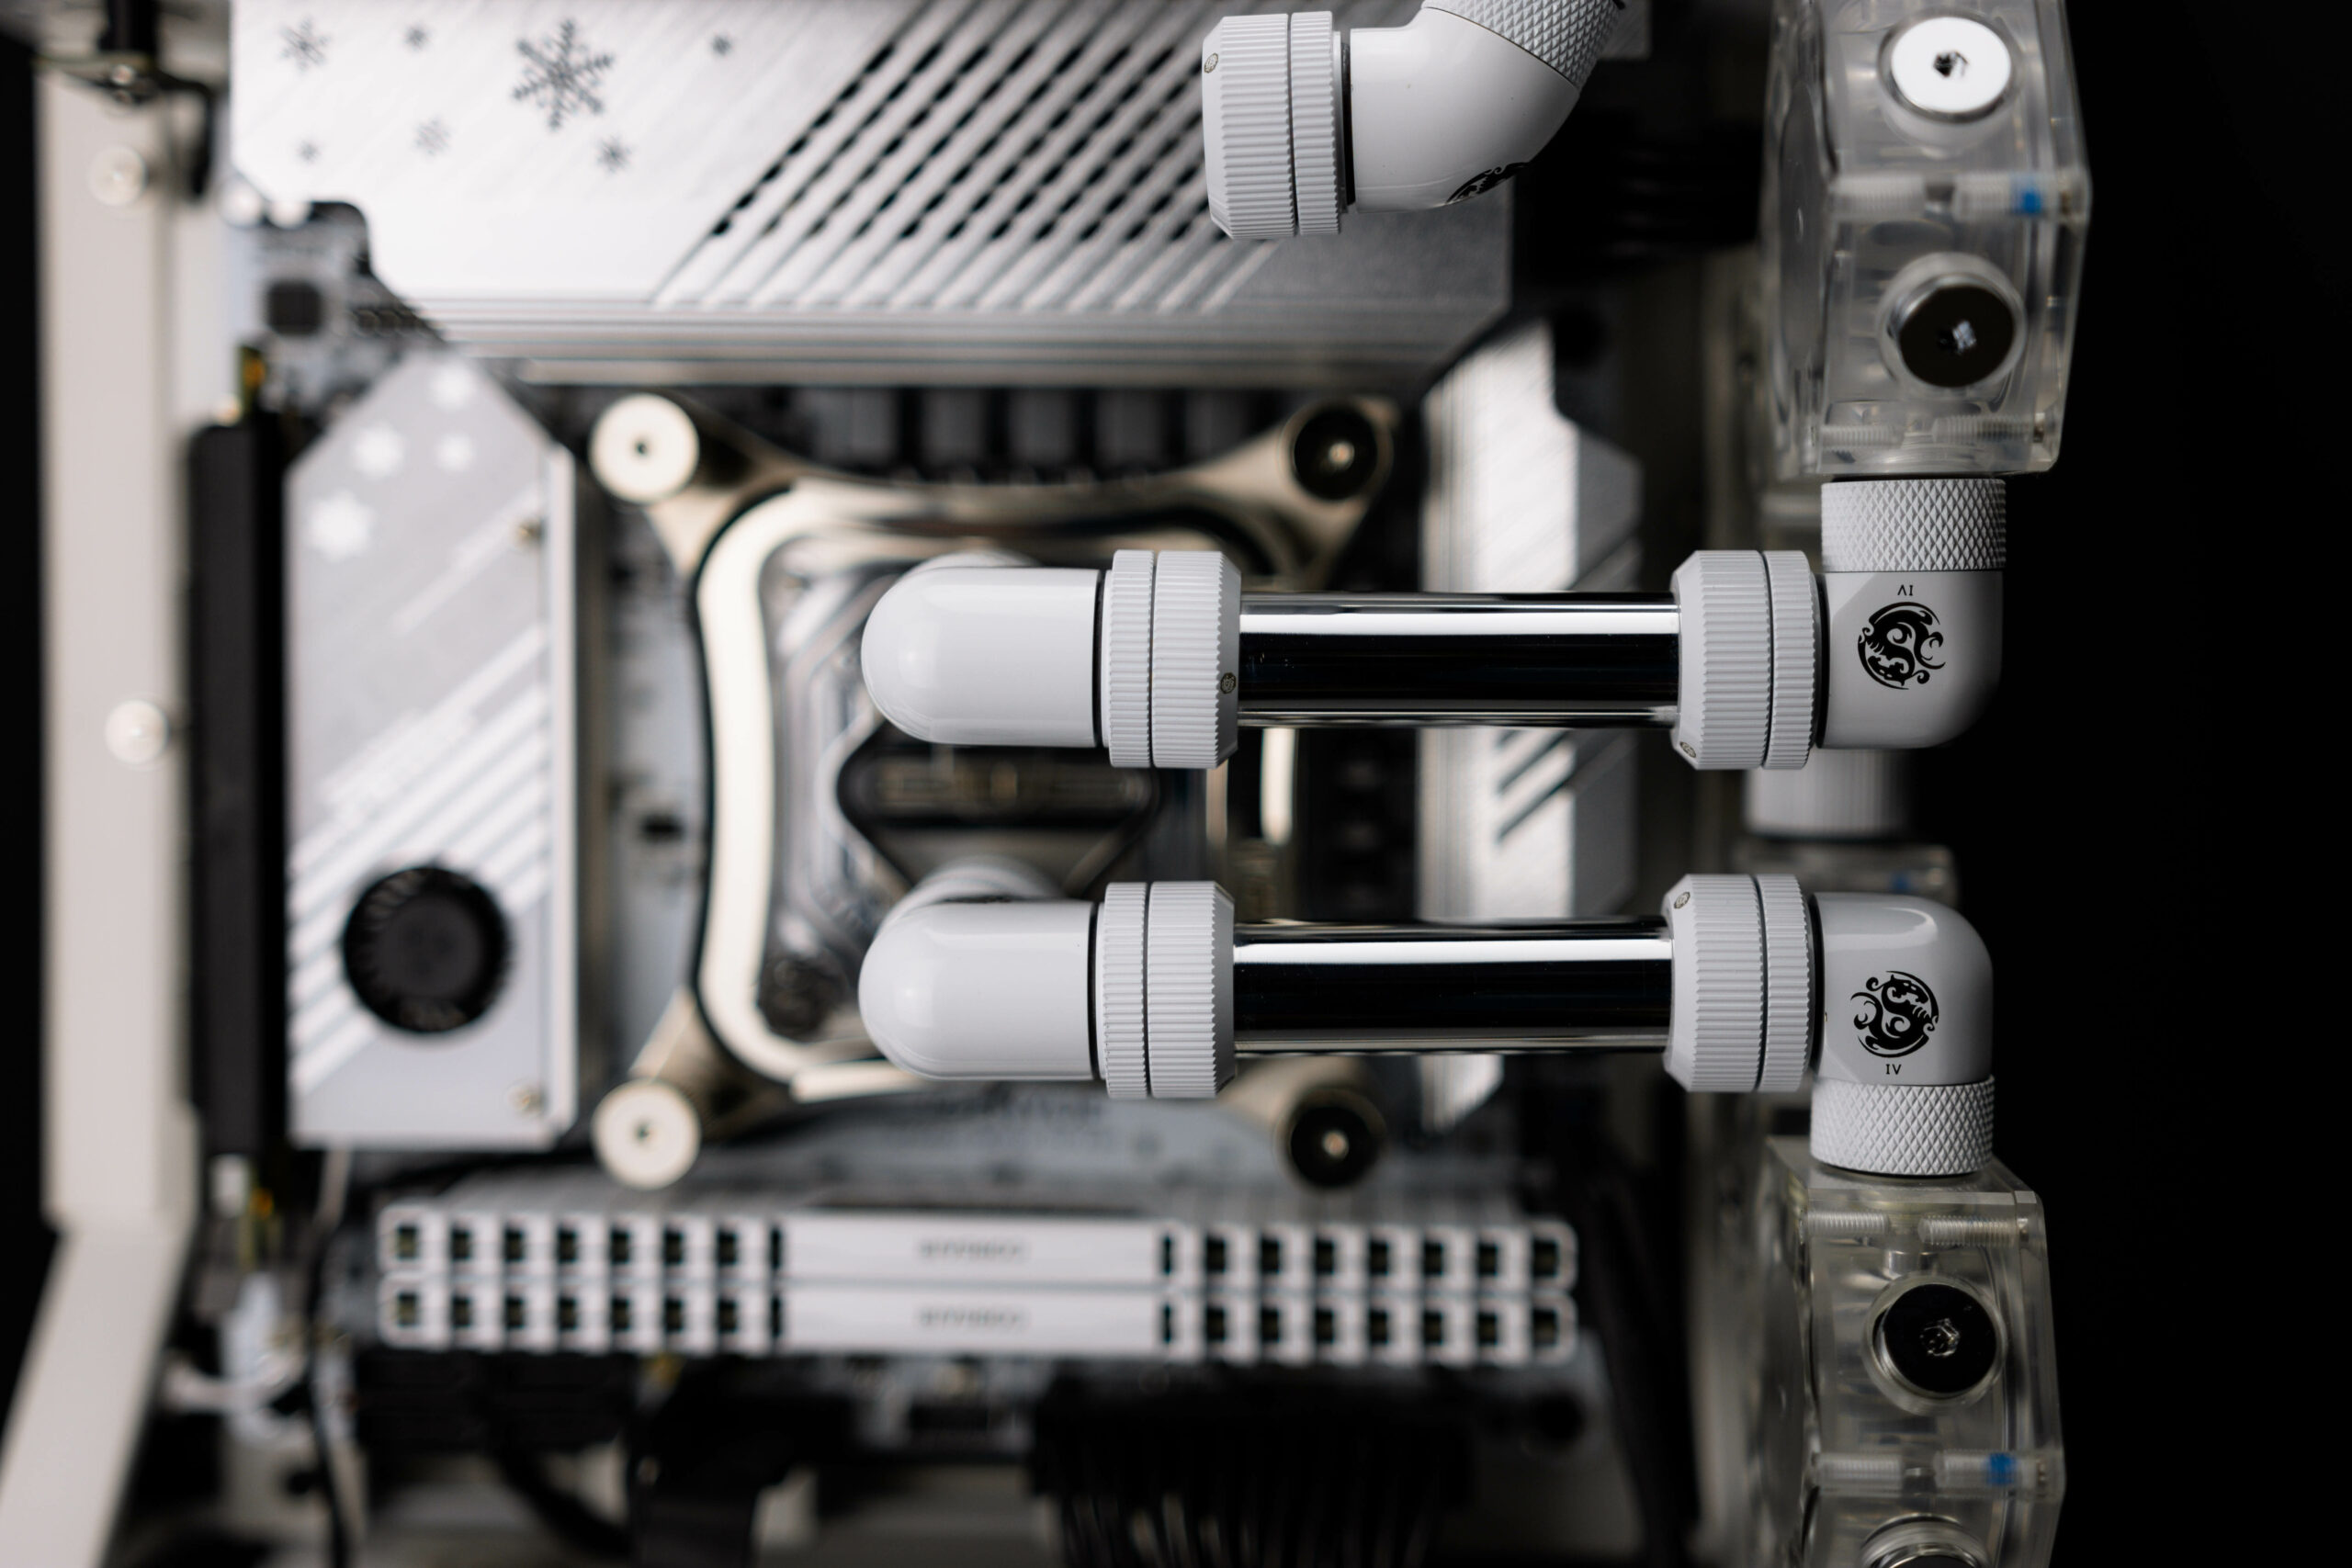
Now, onto the latest edition from Bitspower. The first thing that caught my eye was the significantly denser fin density, promising enhanced cooling potential. The perspex top boasts a ‘Crystal’ clear finish, aptly named for its clarity, while the cold plate is crafted from nickel-plated copper. Installation remains as straightforward as ever, facilitated by a manual accessible through a QR code on the box or directly from their website.
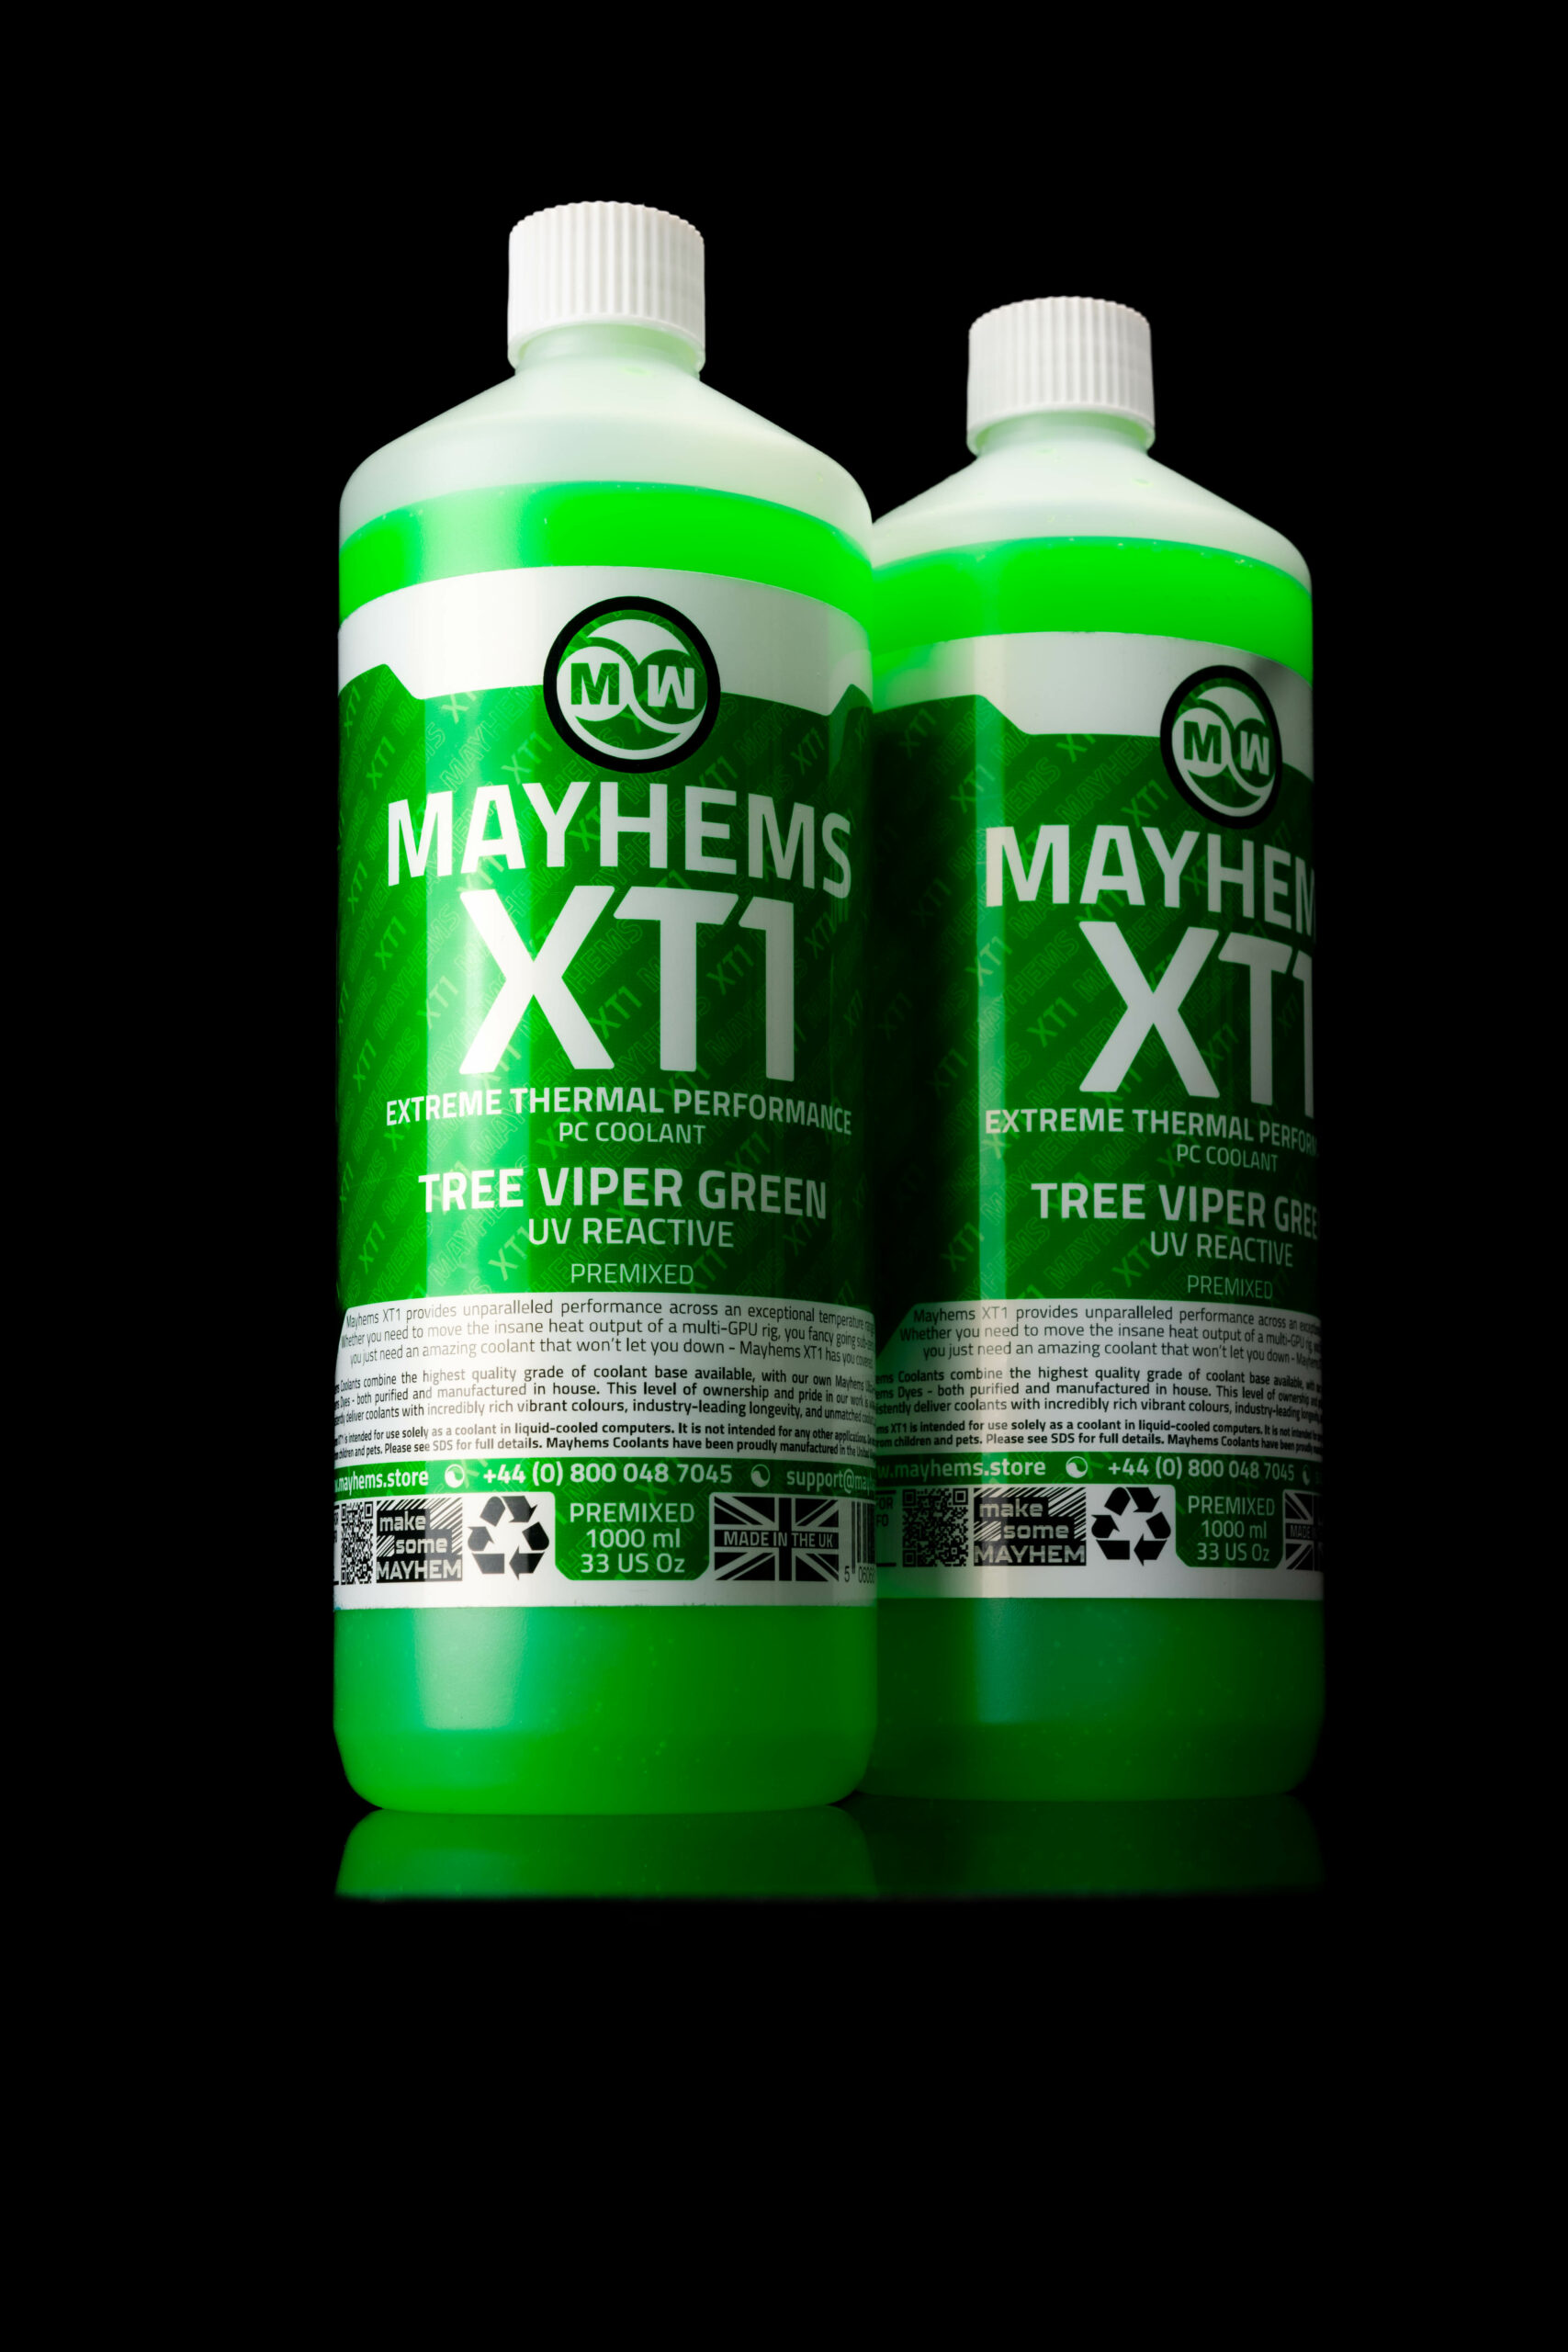
Mayhems - Premium Watercooling
I’m thrilled to announce that Mayhems will be sponsoring us for this build and future projects. Mayhems, a longstanding and pioneering coolant manufacturer, has been a cornerstone of the industry for years. Their commitment to providing the watercooling community and enthusiasts with top-of-the-line, long-lasting coolants has consistently outperformed many competitors. The passion and unwavering dedication of Mayhems’ new owners ensure that the legacy of excellence will endure. Be sure to watch out for Mayhems’ upcoming product releases!
Praetex Design enters the fold
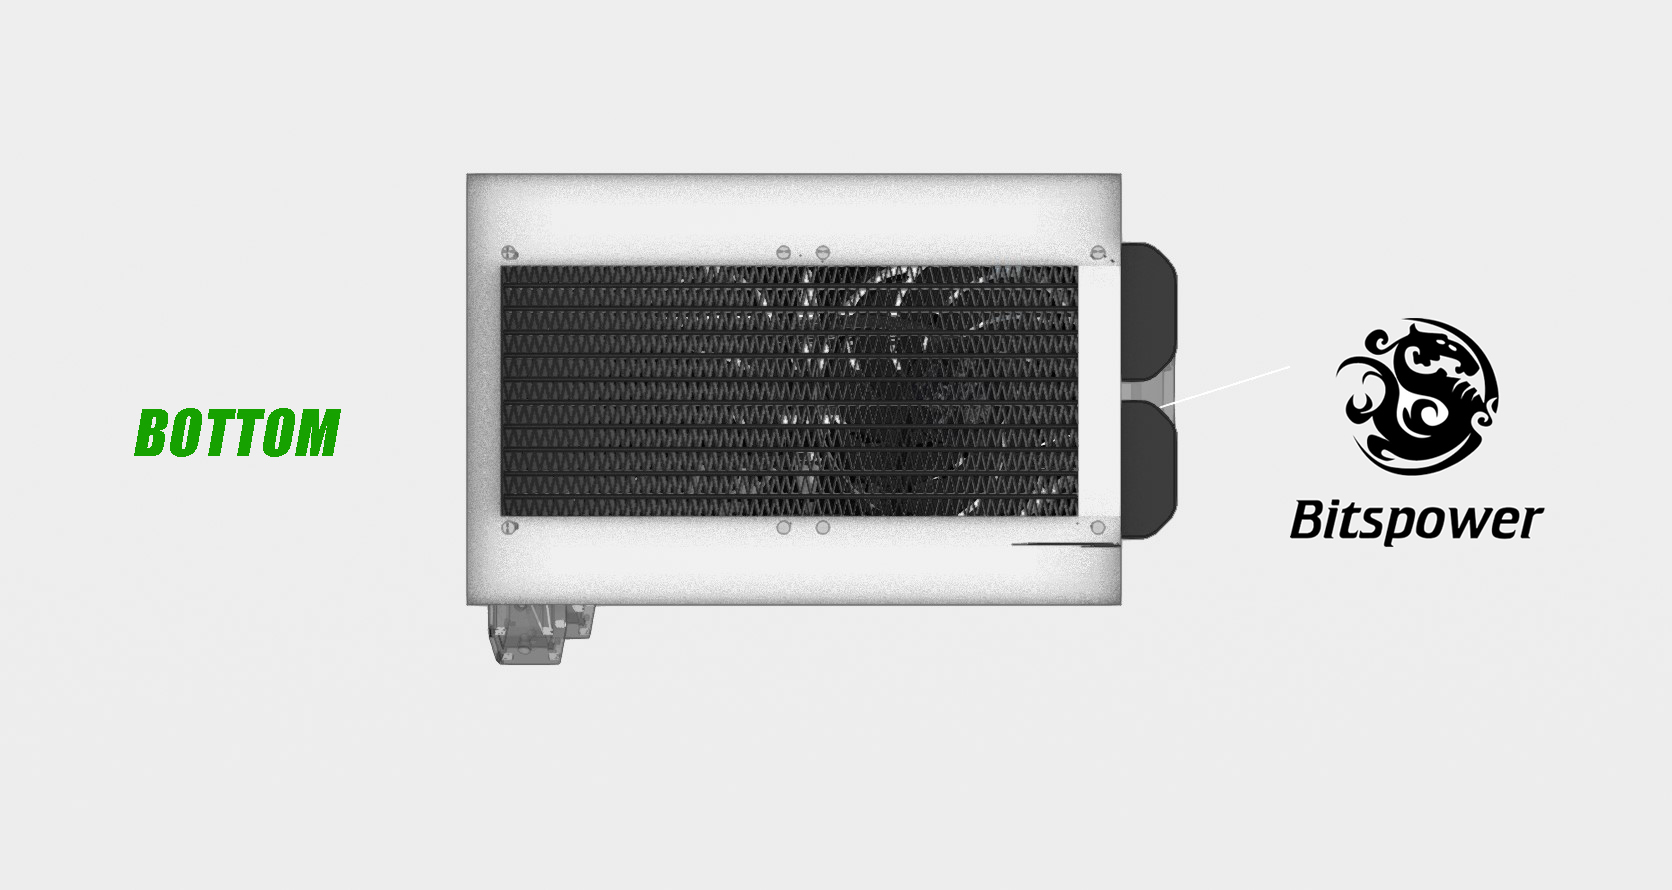
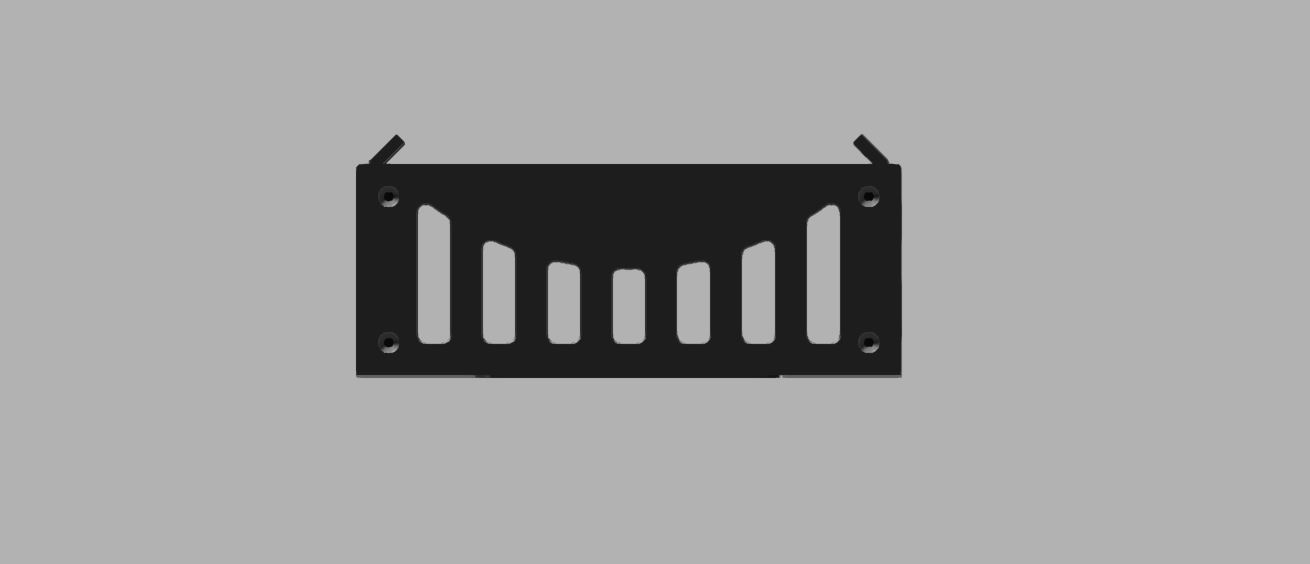
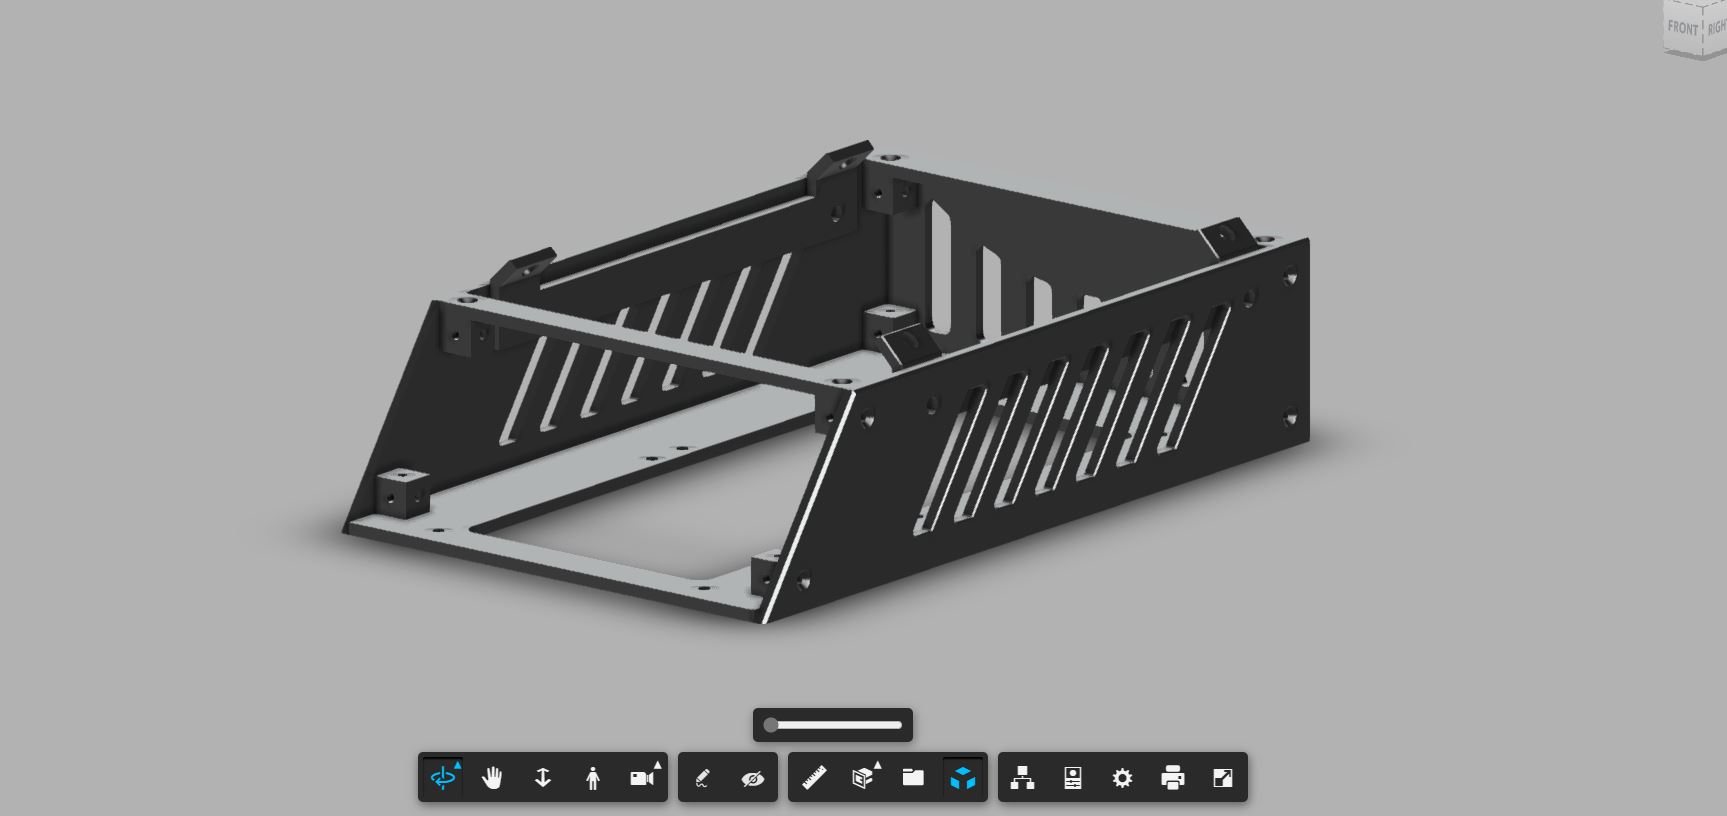
To collaborate with brands is certainly an achievement, but to partner with one of the community’s finest is a significant milestone by any measure. I’m thrilled to announce that Praetex Design will be sponsoring this build, providing their expertise in machining for the radiator housing/enclosure. After the outstanding work Alex delivered on my previous distros, I’m equally eager for the craftsmanship on this enclosure. If all goes according to plan, I should receive the finished work next week. I’d also like to express my gratitude to Arya from AquaCustoms for their exceptional CAD work on the enclosure. Once again, none of this would have been possible without their invaluable contributions. 23/03/2024
Just a quick update on the assembled enclosure, which has now been sent for painting. The great news is that everything lines up perfectly as it should, and thankfully, nothing has gone awry! The only hiccup is that we’re missing a small brace at the rear, but we’ll address that at a later date.
Build Progress... Loading
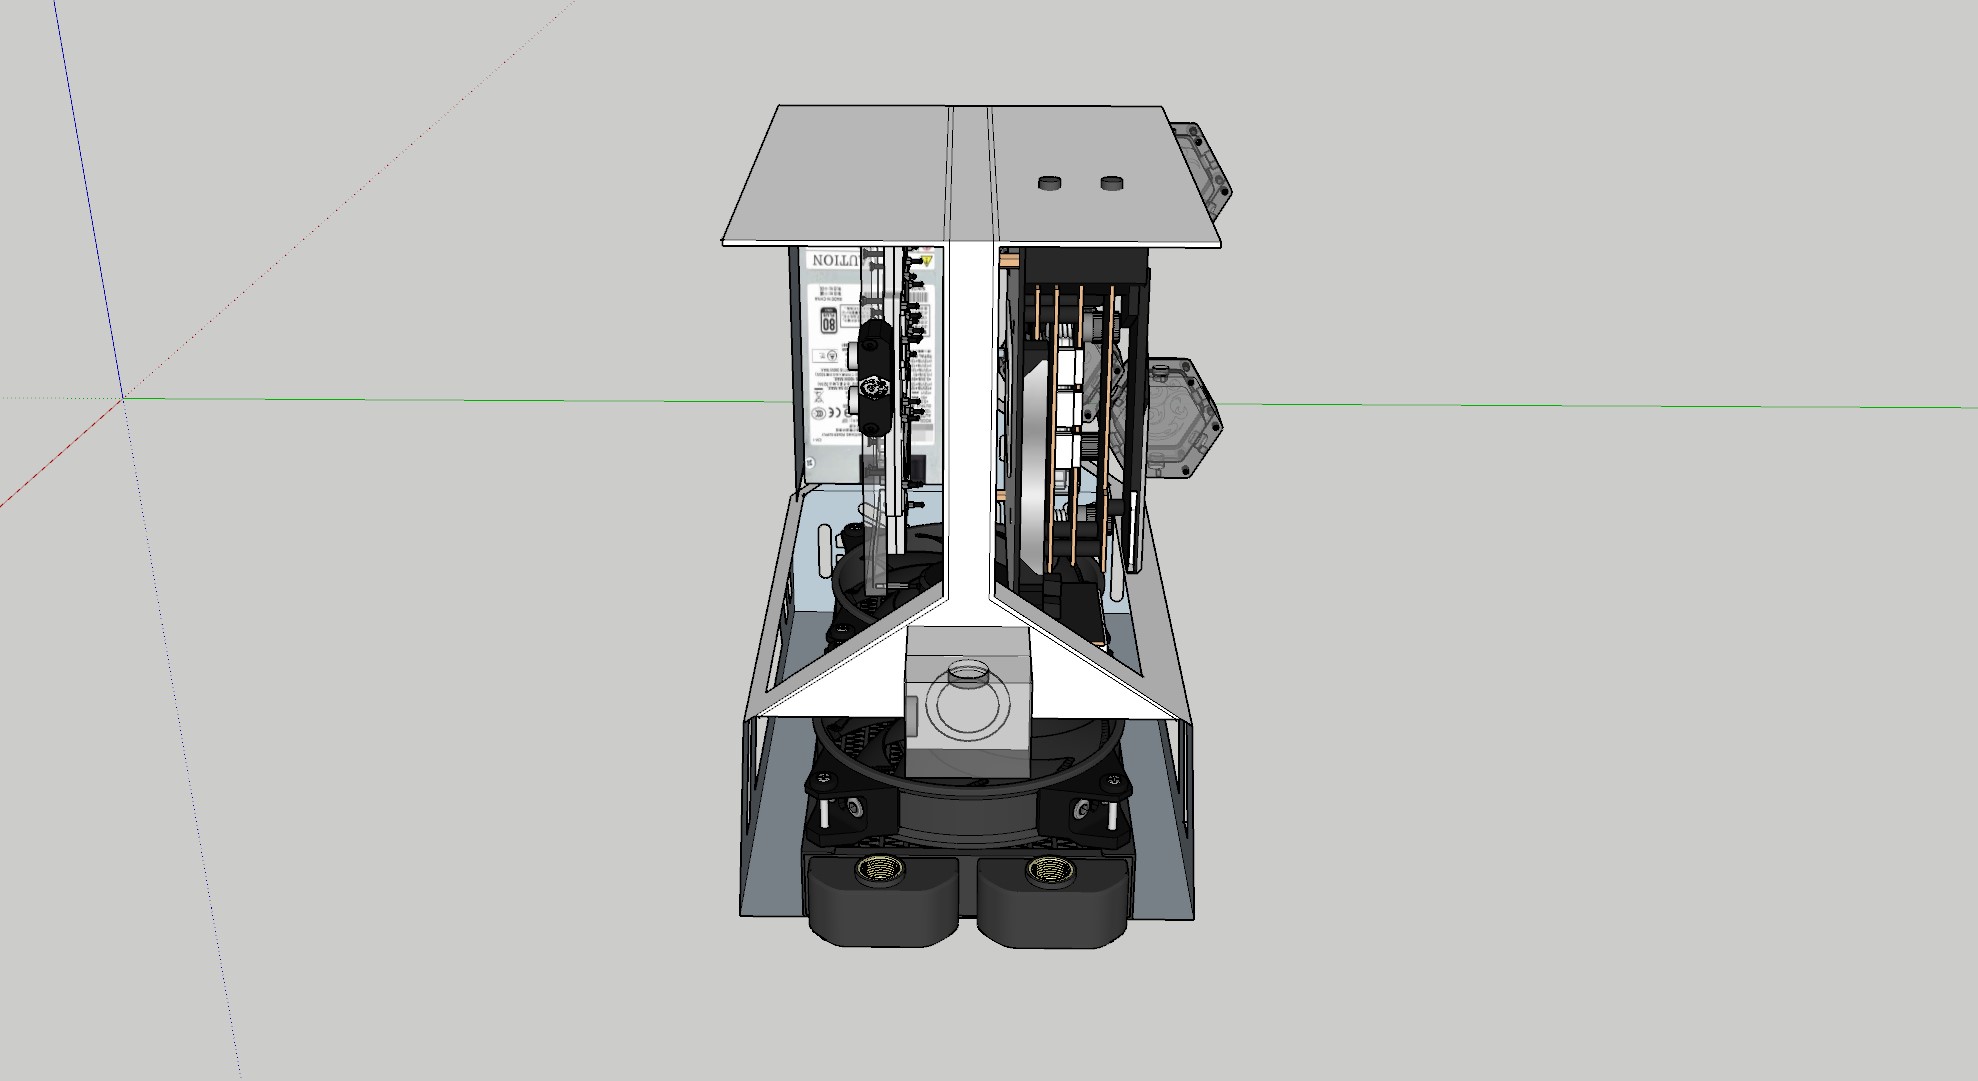
11/04/2024: We’ve reached the crucial phase of the construction where I can commence assembling the final system. The lower enclosure has undergone powder coating, resulting in a flawless finish. We’re now in the process of outlining the mounting hardware for the mini distribution unit and the rear reservoir/pump combination. Once cable management is tidied up and tube runs are completed, we’ll be nearing the finish line.
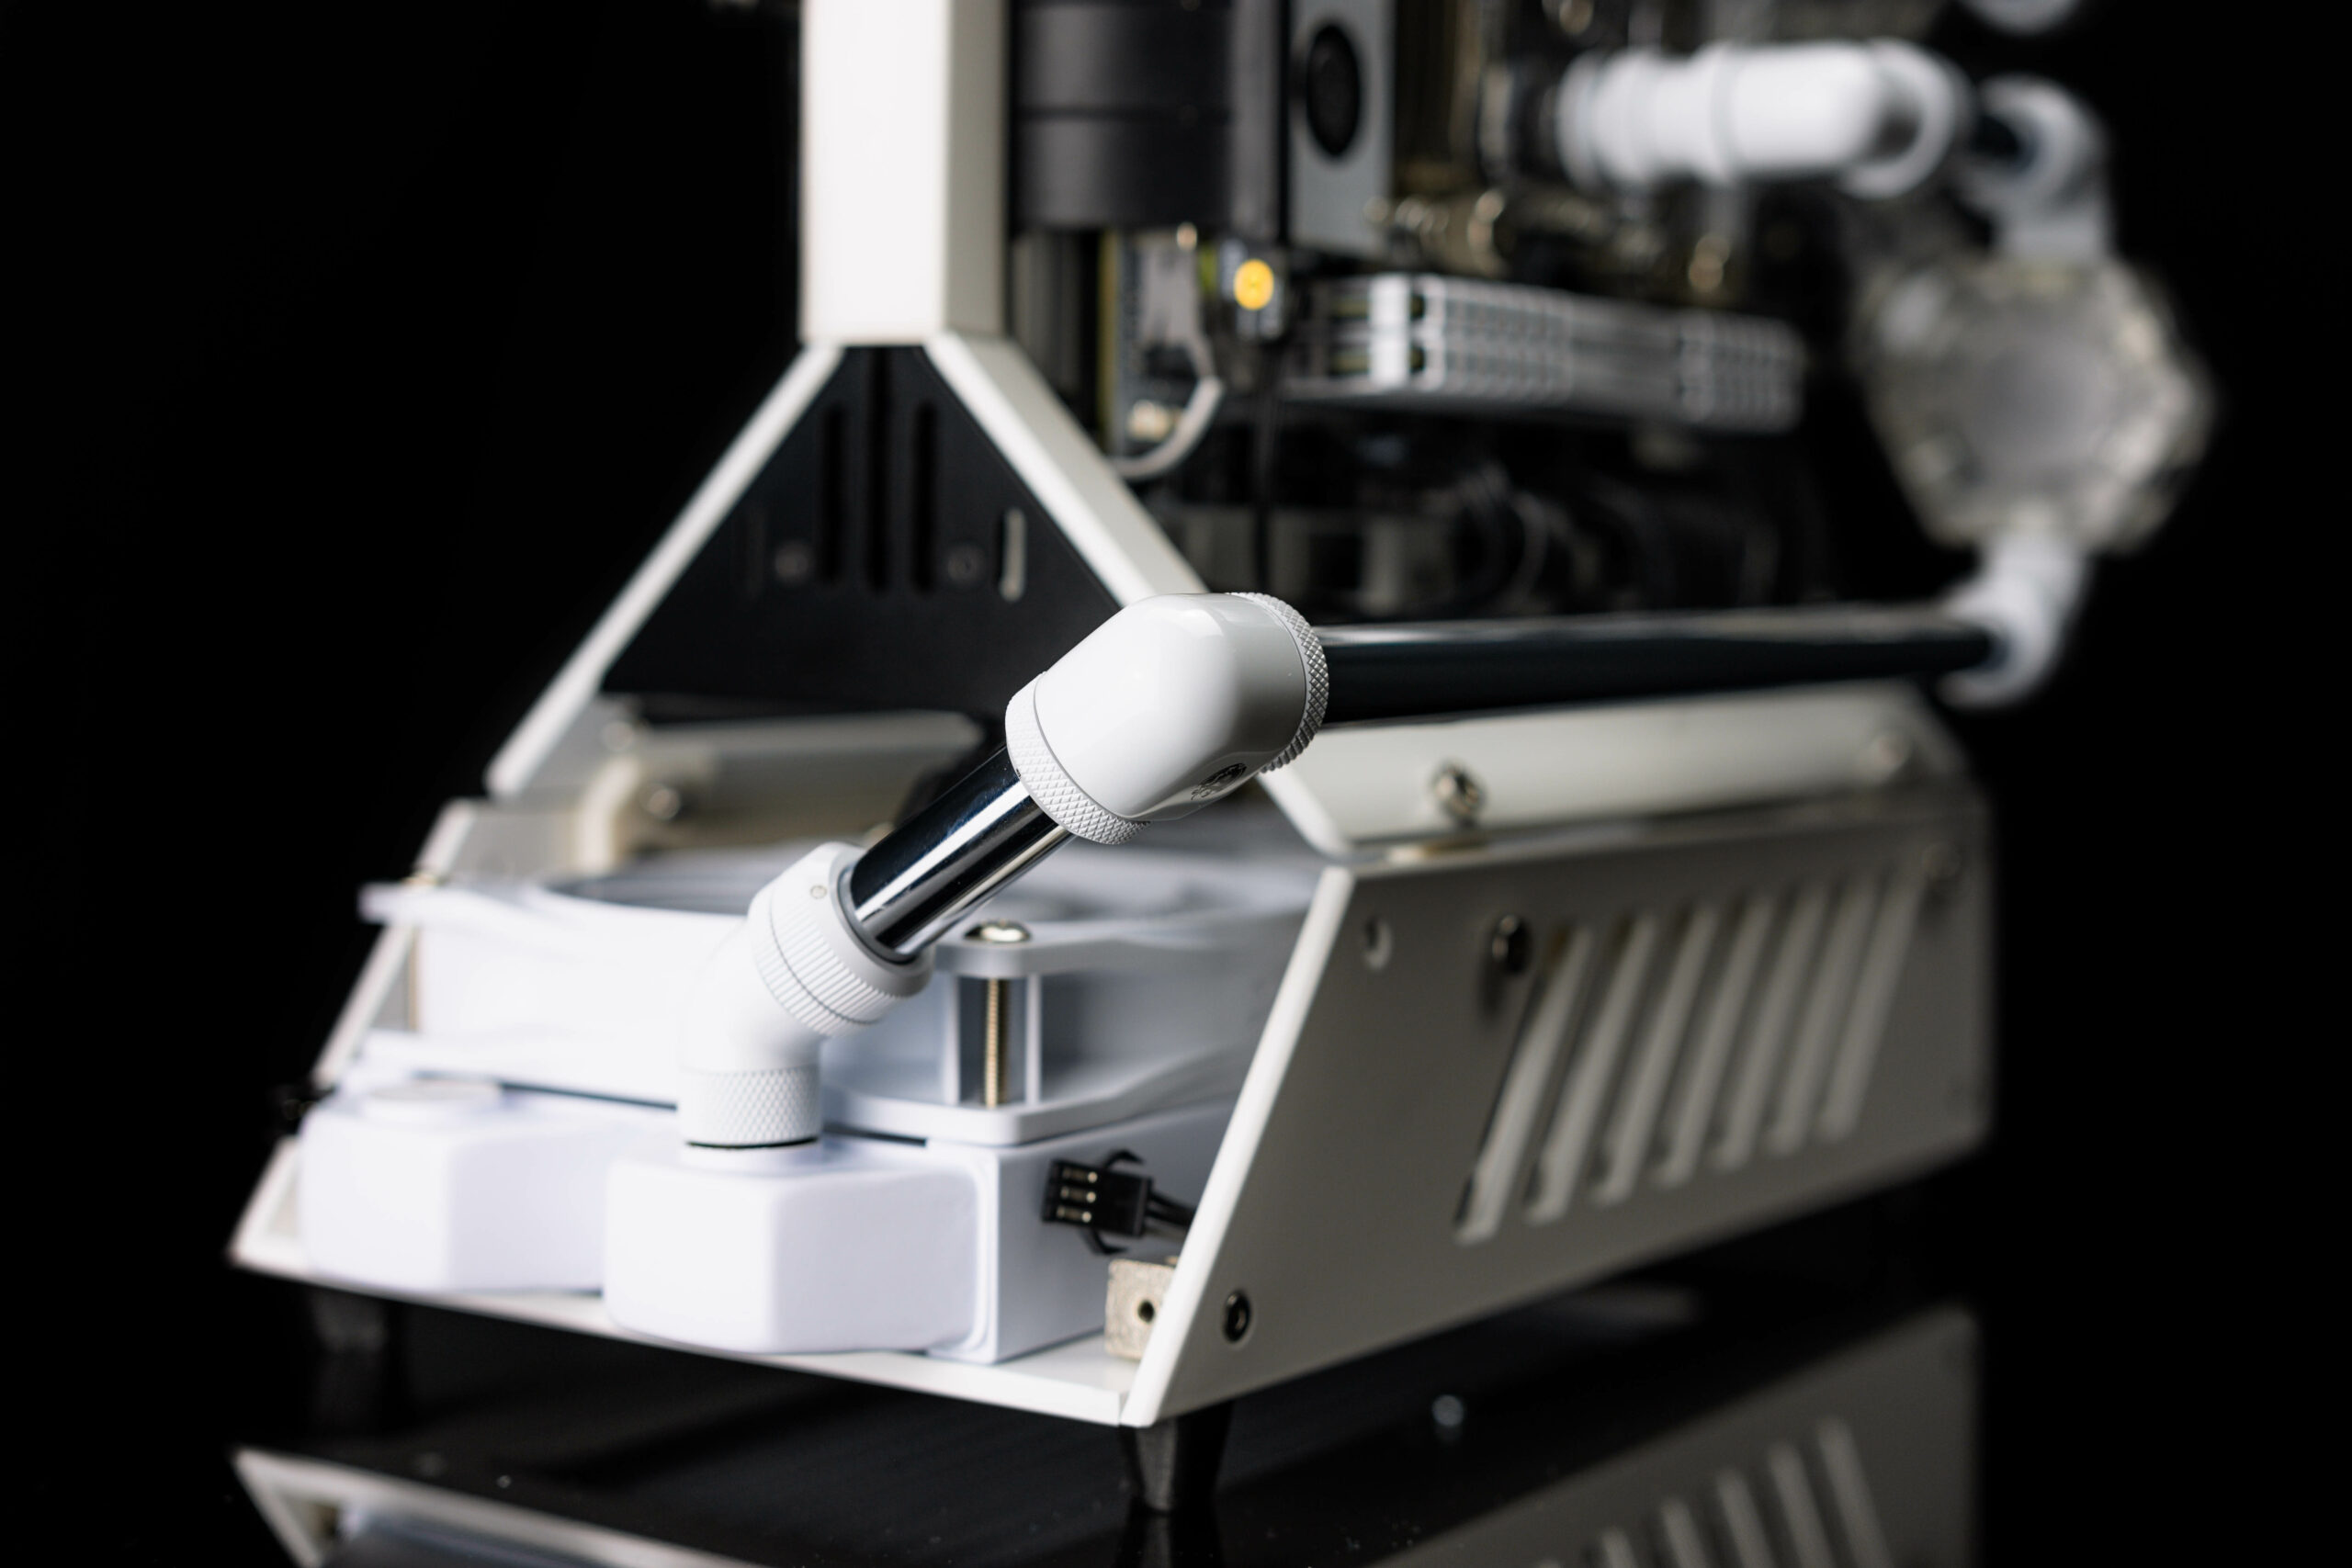
Update 14/04/2024 – We made a big decision today. Originally we planned to go with Bitspower White tubing, however due to concerns with the tubing being painted on the inside we’ve decided to go with Bitspower Chrome tubing. This has actually had a positive effect to the build, giving the build much needed contrast between the white and adding a touch more industrialism to the whole project.
Q1 2024 Build end.
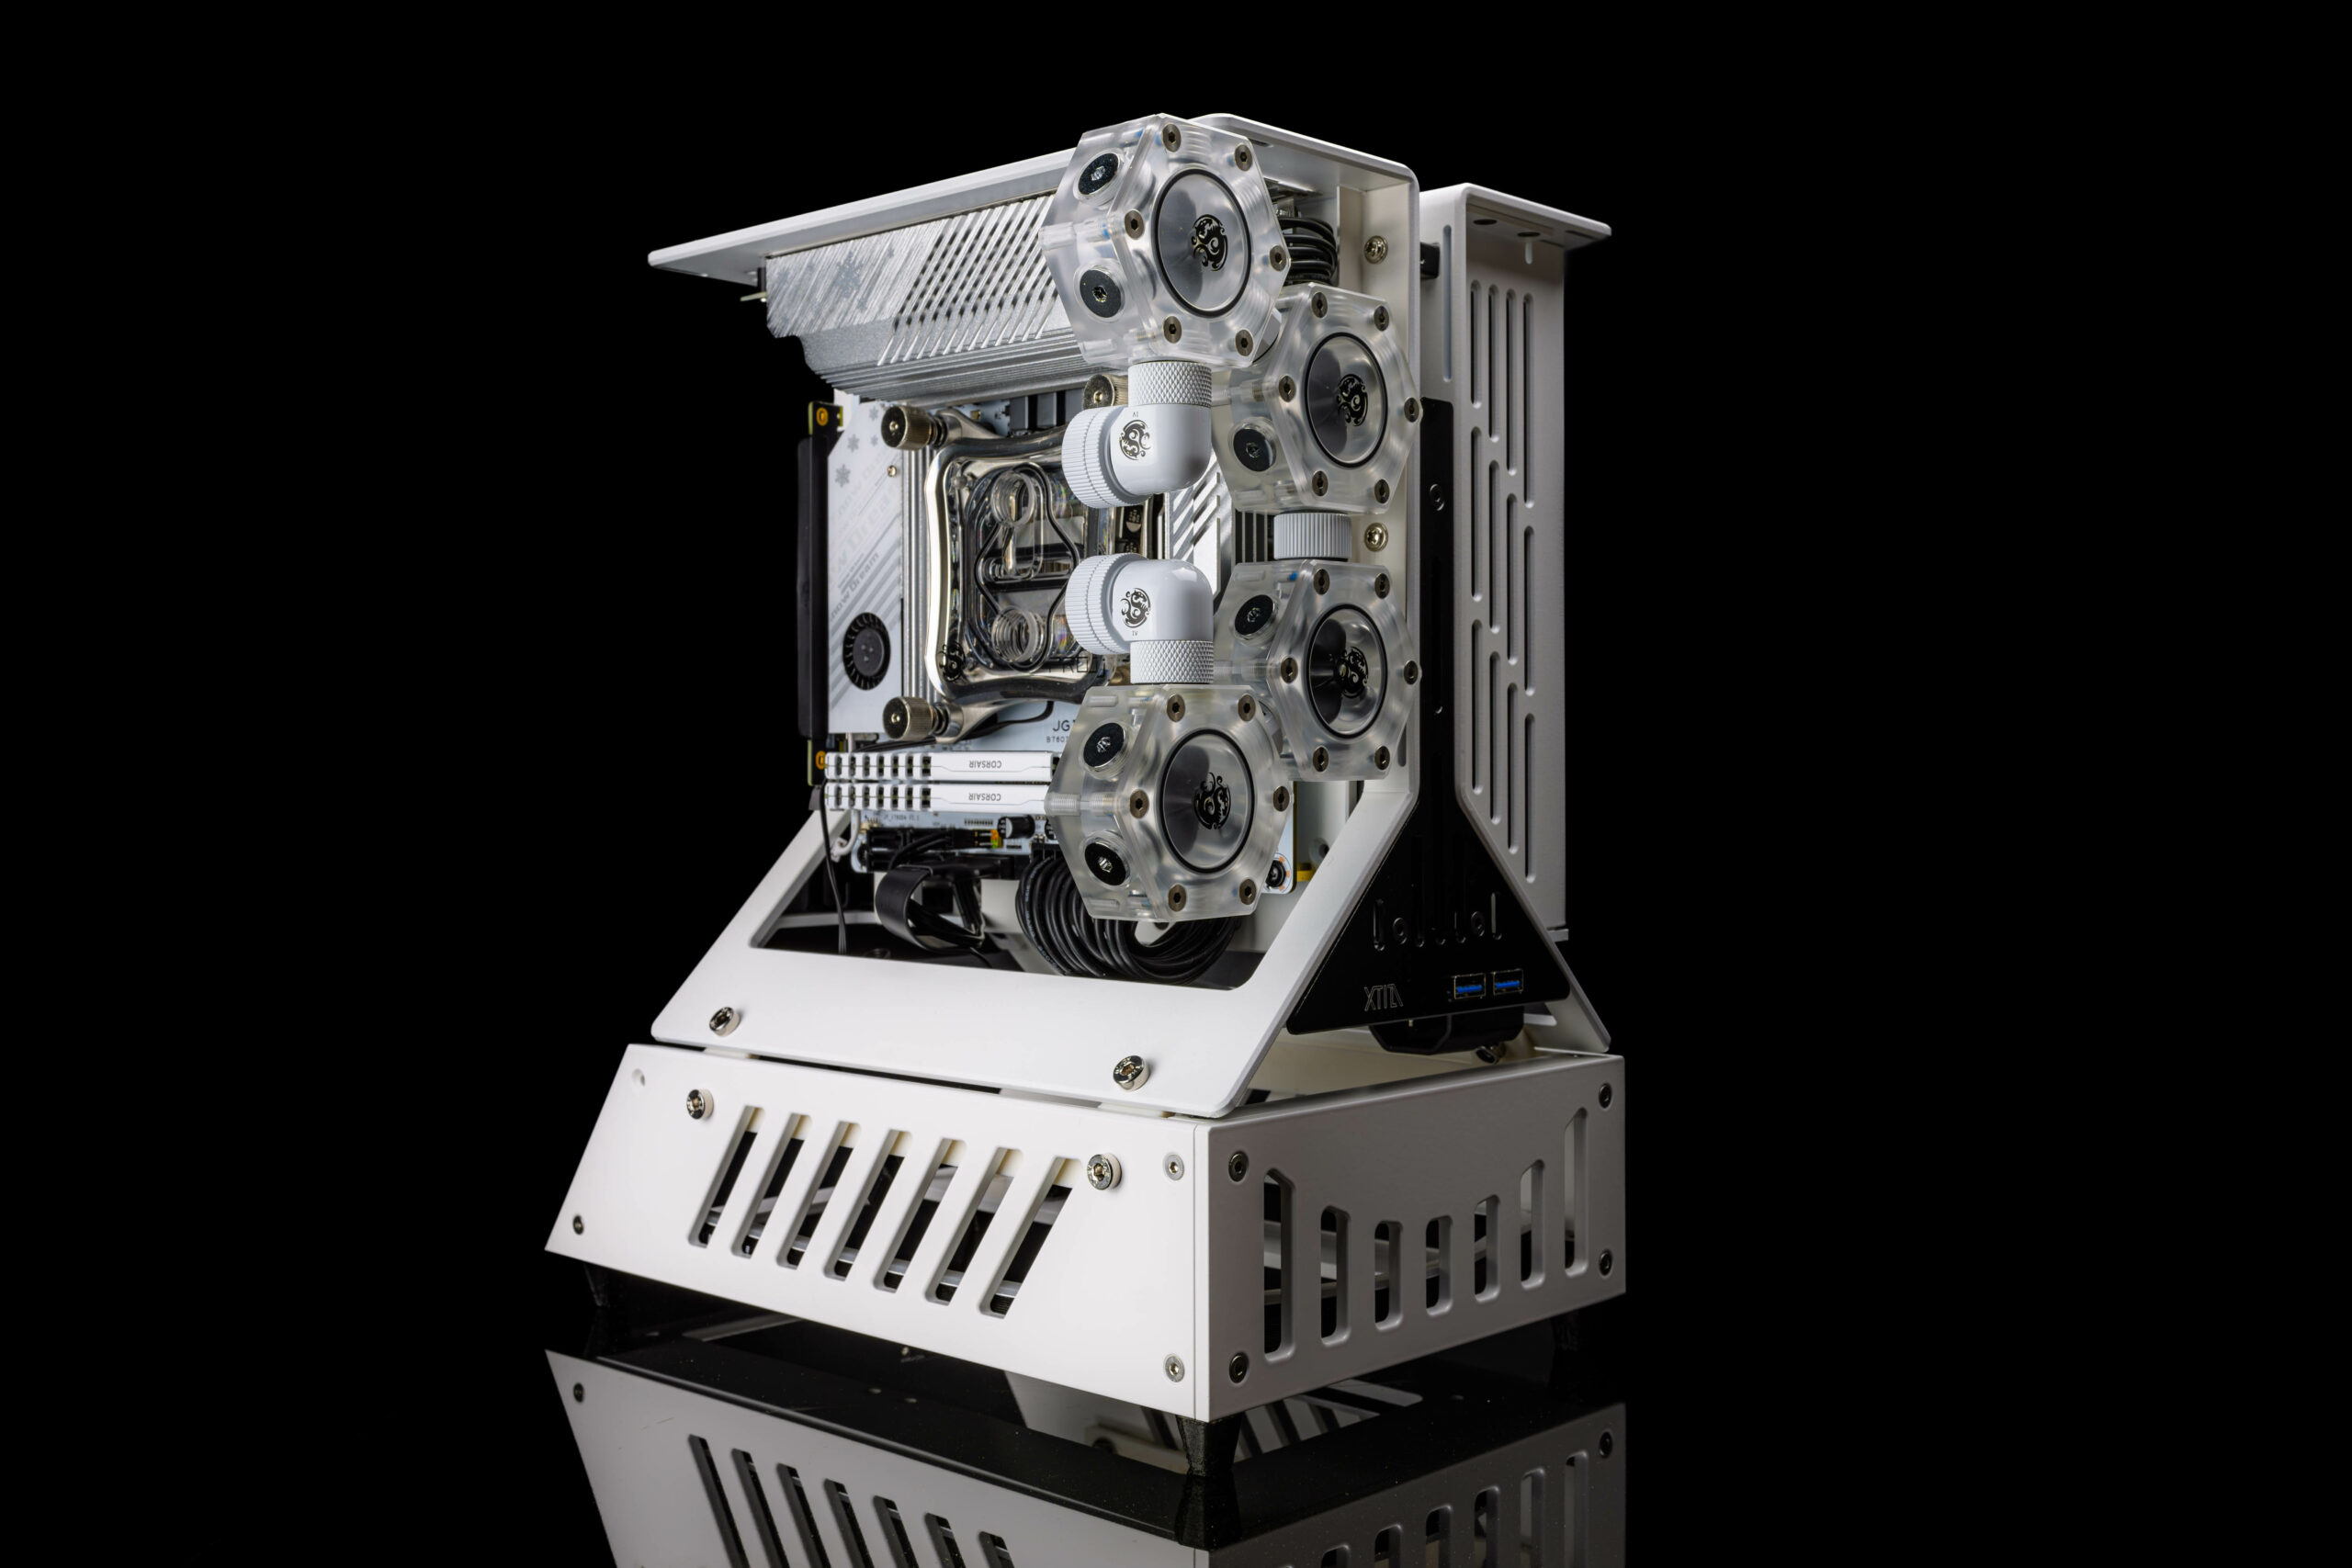
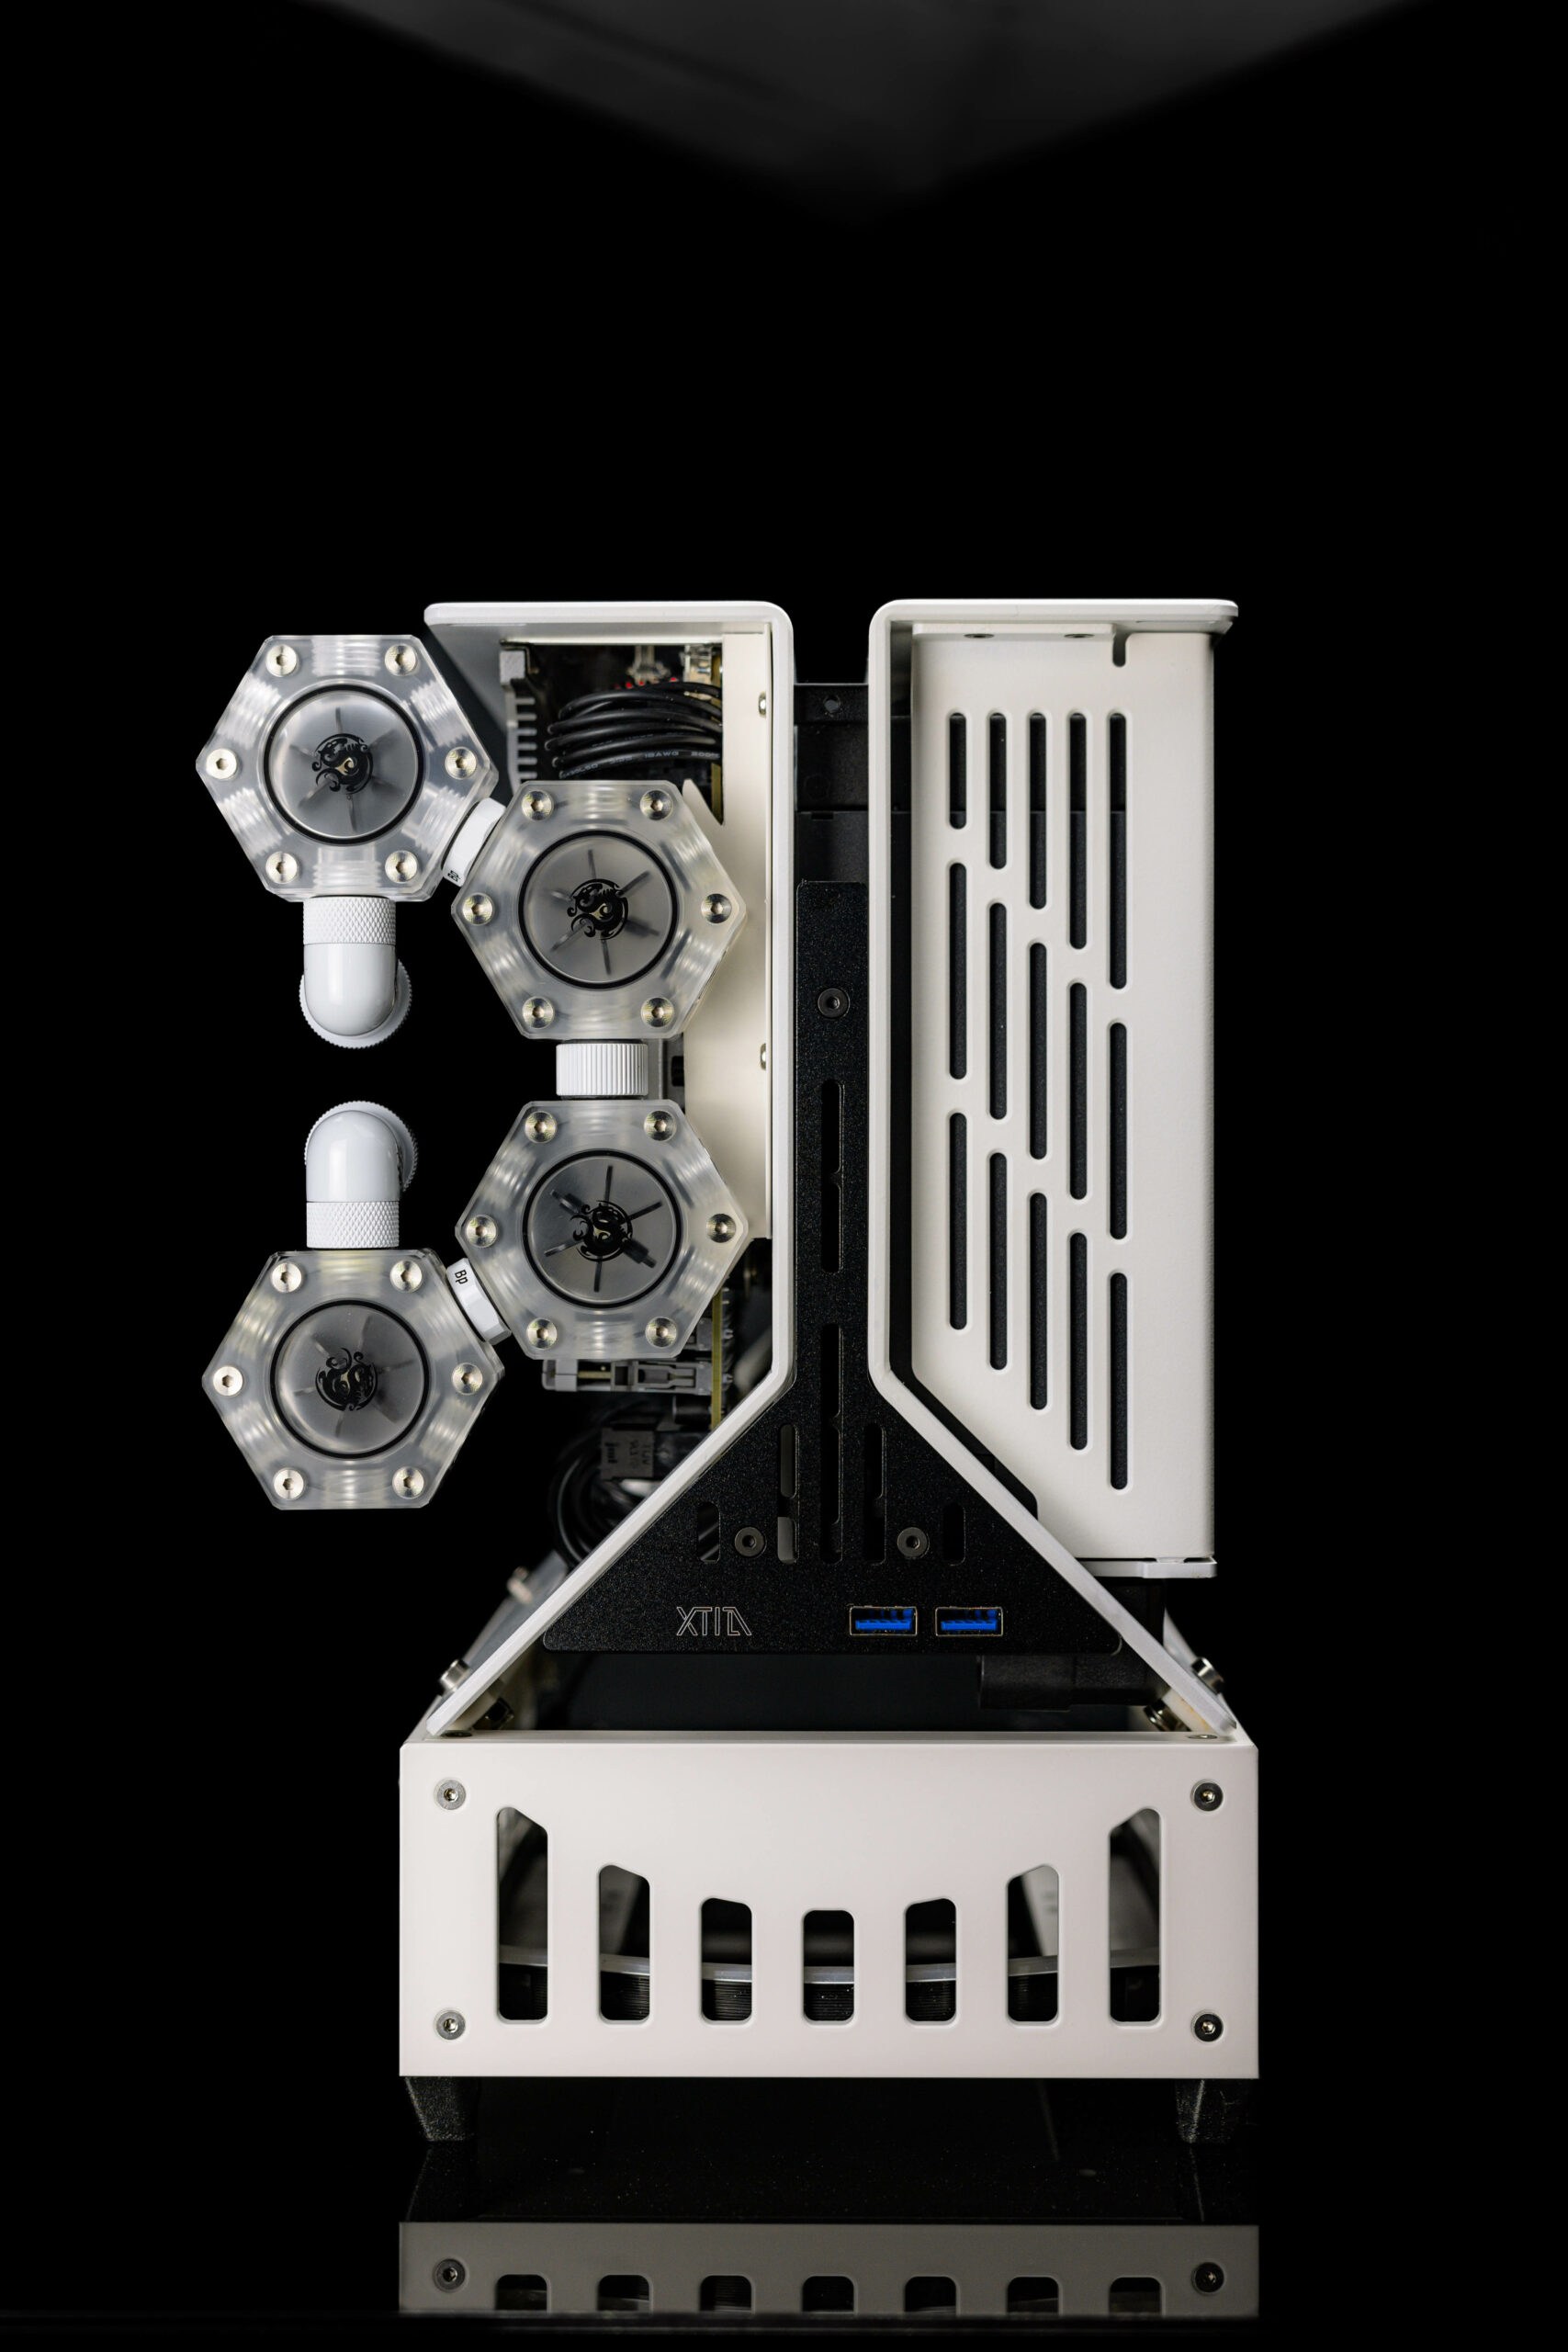
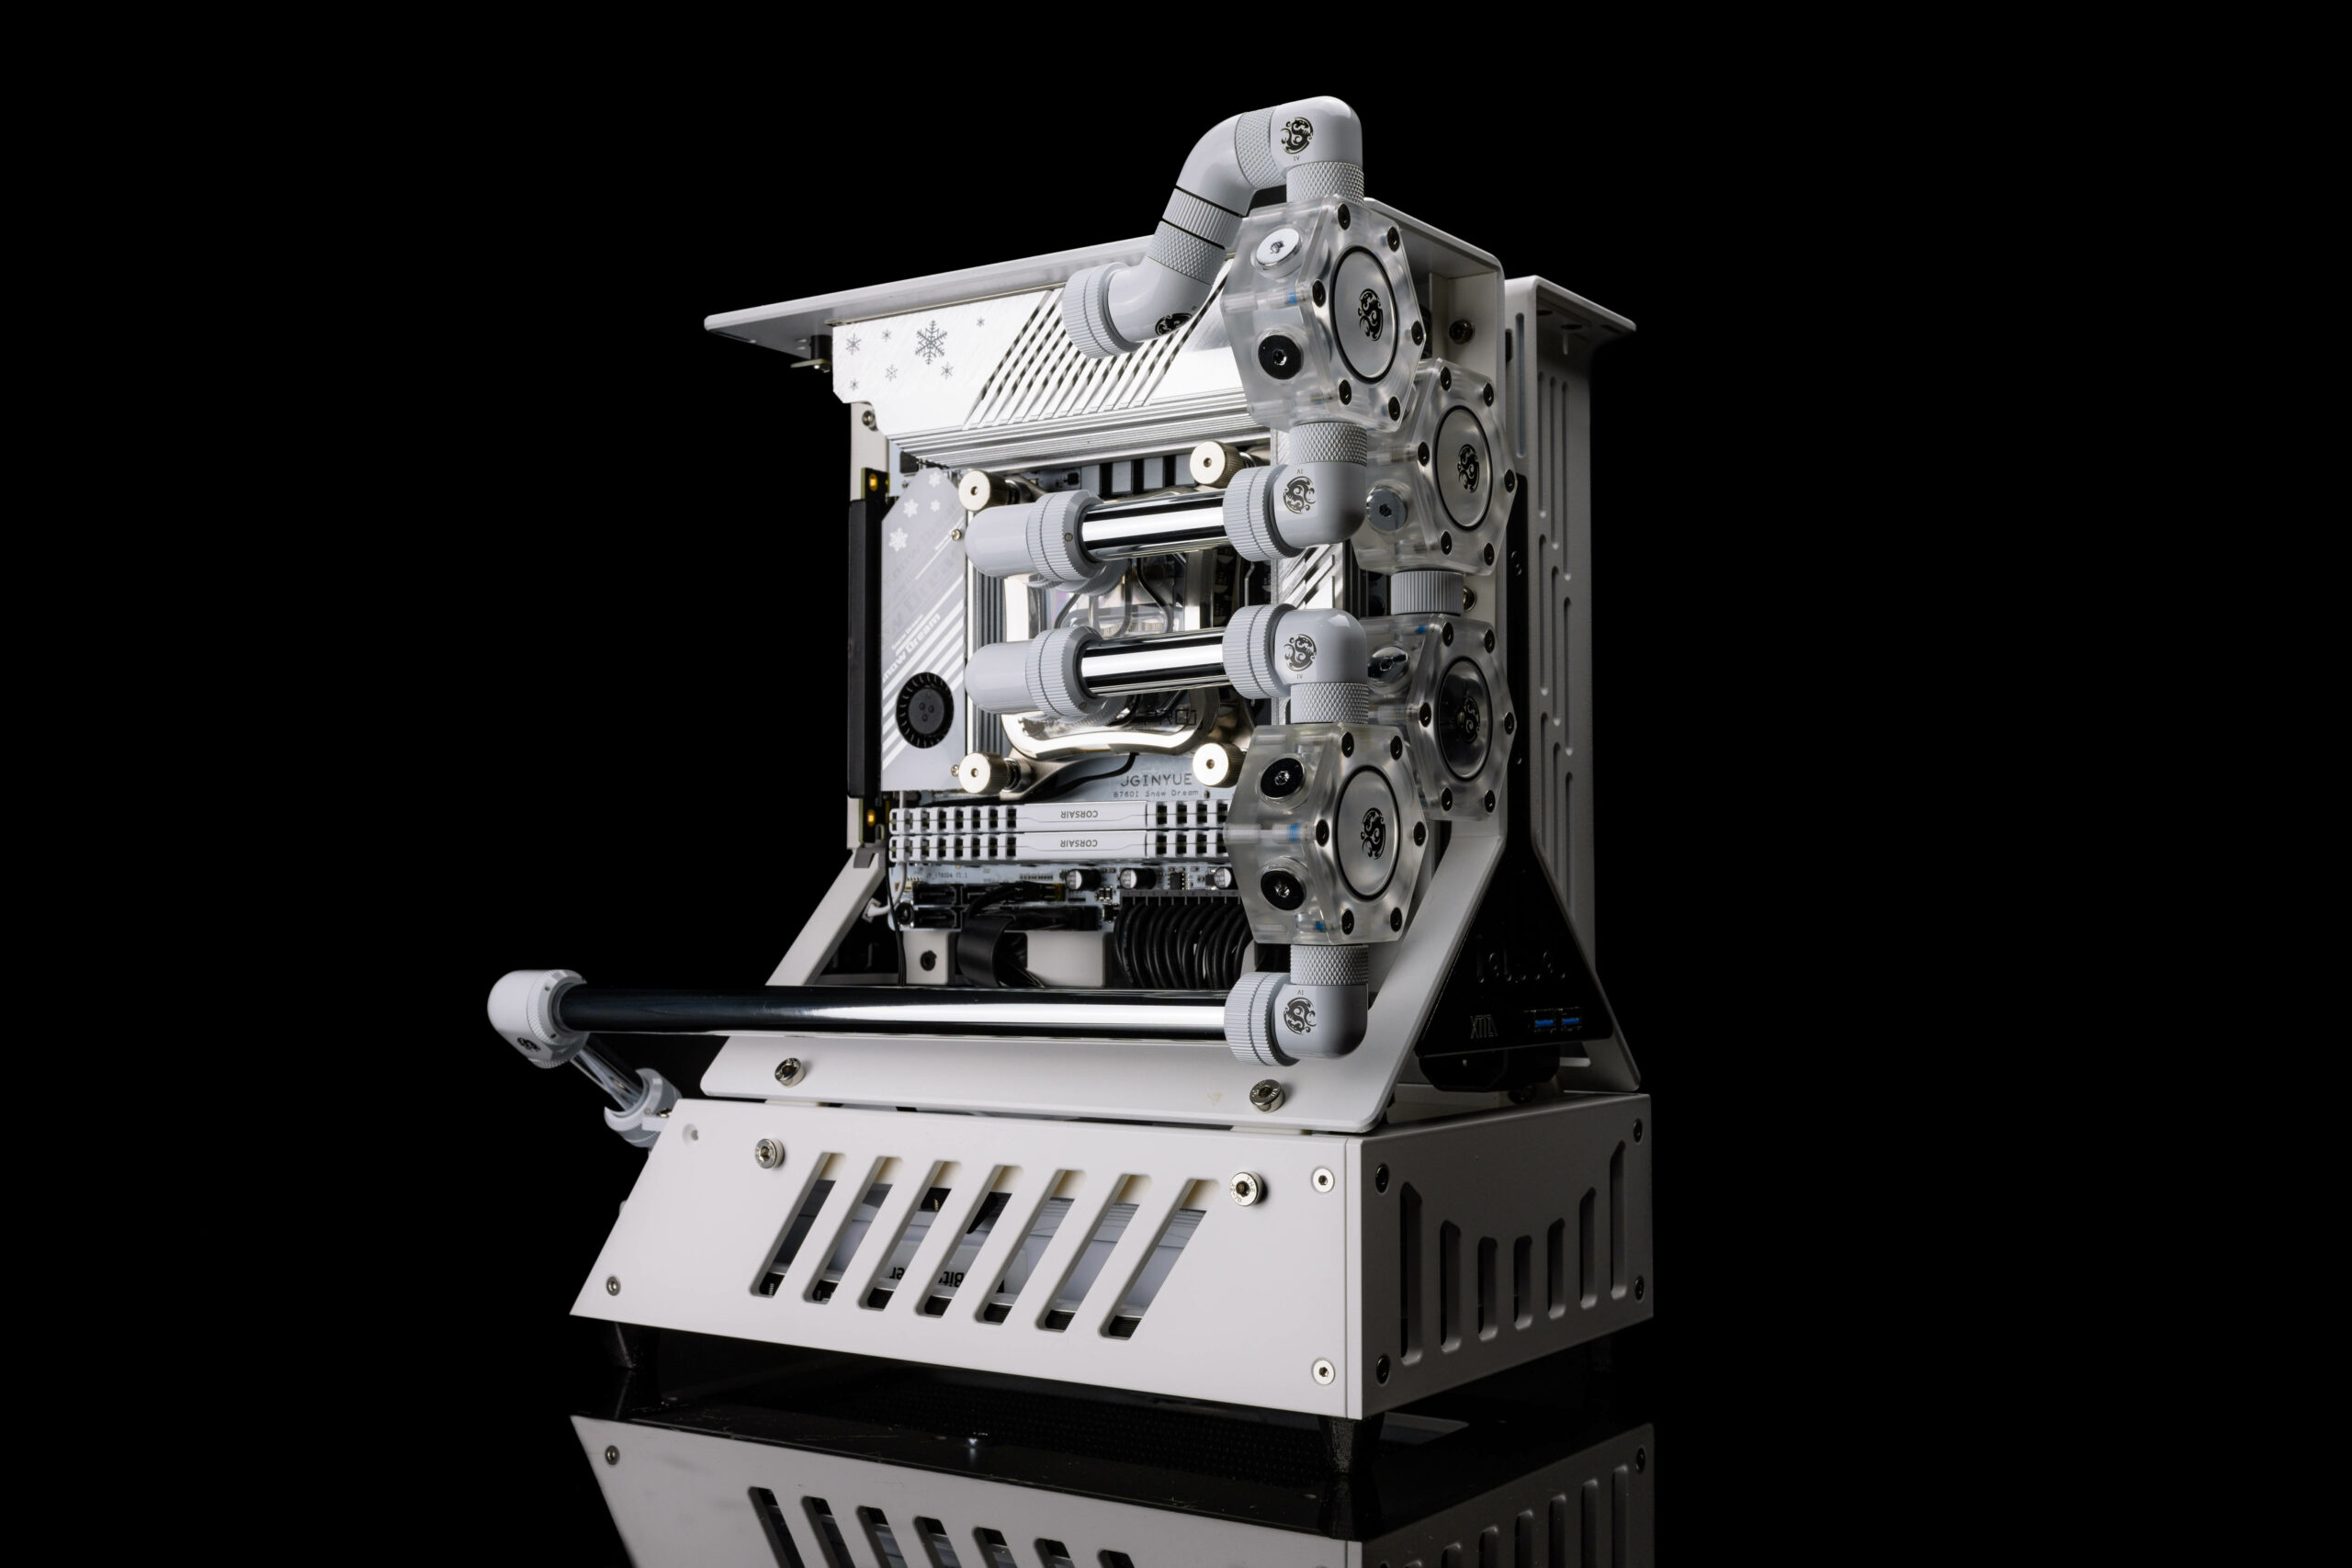
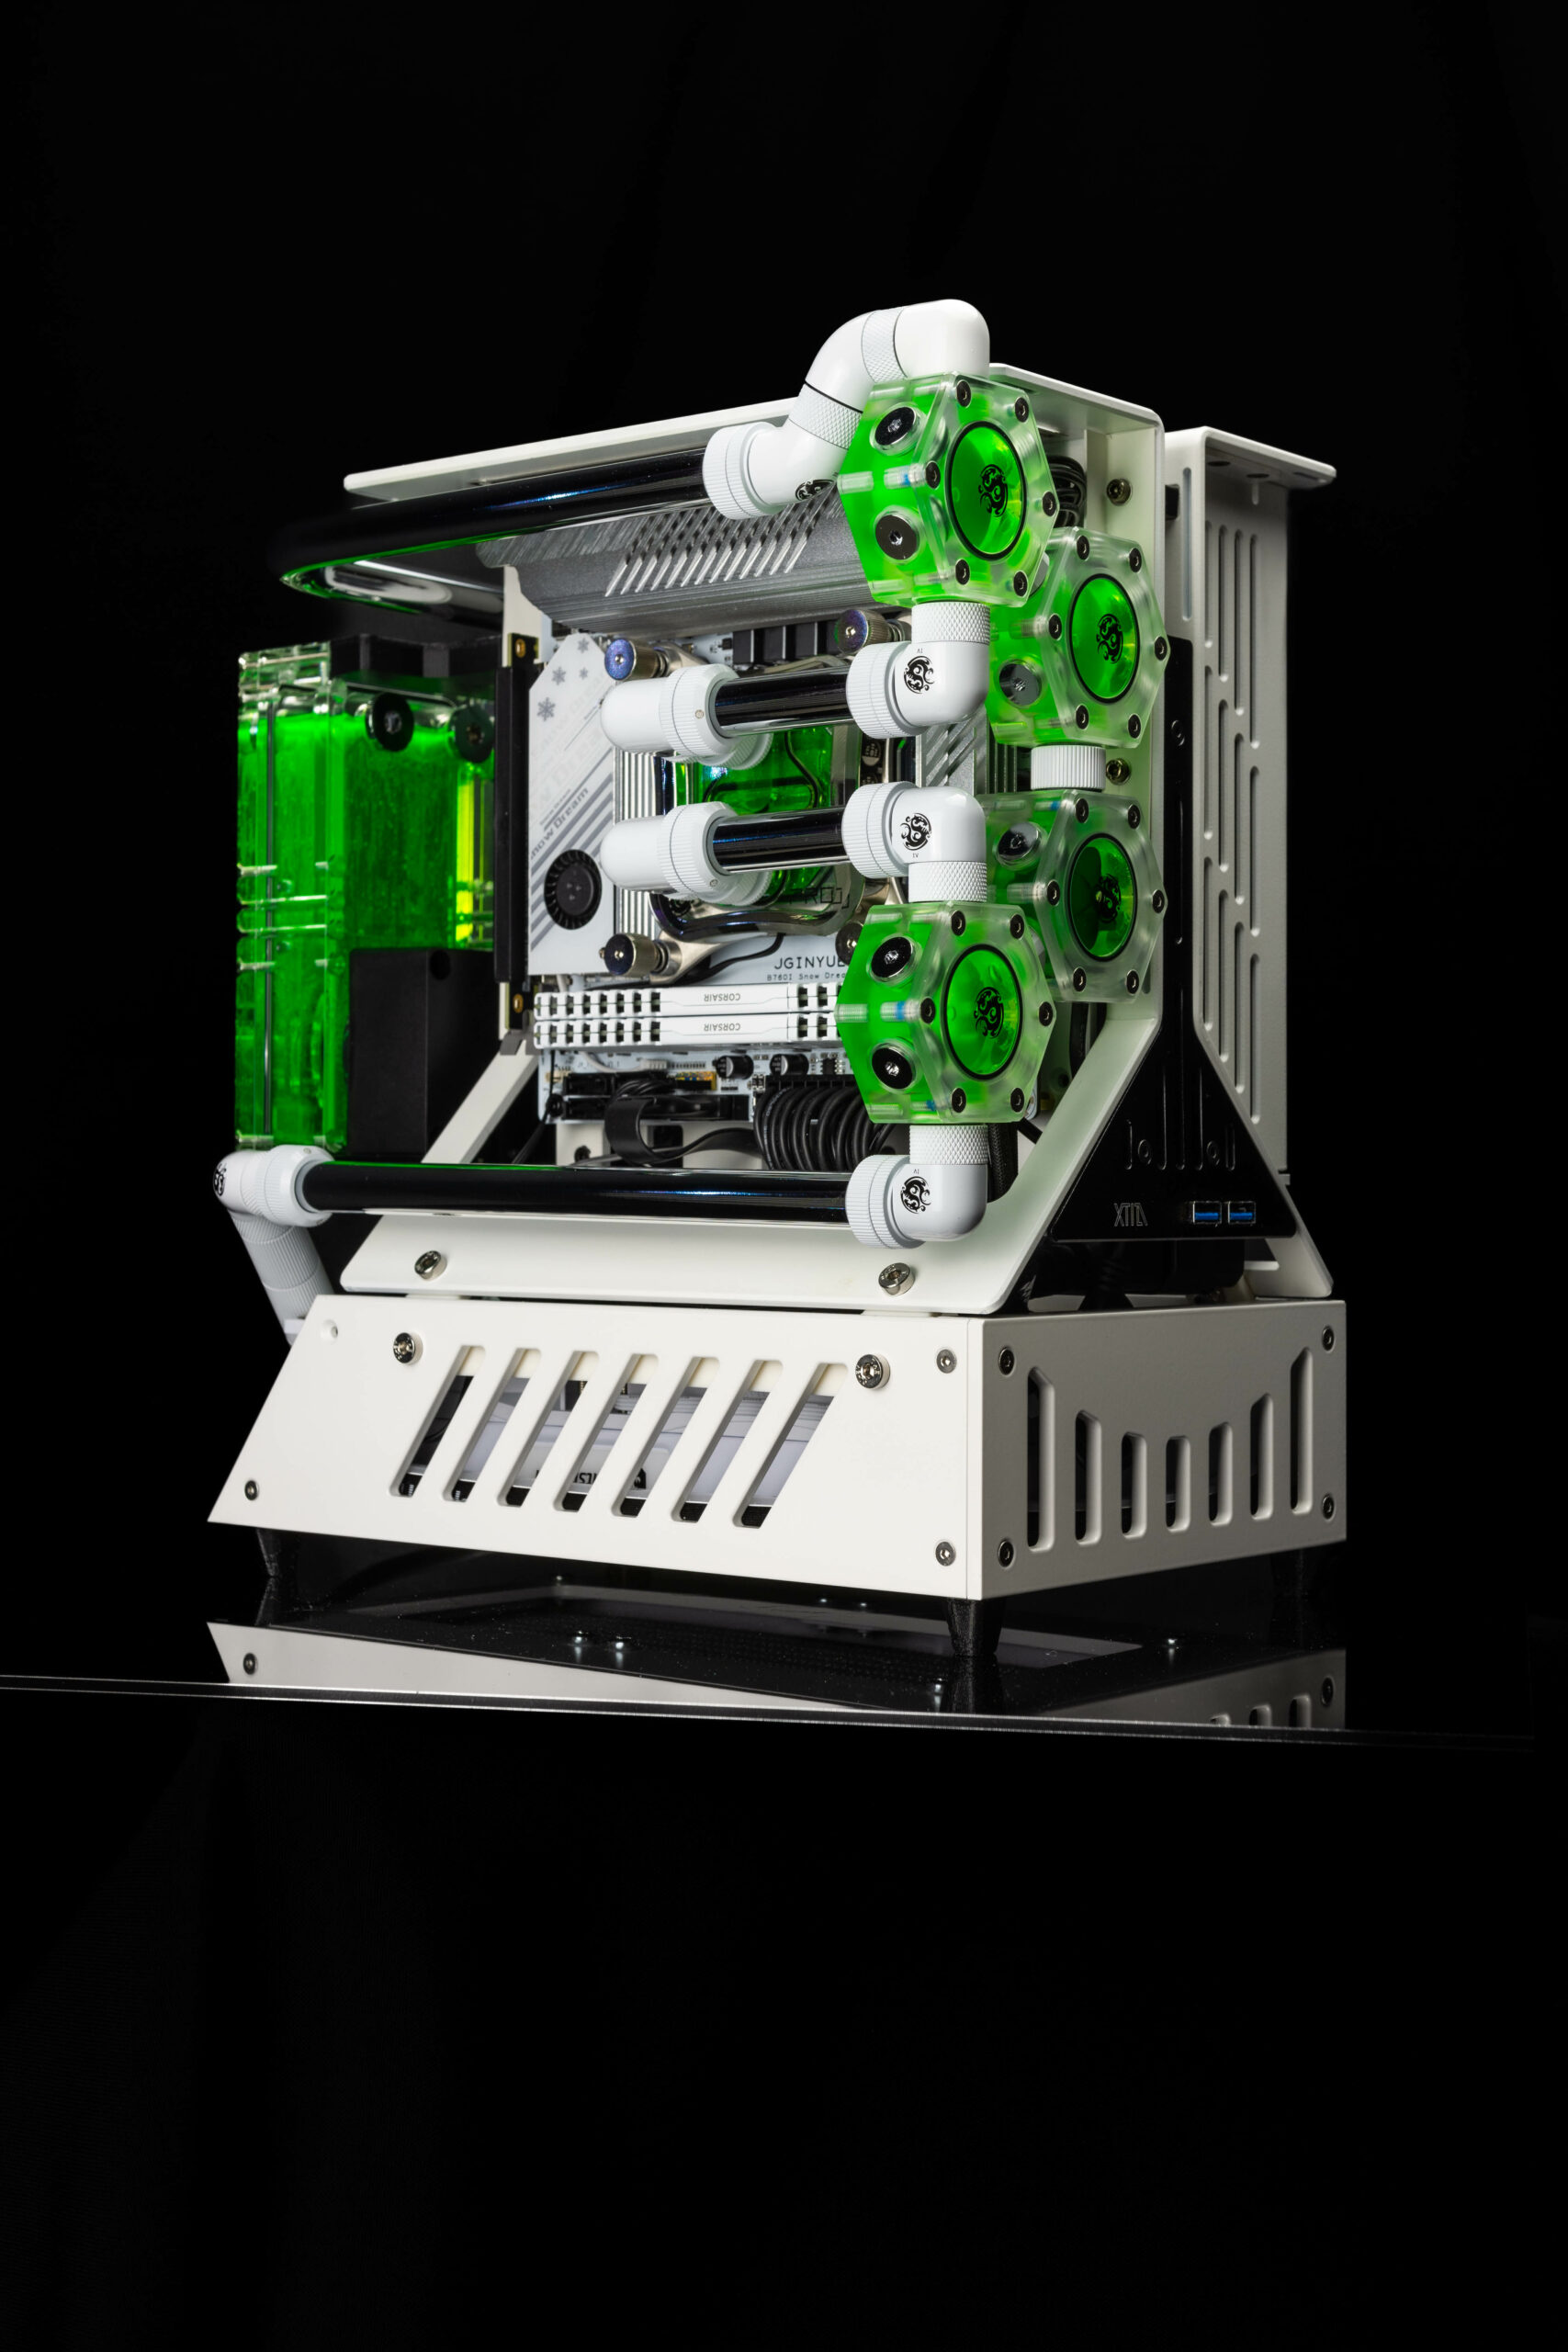
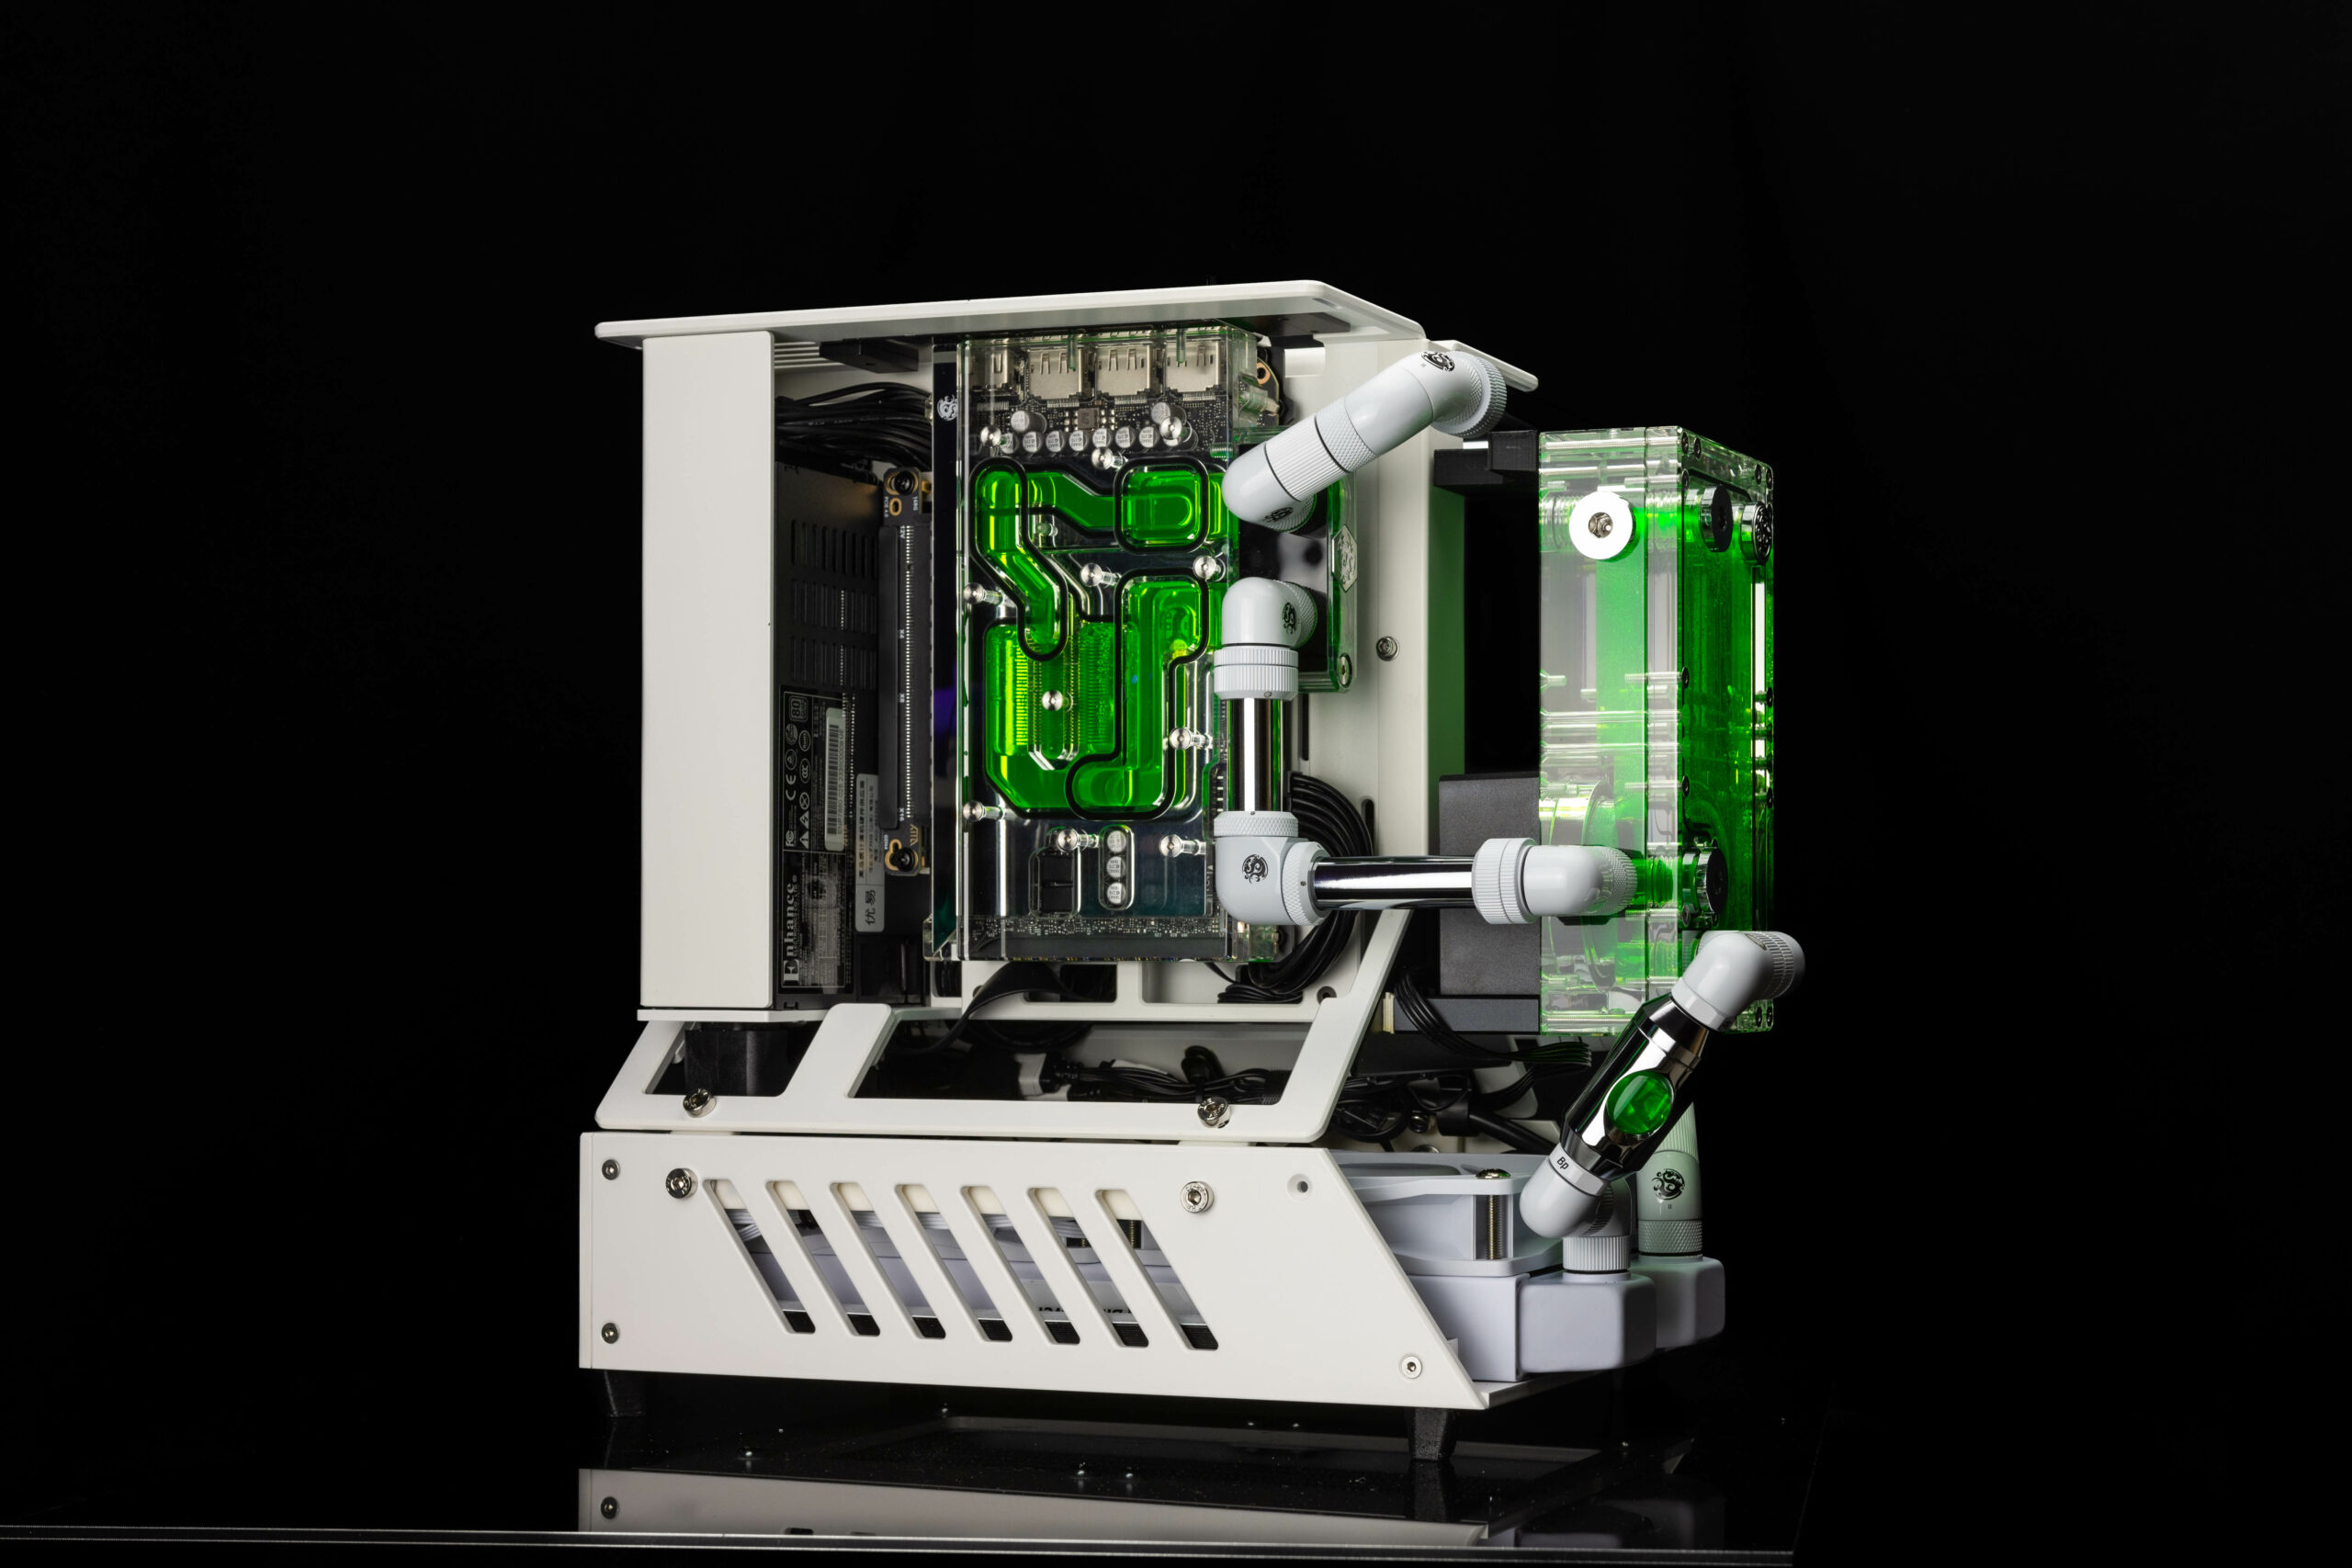
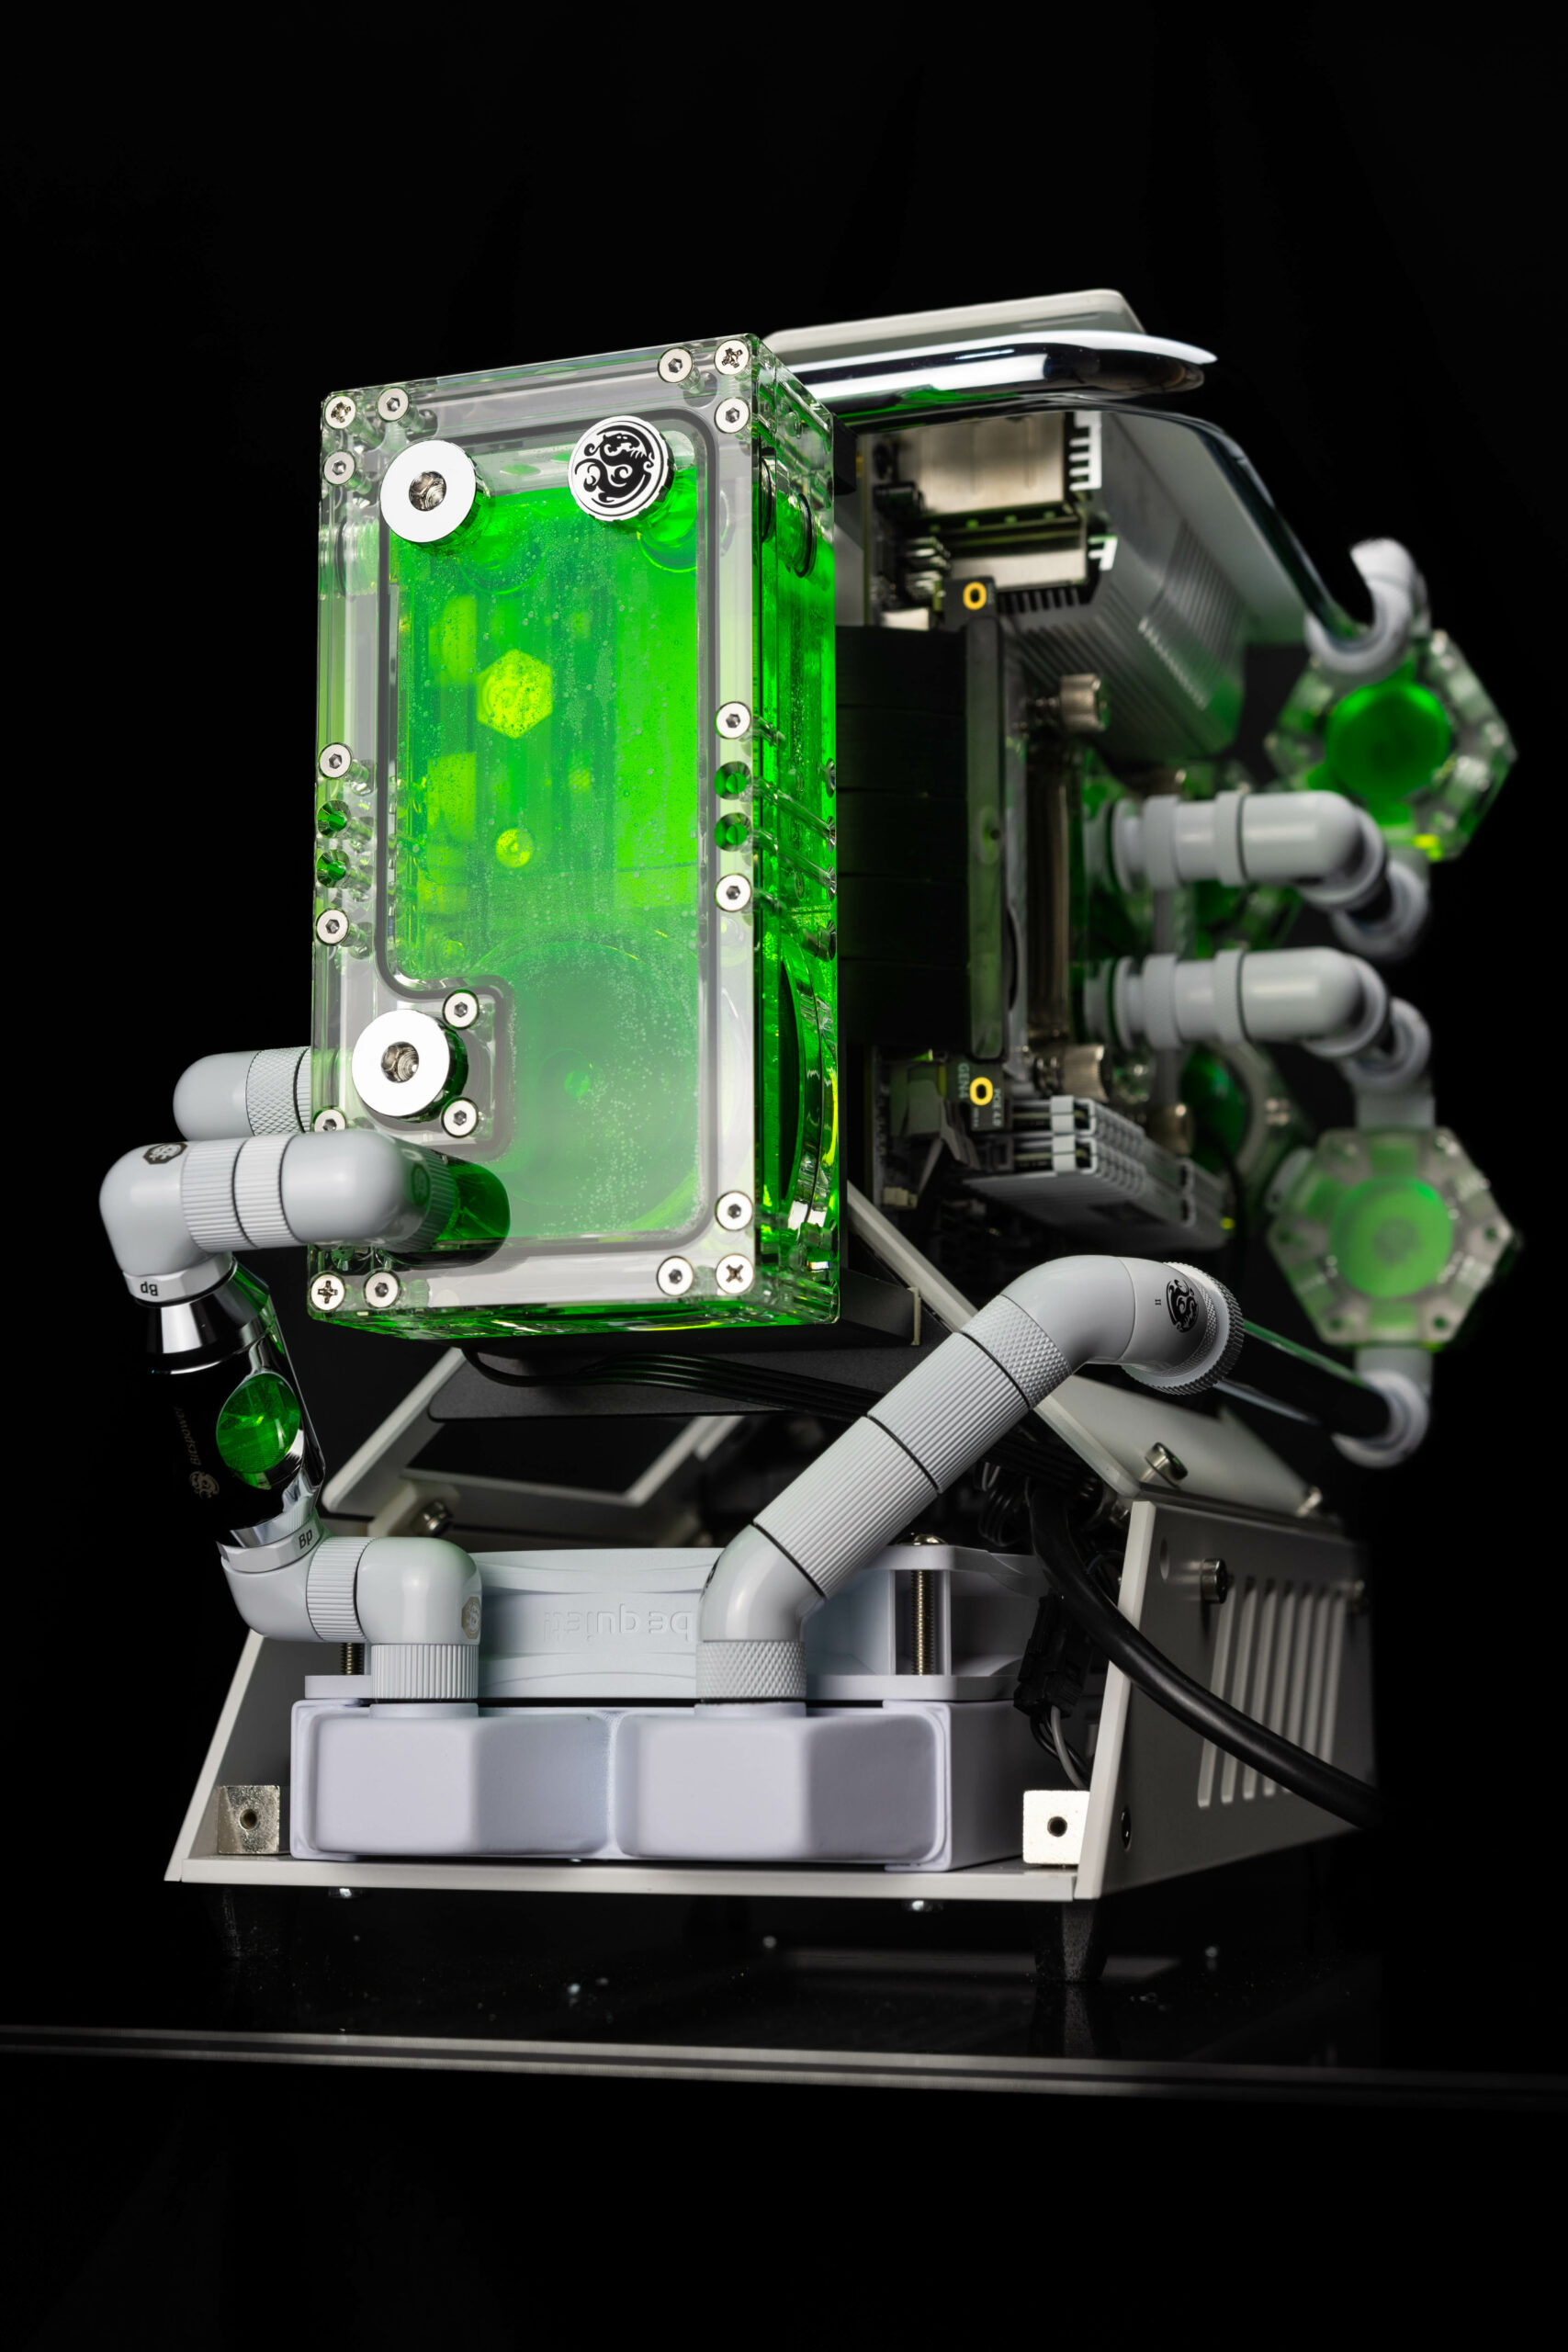
Creators and Enthusiasts, I present to you MiniFusion 99% complete. I say 99% because I still have a few cables to tidy but we got there in the end 😅.
What an incredible journey the last 5 months have been building and developing this project. From a CAD drawing and planning to the finished physical object in front of me. I managed to make some last minute changes to the fittings so make the system more uniform and compact. Wasn’t happy with the top fitting protruding out so much so a stubby replacement made it 100% better.
Once again, a huge thanks to all the sponsors for this project: